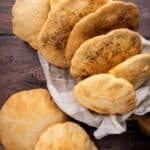
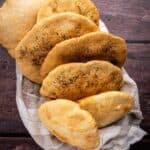
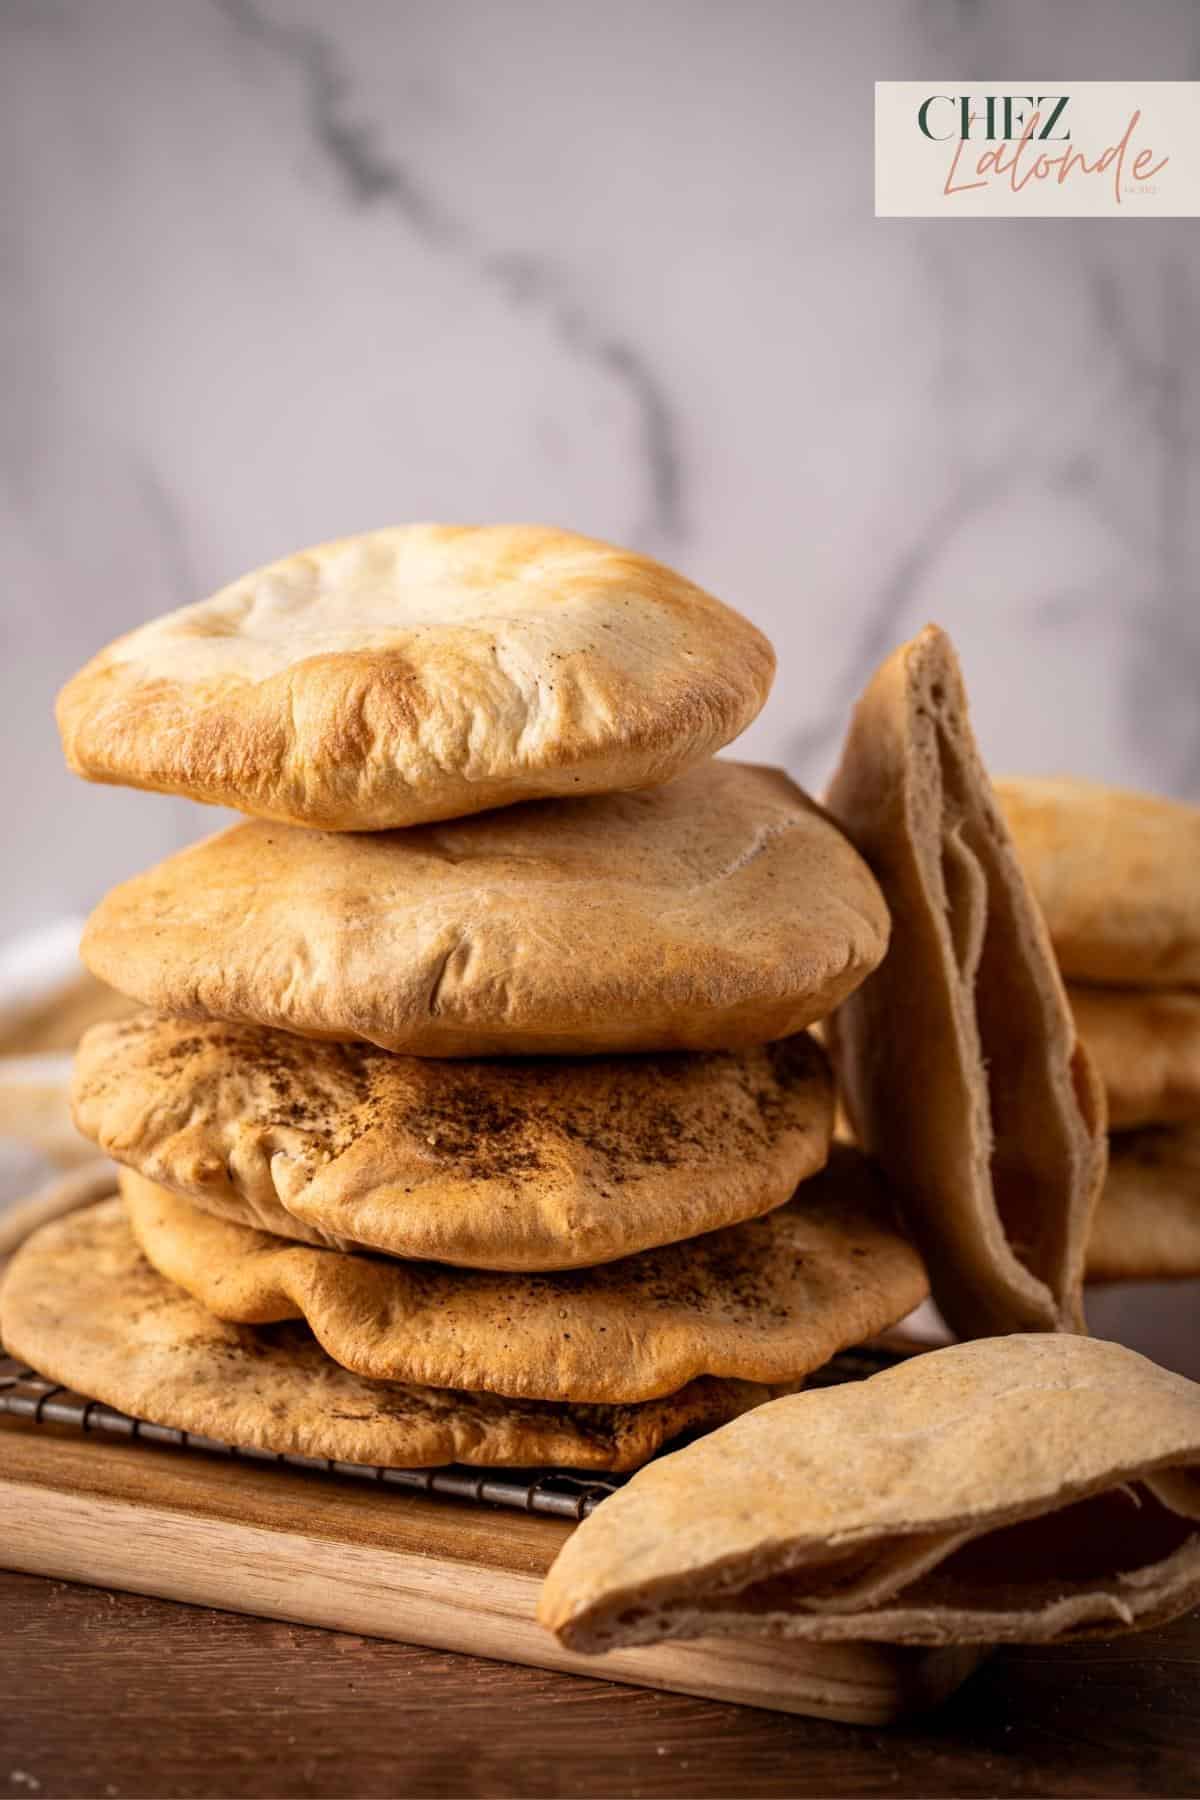
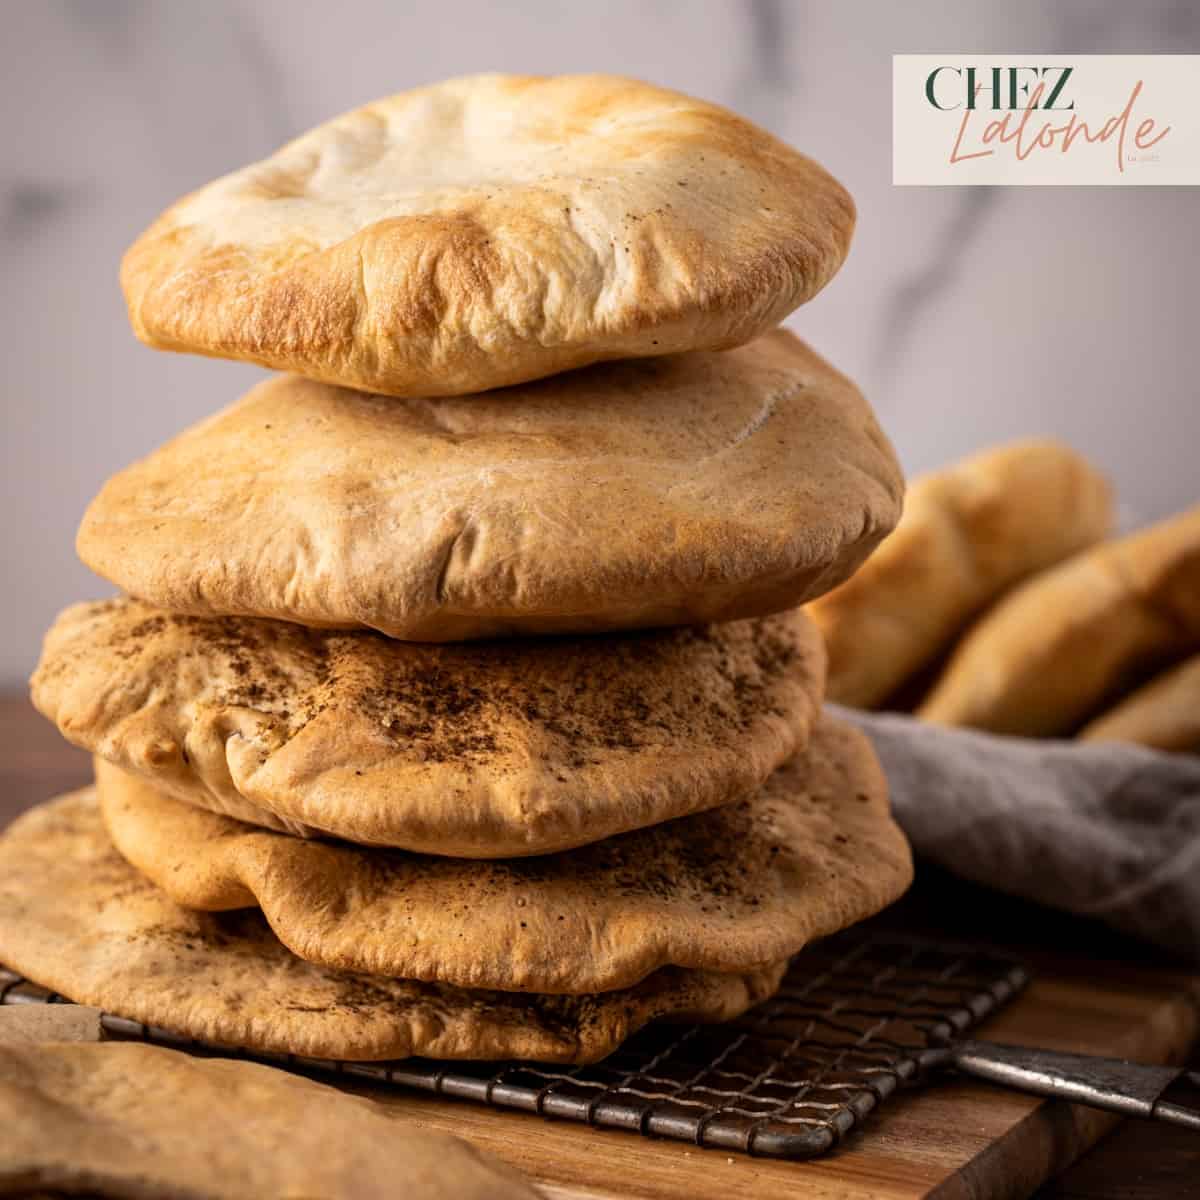
Restaurant-style Homemade Air Fryer Pita Bread
As you’ve journeyed through my culinary explorations with many Mediterranean-style dishes such as Sous Vide Pork Souvlaki, homemade Hummus, creamy air fryer Baba Ganoush, tangy Tzatziki Sauce, flavorful Mediterranean yellow rice, juicy Shish Tawook, flavorful Kofta Kebabs, and succulent Air fryer Chicken Shawarma with delicious Lebanese garlic sauce (Toum), you might have noticed one vital component missing from this vibrant tapestry—the perfect Pita bread!
Today, I’m thrilled to fill this gap by sharing my tried and tested restaurant-style homemade air fryer Pita bread recipe, lovingly crafted for your enjoyment.
Disclaimer Notice: This website contains affiliate links. If you make a purchase through these links, I may earn a commission at no extra cost to you. I only endorse products or services I believe will be valuable to my readers. I appreciate your support.
Alright, let’s get real here. I’ve utterly relied on store-bought Pita bread and never bothered making it from home. But after sharing many of my mouthwatering Mediterranean dishes, I knew I needed to step up my game and make my pita bread recipe at home. I was determined to recreate that restaurant-worthy flavor, and that’s when my Pita bread-making experimentation began. After countless trials and errors, fine-tuning ingredients and proportions later, I’m thrilled to say I’ve nailed it! I can’t wait to share my perfected Pita bread recipe with you so that you can create your personalized Mediterranean feast at home!
Recipe Snapshot
EASE: Easier to make than you might think
PROS: Tasty fresh and you can say goodbye to stale store-bought pita.
CONS: It takes time and patience to make.
WOULD I MAKE THIS AGAIN? Absolutely. I will only make my own pita from scratch from now.
Why you’ll love this recipe?
Convenience and Ease:
Traditionally, pita bread cooks in a clay oven at a high temperature of about 475 to 500F. However, with the help of an air fryer, it simplifies and shortens the cooking process. It only requires minimal effort and offers consistent results.
Flavorful and Crispy Results:
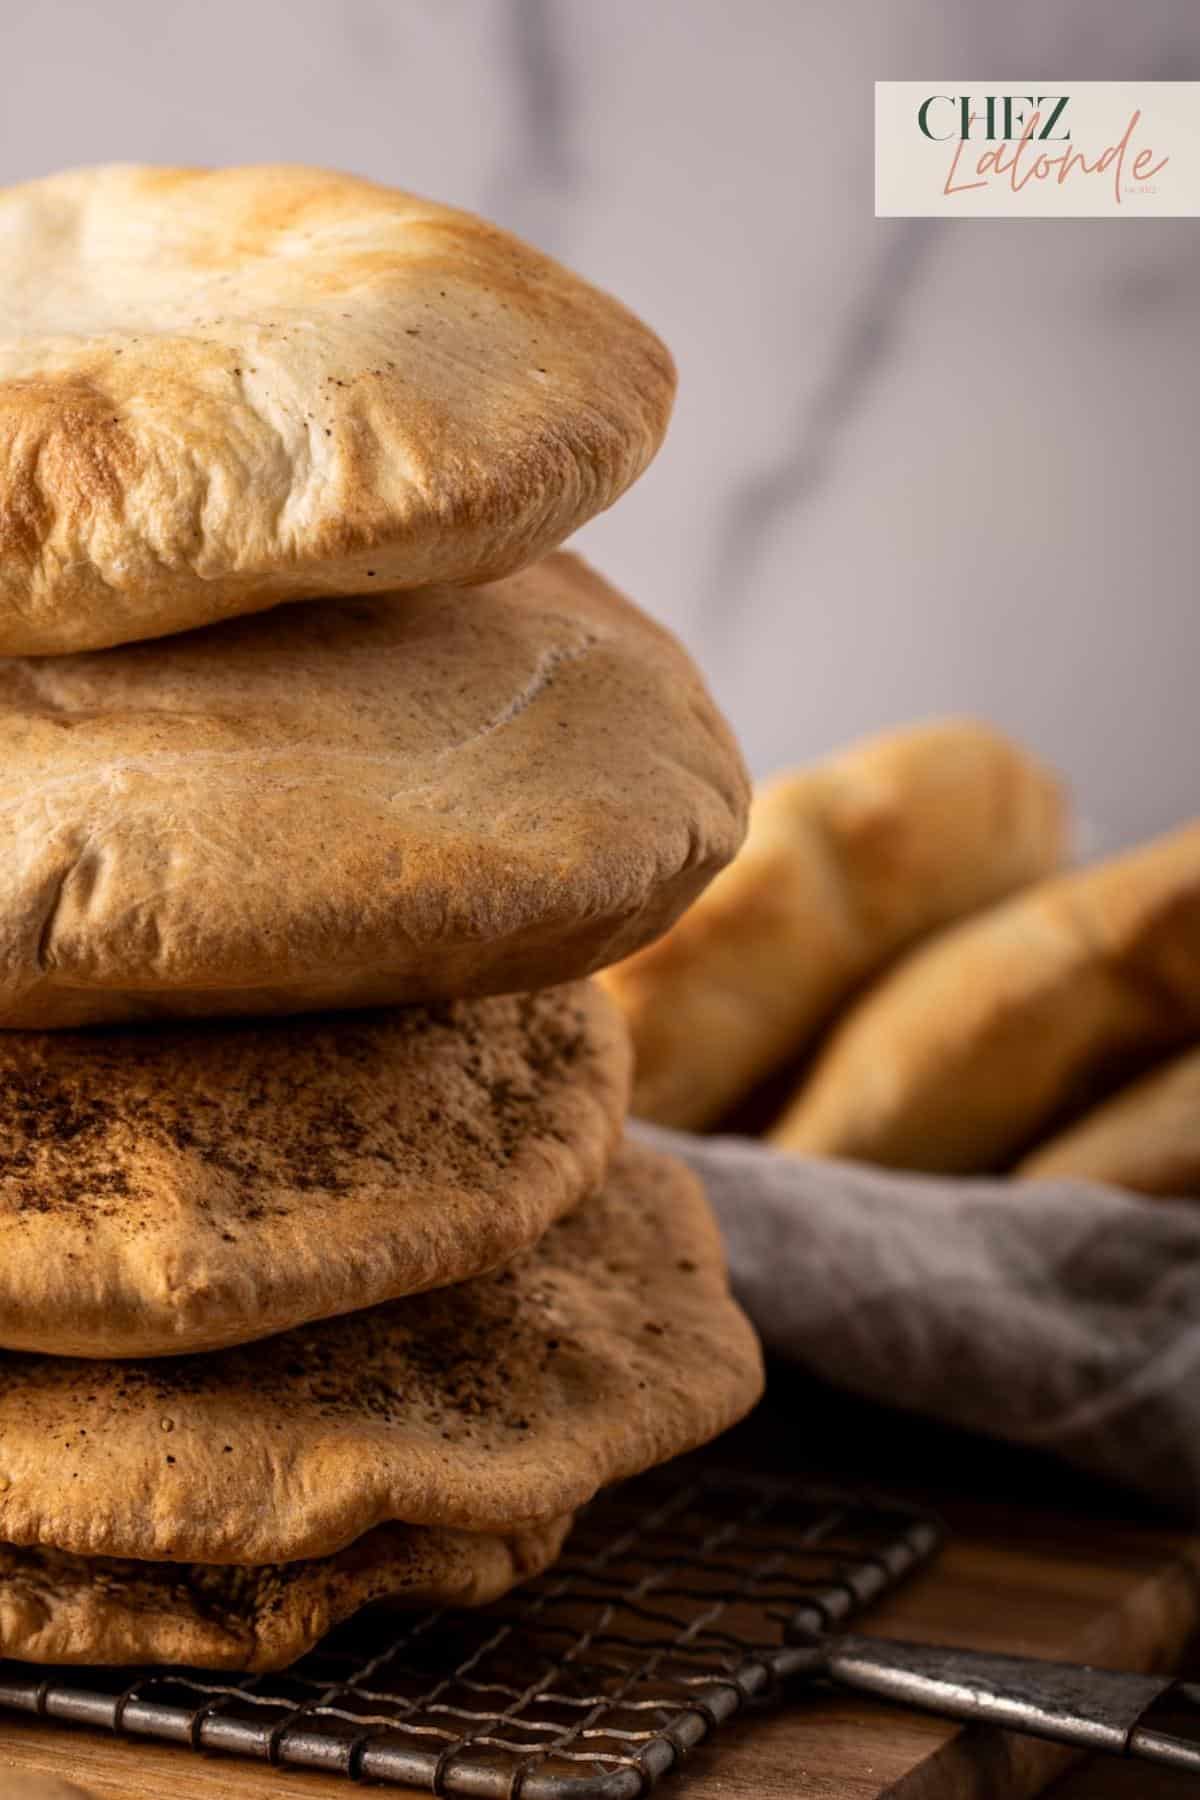
This recipe promises irresistibly restaurant-style pita bread with a perfect balance of textures—soft interior and buttery-crisp edges. The final product will make you say goodbye to store-bought pita forever.
Versatility and Customization:
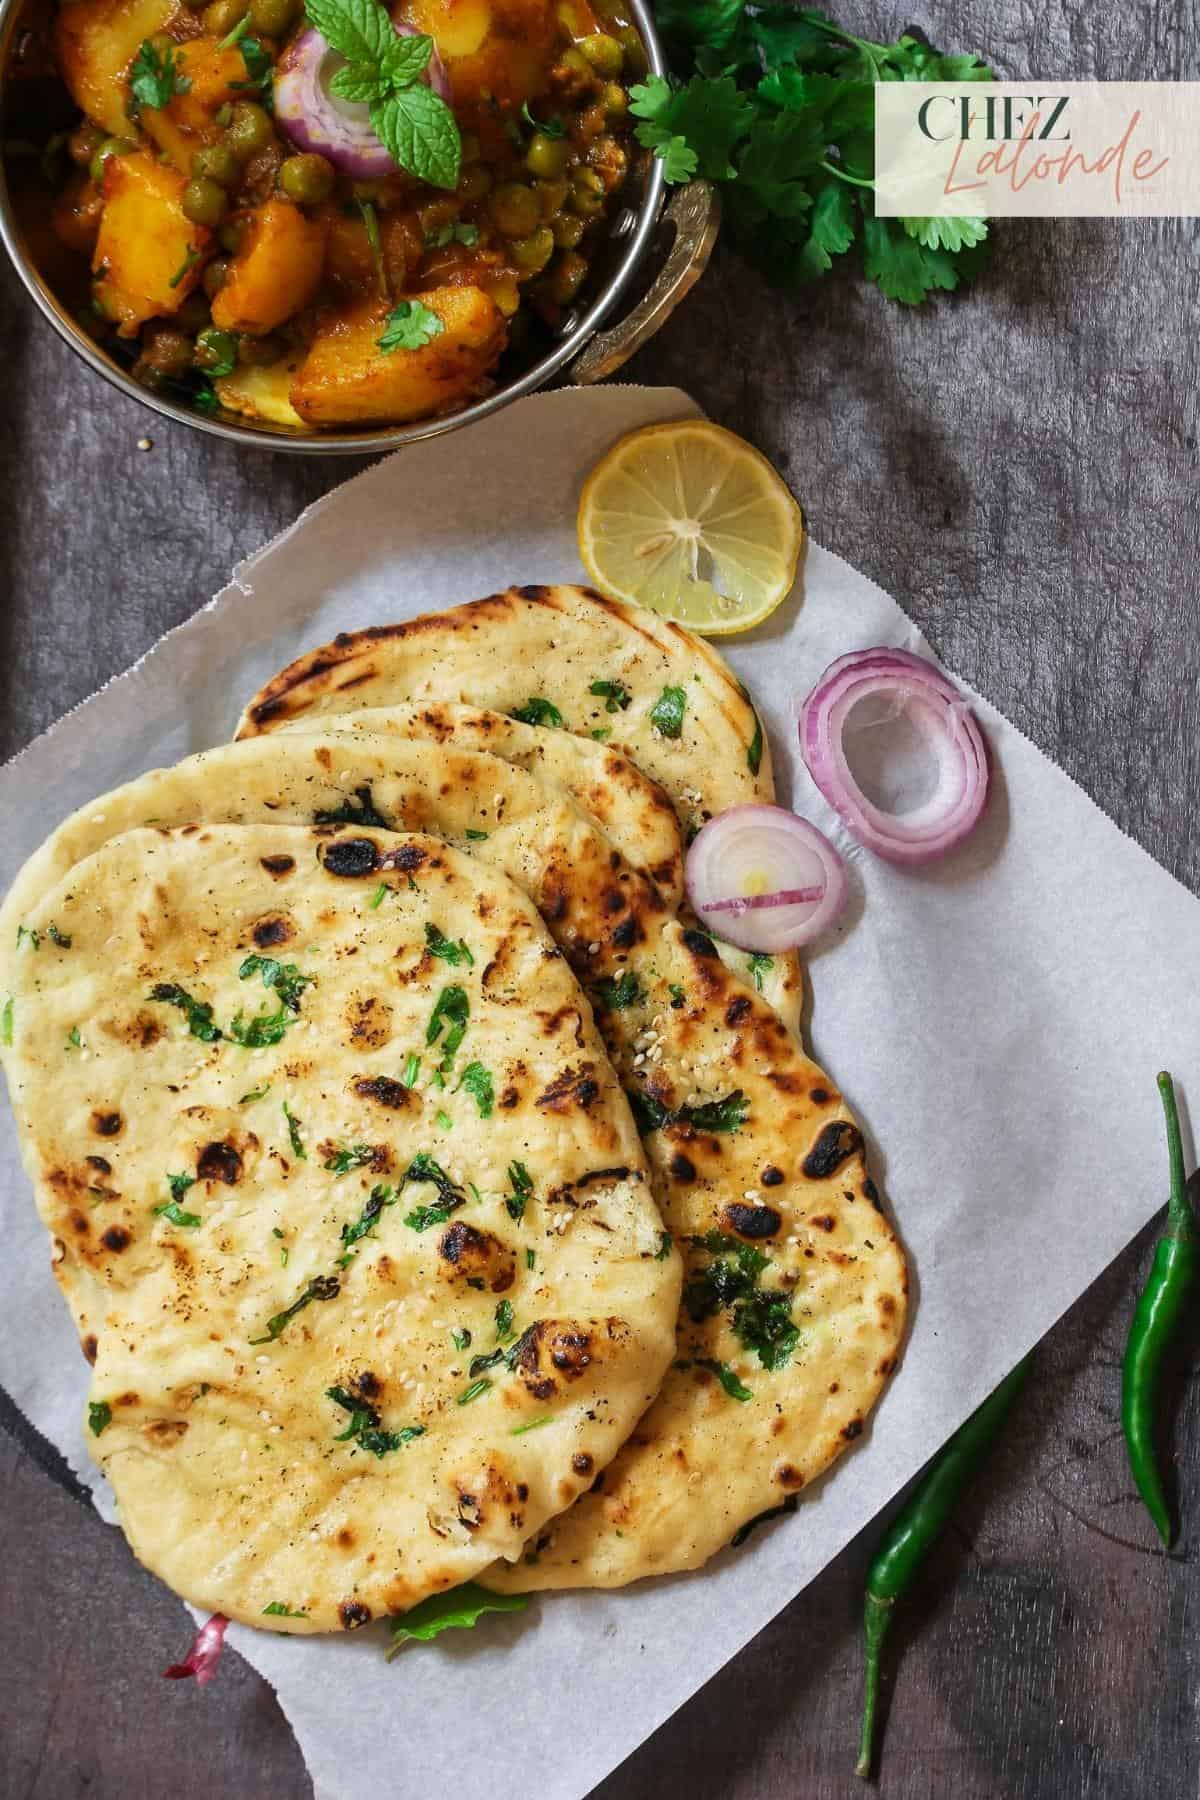
The appeal of this air fryer pita bread recipe extends beyond just the bread itself. This bread can pair with a wide array of fillings and toppings. Whether you prefer a classic Greek Souvlaki, a flavorful chicken Shawarma, Turkish chicken Kebabs, or various Middle Eastern-style dips, this recipe lets you get creative and explore your flavors.
What is a Pita Bread?

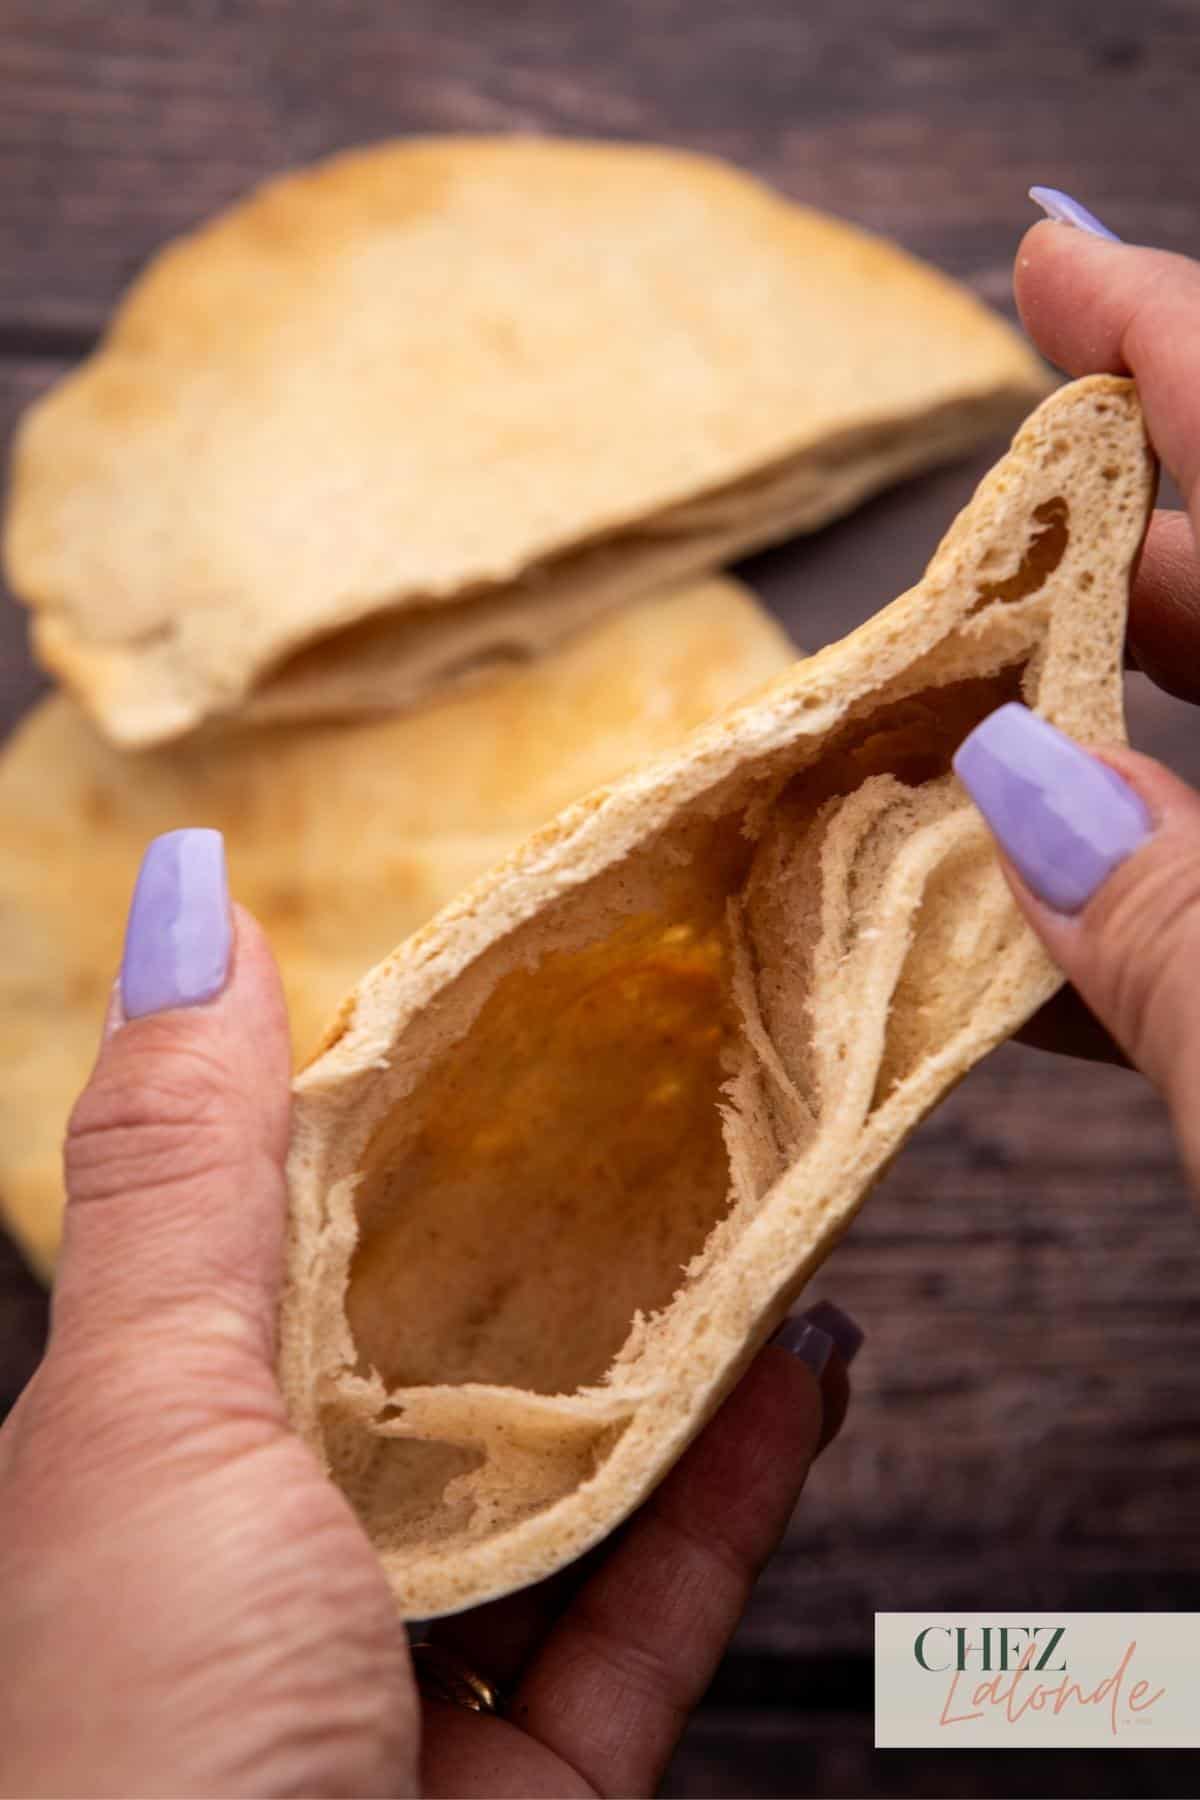
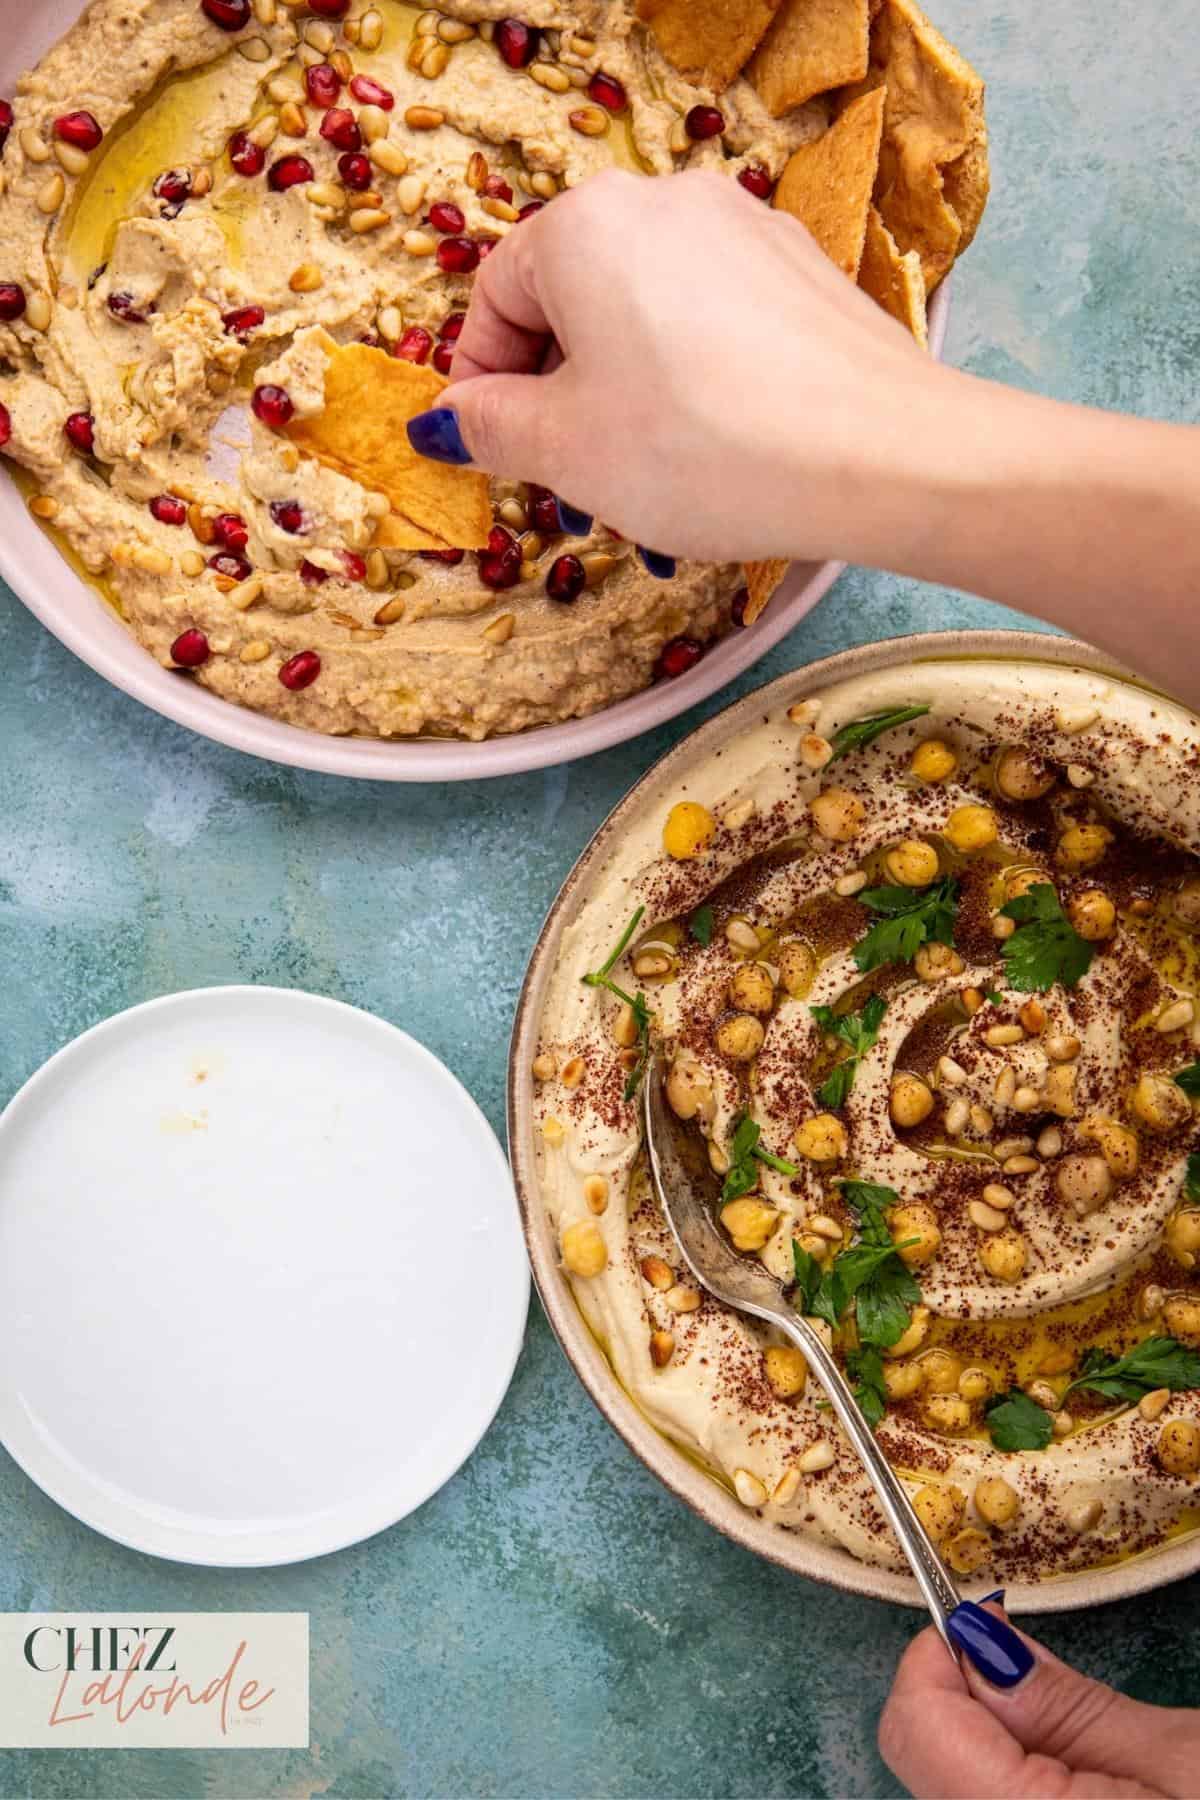
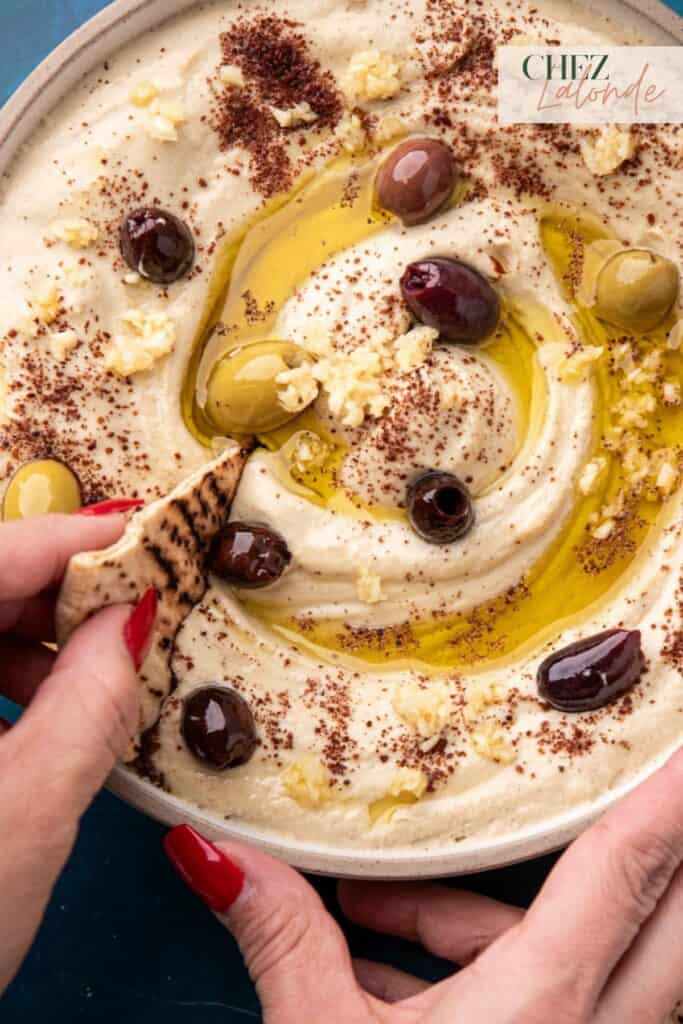
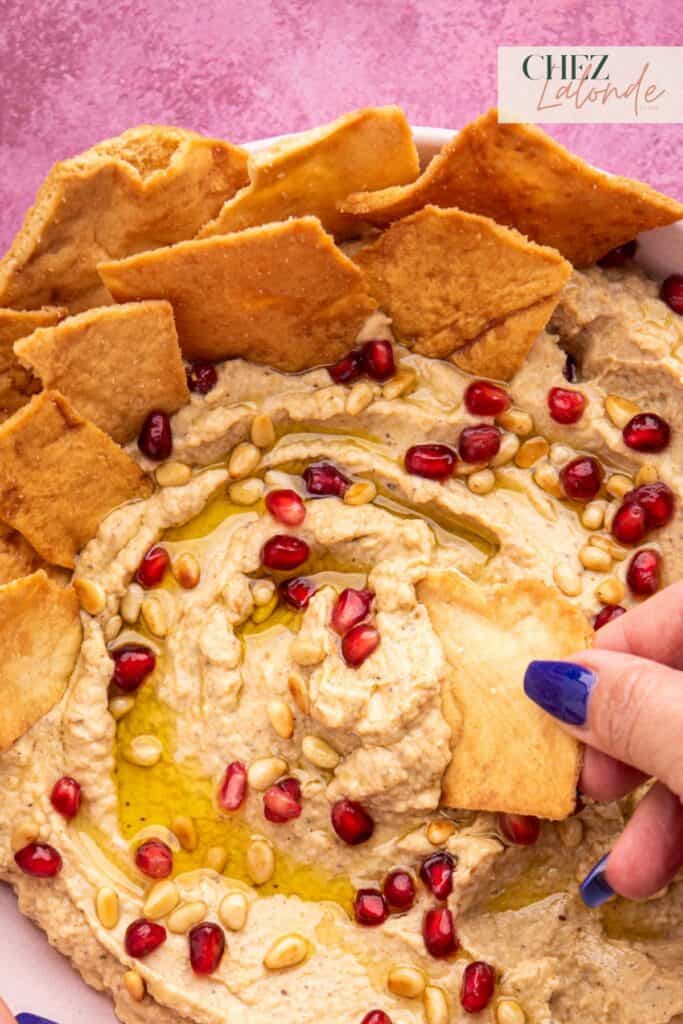
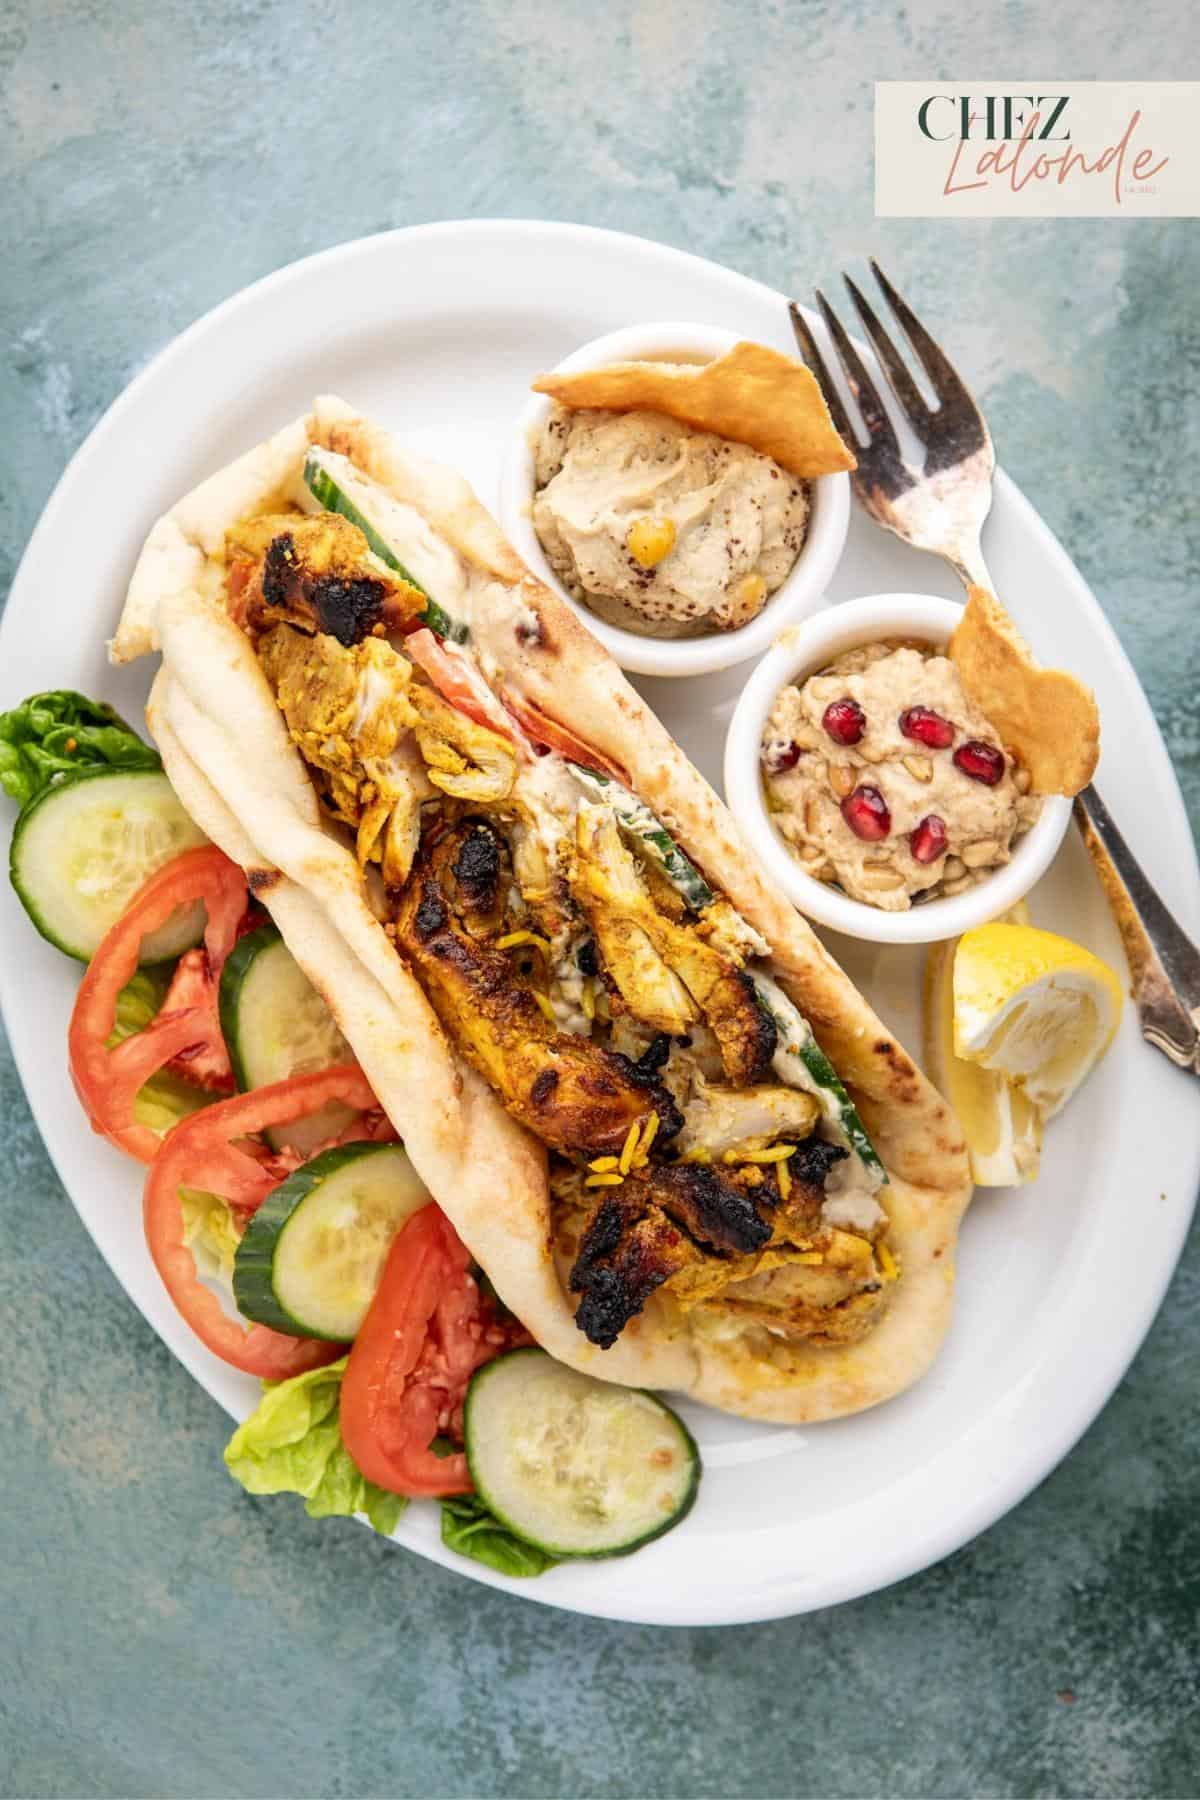
Pita is a round puffy flatbread made with simple flour, sugar, water, yeast, salt, and olive oil. Its defining feature is the “pocket” formed during baking as steam puffs up the center. Traditionally, it’s used to scoop up savory dips like Lebanese Toum sauce, Tzatziki, Hummus, or Baba ganoush, while others fill it with mouthwatering grilled meats, veggies, and tangy yogurt sauces, creating delightful pita sandwiches. Beyond its deliciousness, pita serves as an edible utensil, perfect for holding meats and veggies on the go!
Where did Pita bread originate?

Pita bread is a staple in Mediterranean cuisine originating in the Middle East. It has a rich history dating back thousands of years. It is renowned for its unique characteristics and versatile uses. Over time, it spread across the Middle East, becoming an essential part of the Mediterranean diet and culinary culture. Throughout the centuries, pita bread has found its way into various Mediterranean cuisines, adapting to regional preferences and becoming a fundamental accompaniment to many dishes.
What does pita bread taste like?
Pita bread has a mild and slightly nutty flavor with a subtle wheaty taste. The texture is soft and chewy inside, while the outer surface is lightly crispy, especially if it’s freshly baked. The thin, airy pockets during baking contribute to its unique mouthfeel. Pita bread’s neutral taste makes it a versatile accompaniment with various fillings and dips.
Why should you make this recipe with an air fryer instead of other cooking methods?
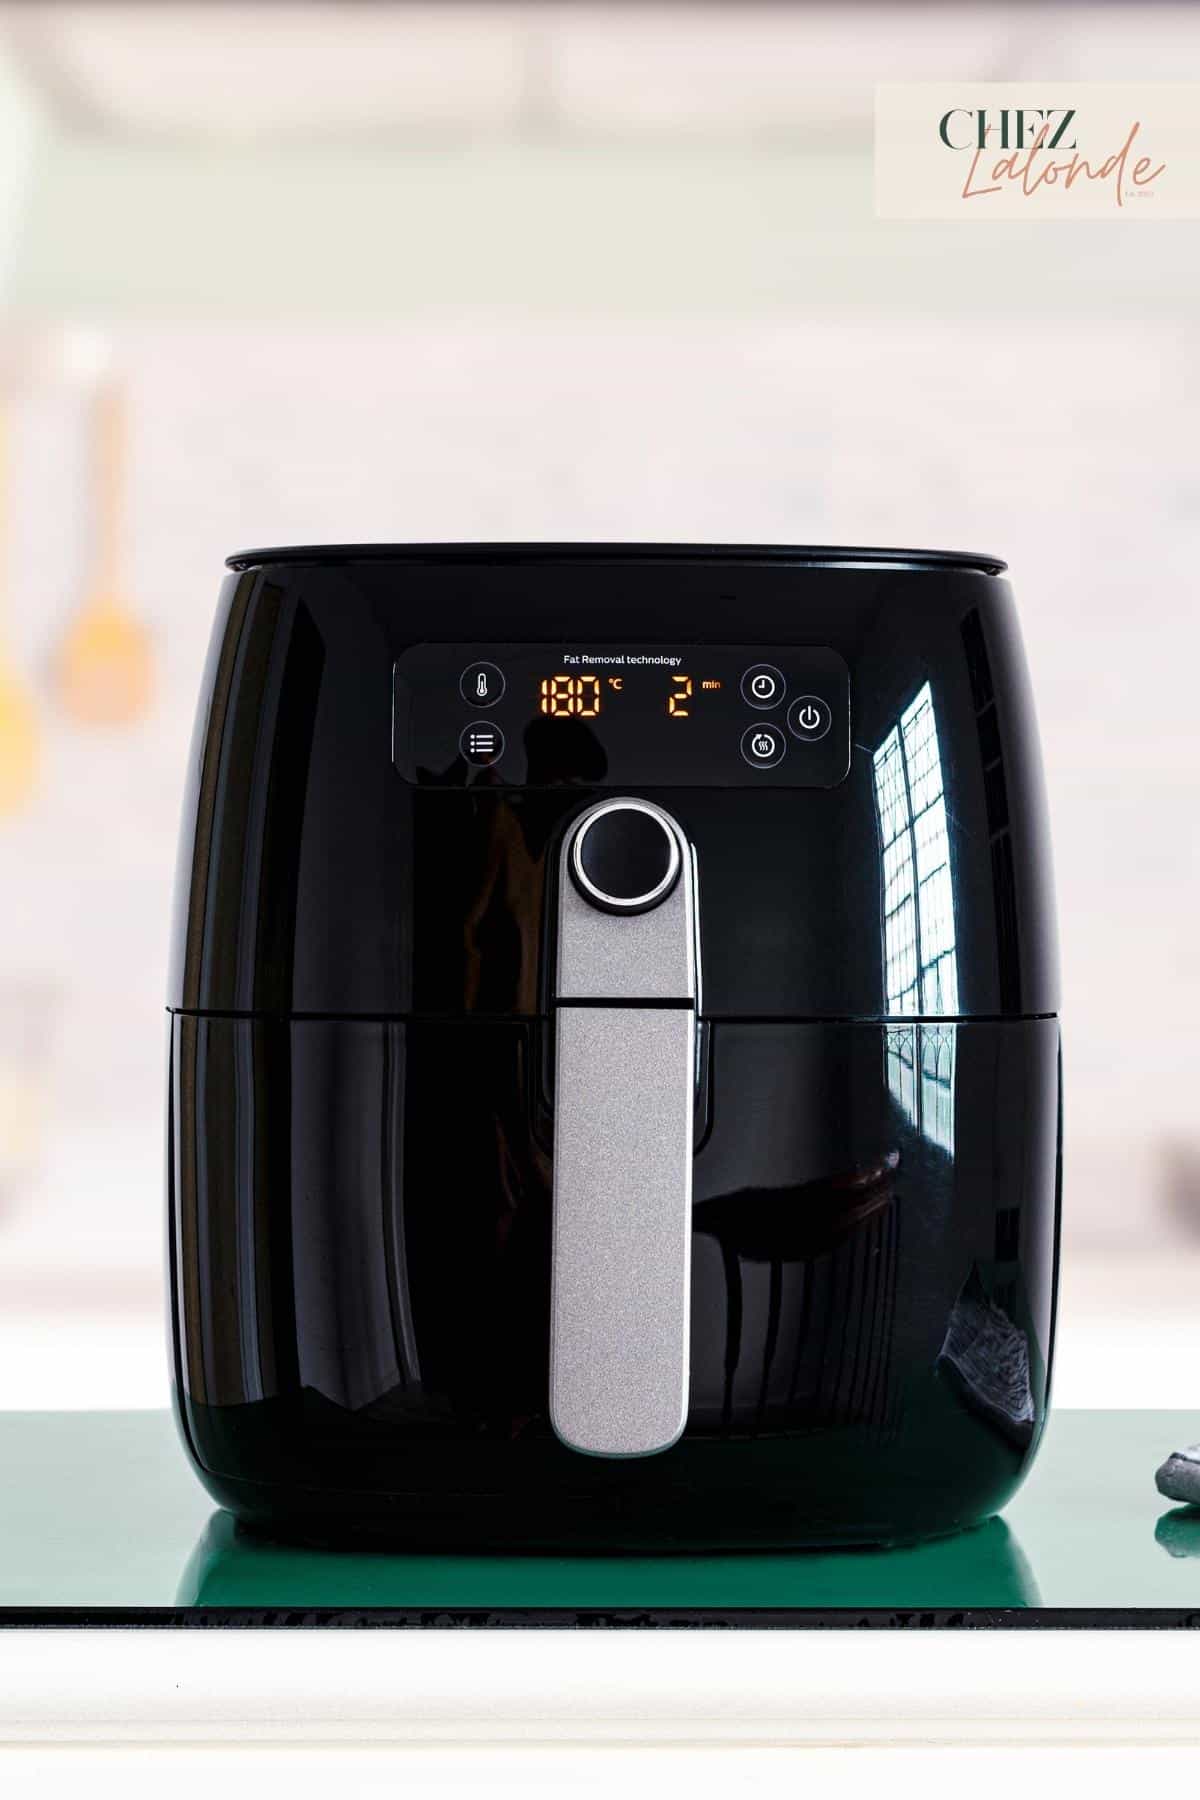
With the air fryer, cooking time is significantly reduced, and the rapid, even circulation of hot air ensures perfectly crispy edges and a soft interior. Each pita bread turns out uniformly golden and delicious, without the concern of uneven browning or undercooked dough.
I am using the one from Williams Sonoma made by Philips, and I love it. You should check it out.
What is the difference between Pita and Naan bread?
Pita Bread:
- Origin: Originates from the Middle East, a Mediterranean cuisine staple with a long history.
- Ingredients: Dough made from flour, water, yeast, salt, and sometimes olive oil.
- Texture: Thinner, chewy, with a subtle nutty flavor, and features a pocket formed during baking.
- Cooking Method: Typically baked in a conventional oven or using an air fryer.
- Culinary Uses: Versatile bread used for scooping dips, wrapping fillings for sandwiches or gyros, or as a base for pizza.
Naan Bread:
- Origin: Traditional bread from the Indian subcontinent, widely consumed in South Asian cuisines (India, Pakistan, Bangladesh, etc.)
- Ingredients: Dough includes flour, water, yeast, yogurt, and sometimes milk or ghee.
- Texture: It has a thicker and fluffier texture, similar to soft bread or flatbread. It may have a slightly charred and blistered appearance.
- Cooking Method: Traditionally cooked in a tandoor (clay oven) at high temperatures, but can be made on a stovetop using a skillet or tawa.
- Culinary Uses: Served as a side dish with curries, stews, Kofta Kebabs, or grilled meats or enjoyed with butter or garlic toppings.
Ingredients that you’ll need to make this recipe:
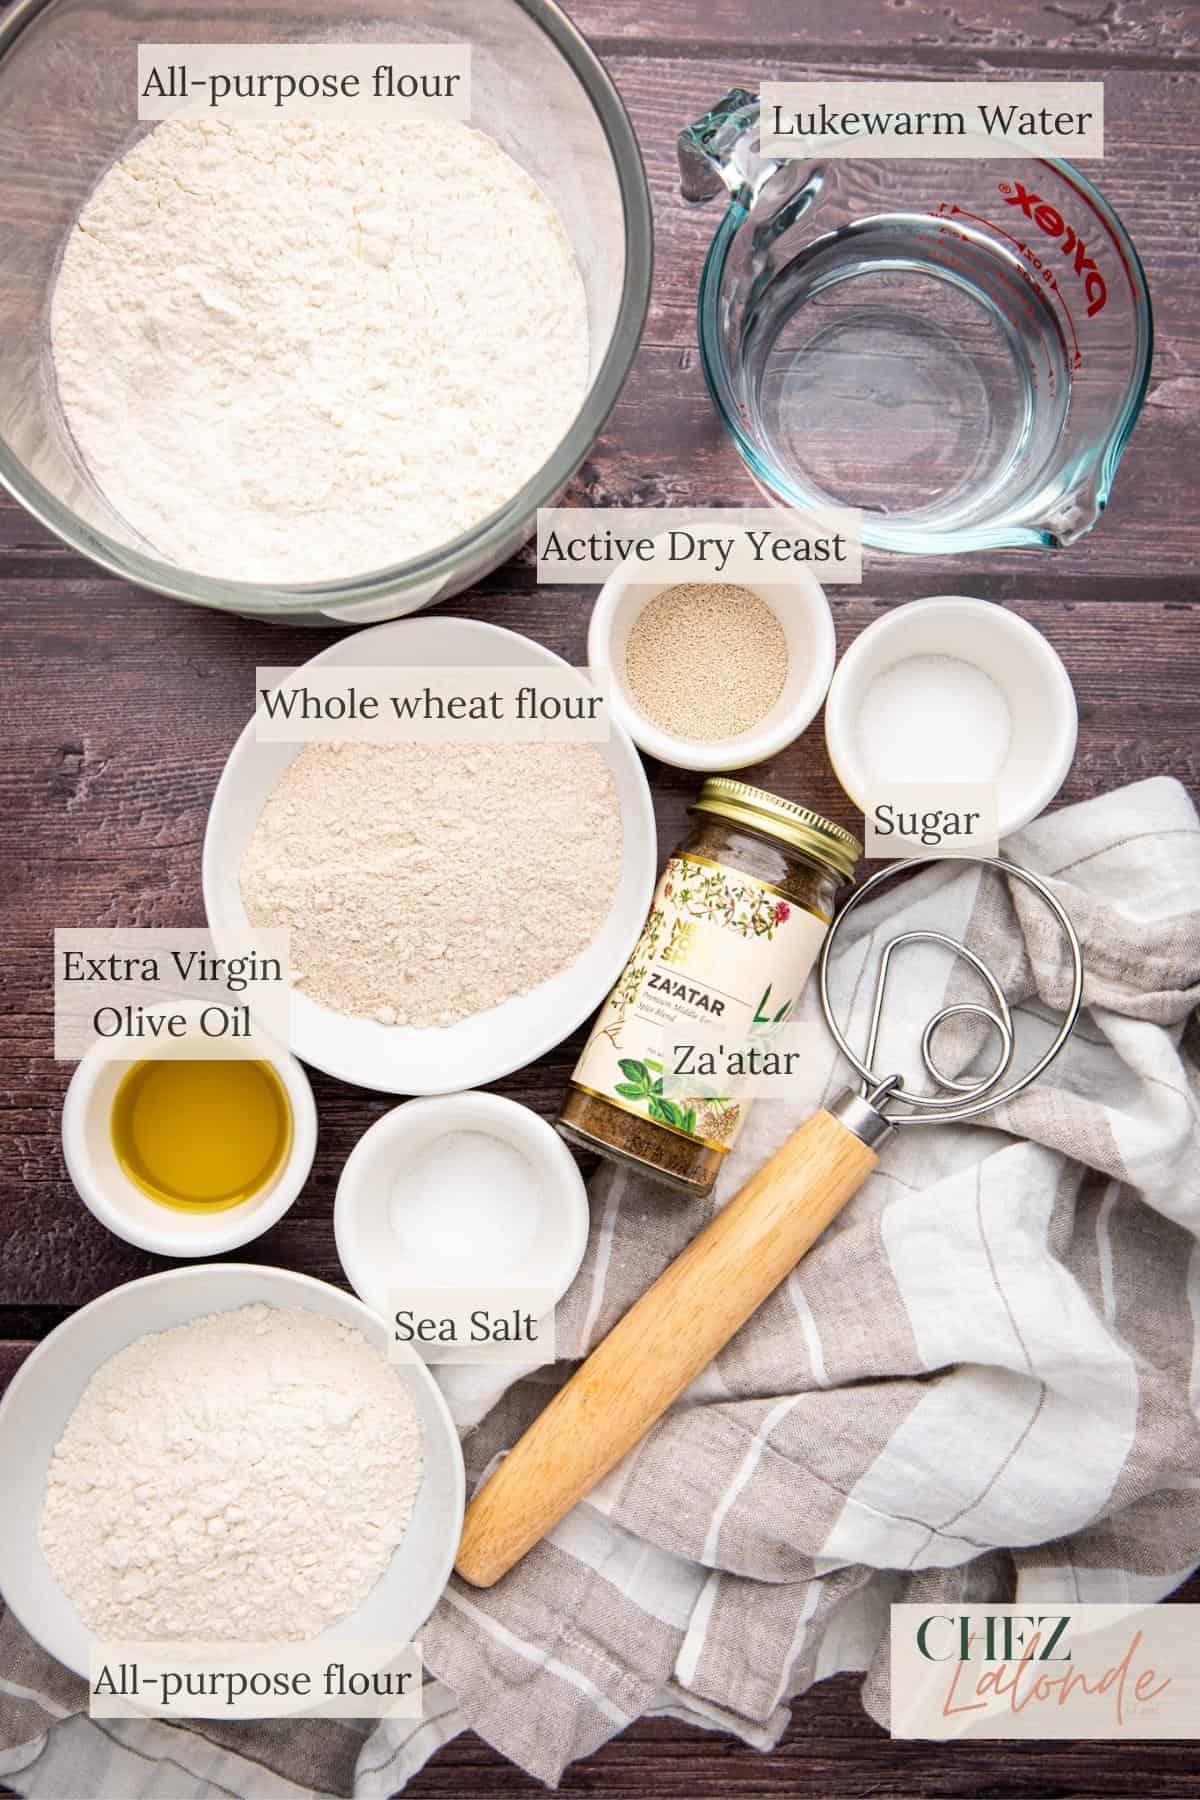
All-purpose flour – Provide the structure and texture of the pita bread.
Whole wheat flour – Add some nutty flavor and provide the structure
Sea salt: Enhances the overall flavor of the dough.
Extra virgin olive oil: Adds moisture and richness to the bread.
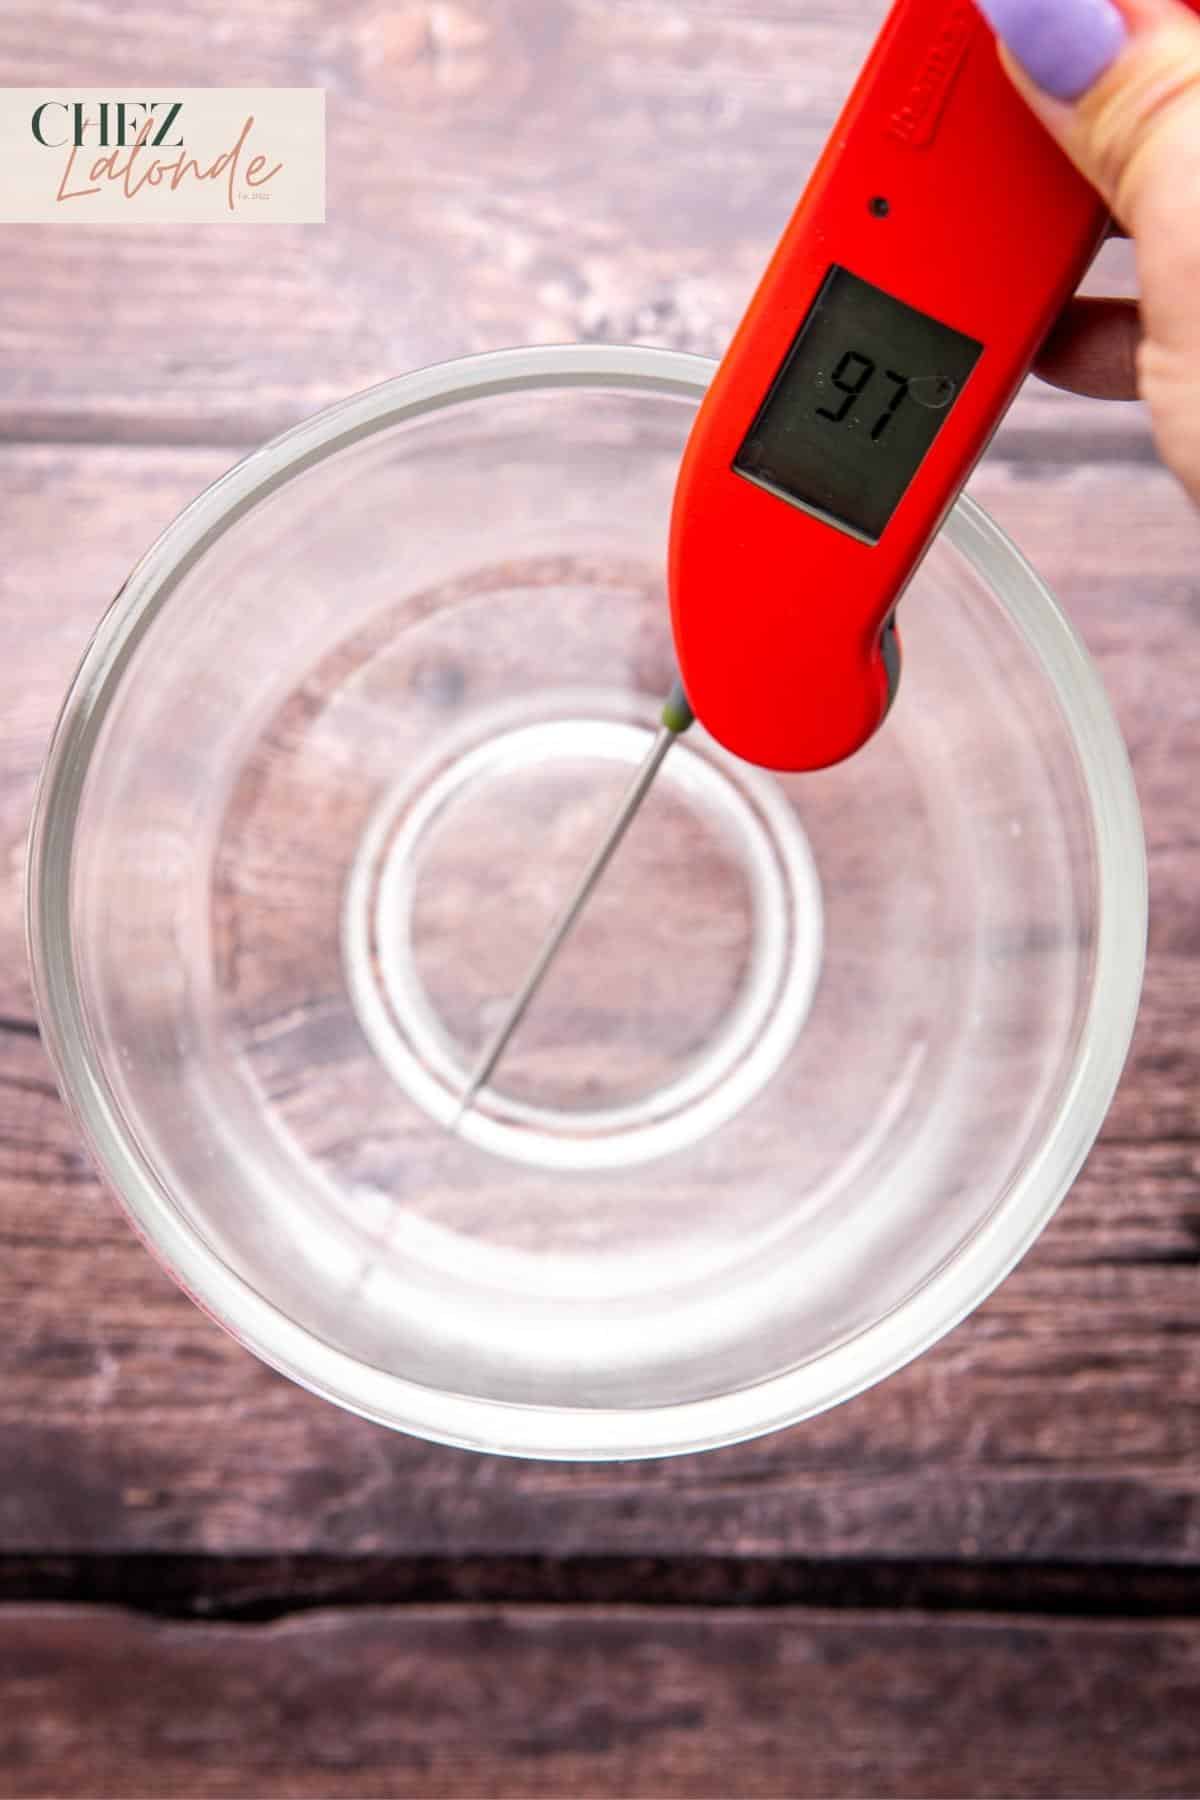
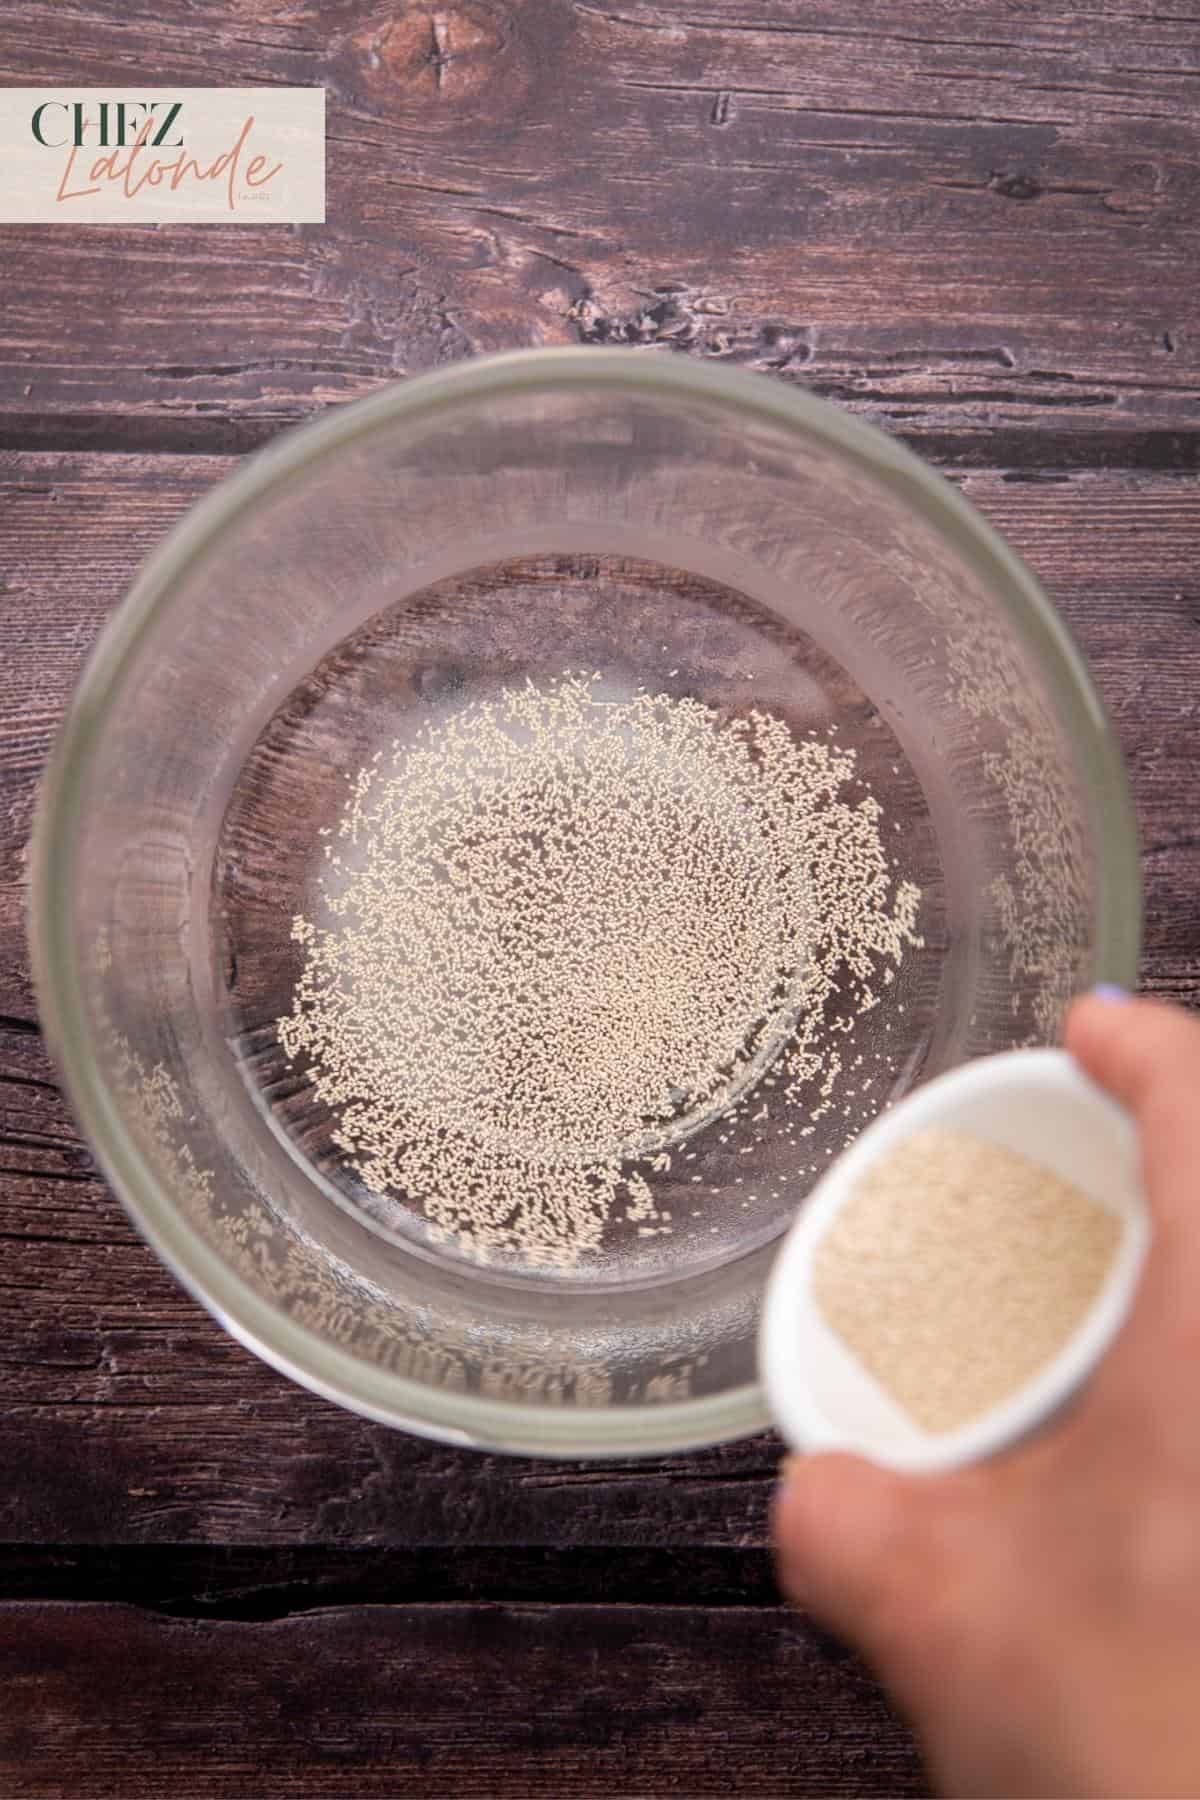
Lukewarm water: Activates the yeast and helps the dough rise. Make sure the water temperature is between 95 to 110F.
Active dried yeast: Leavens the dough, making it light and airy.
Sugar: Acts as food for the yeast, aiding in fermentation.
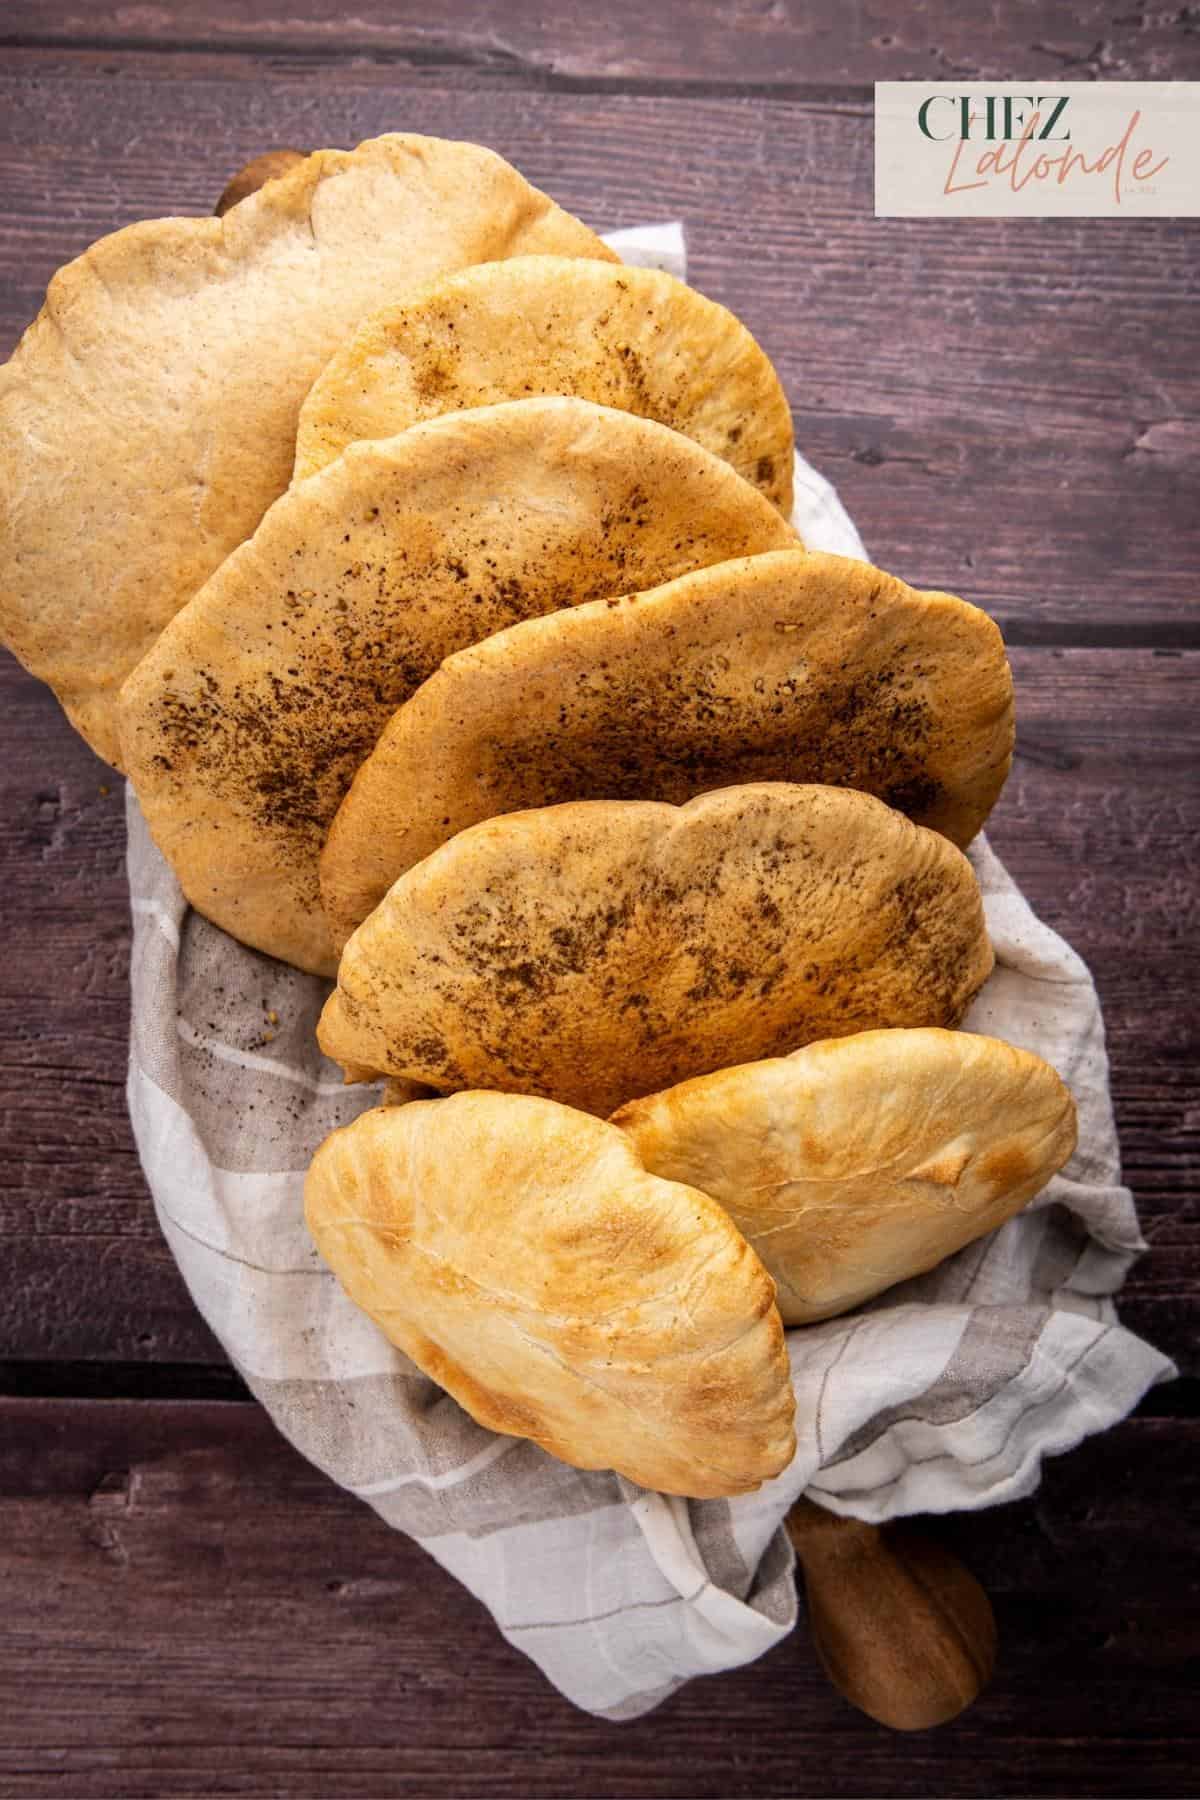
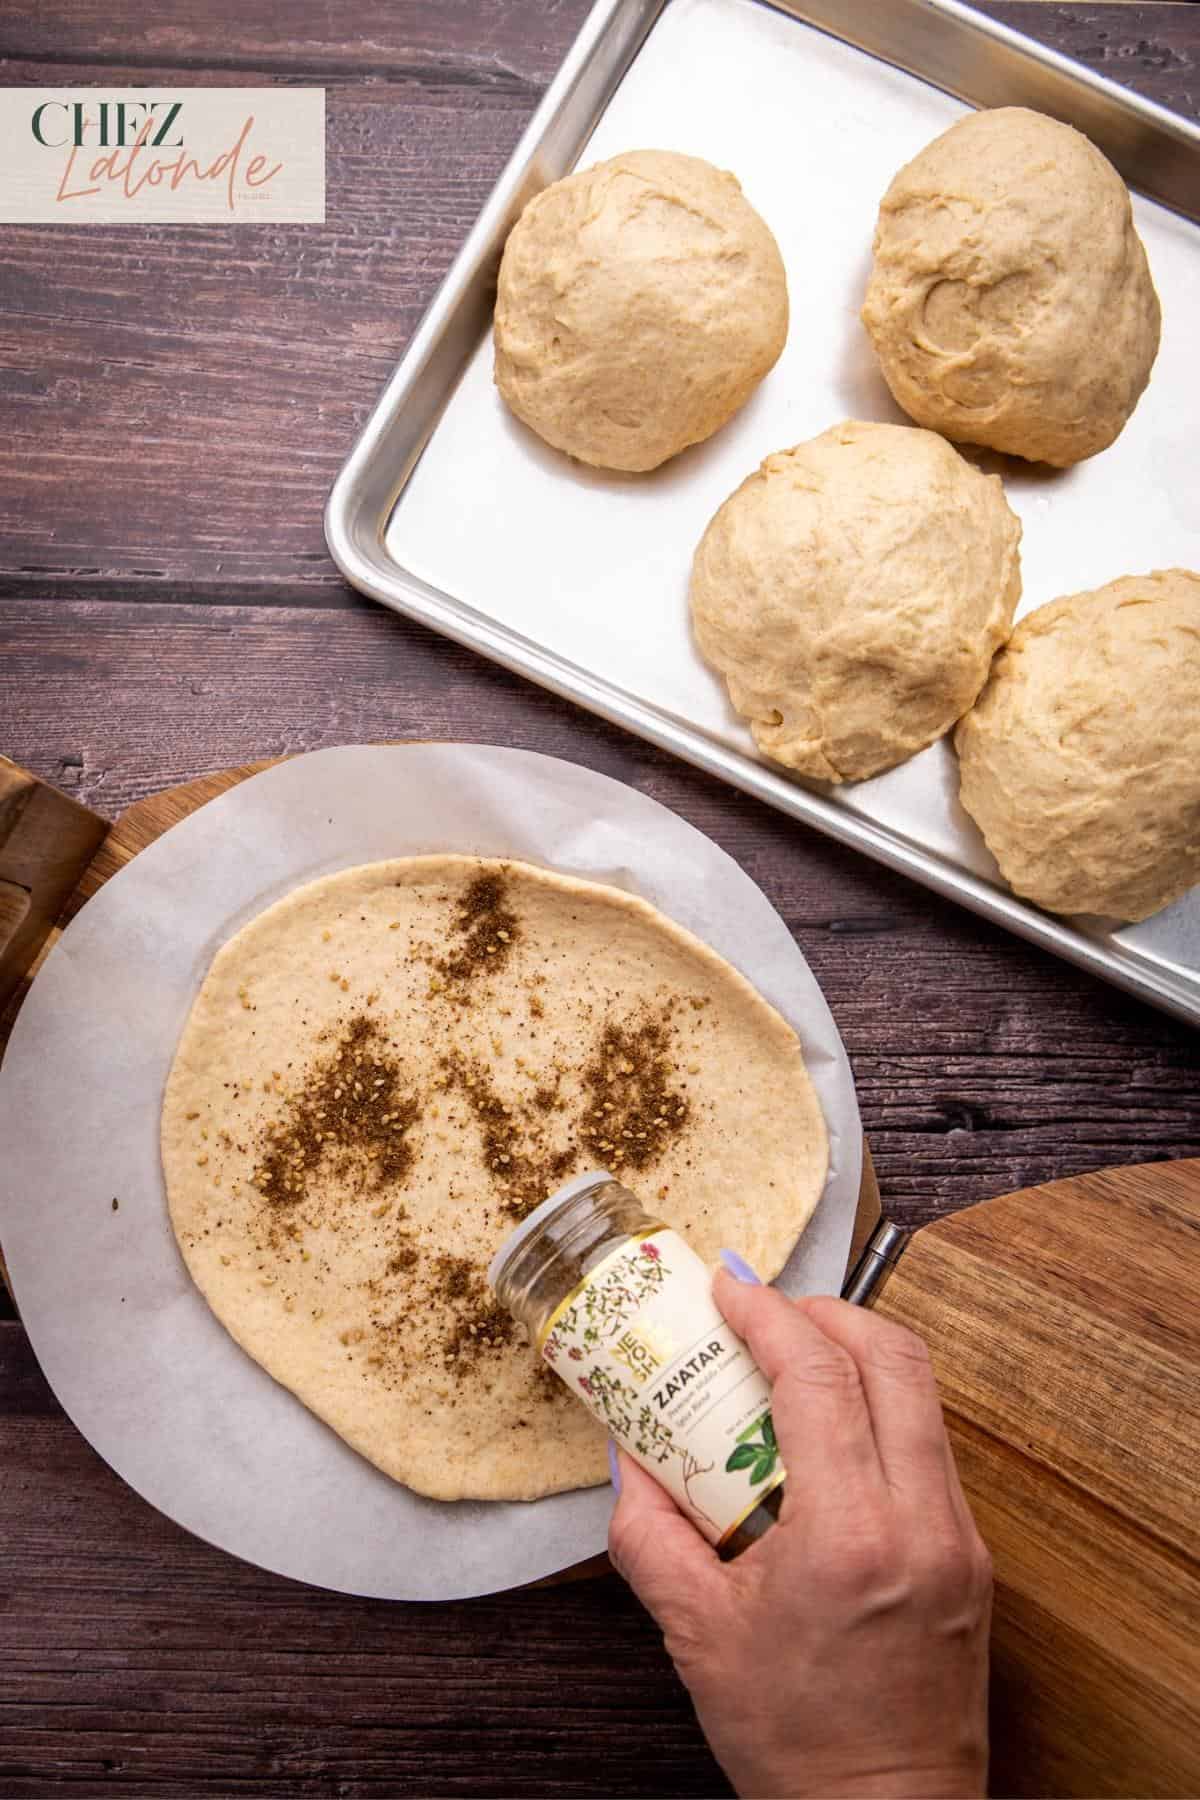
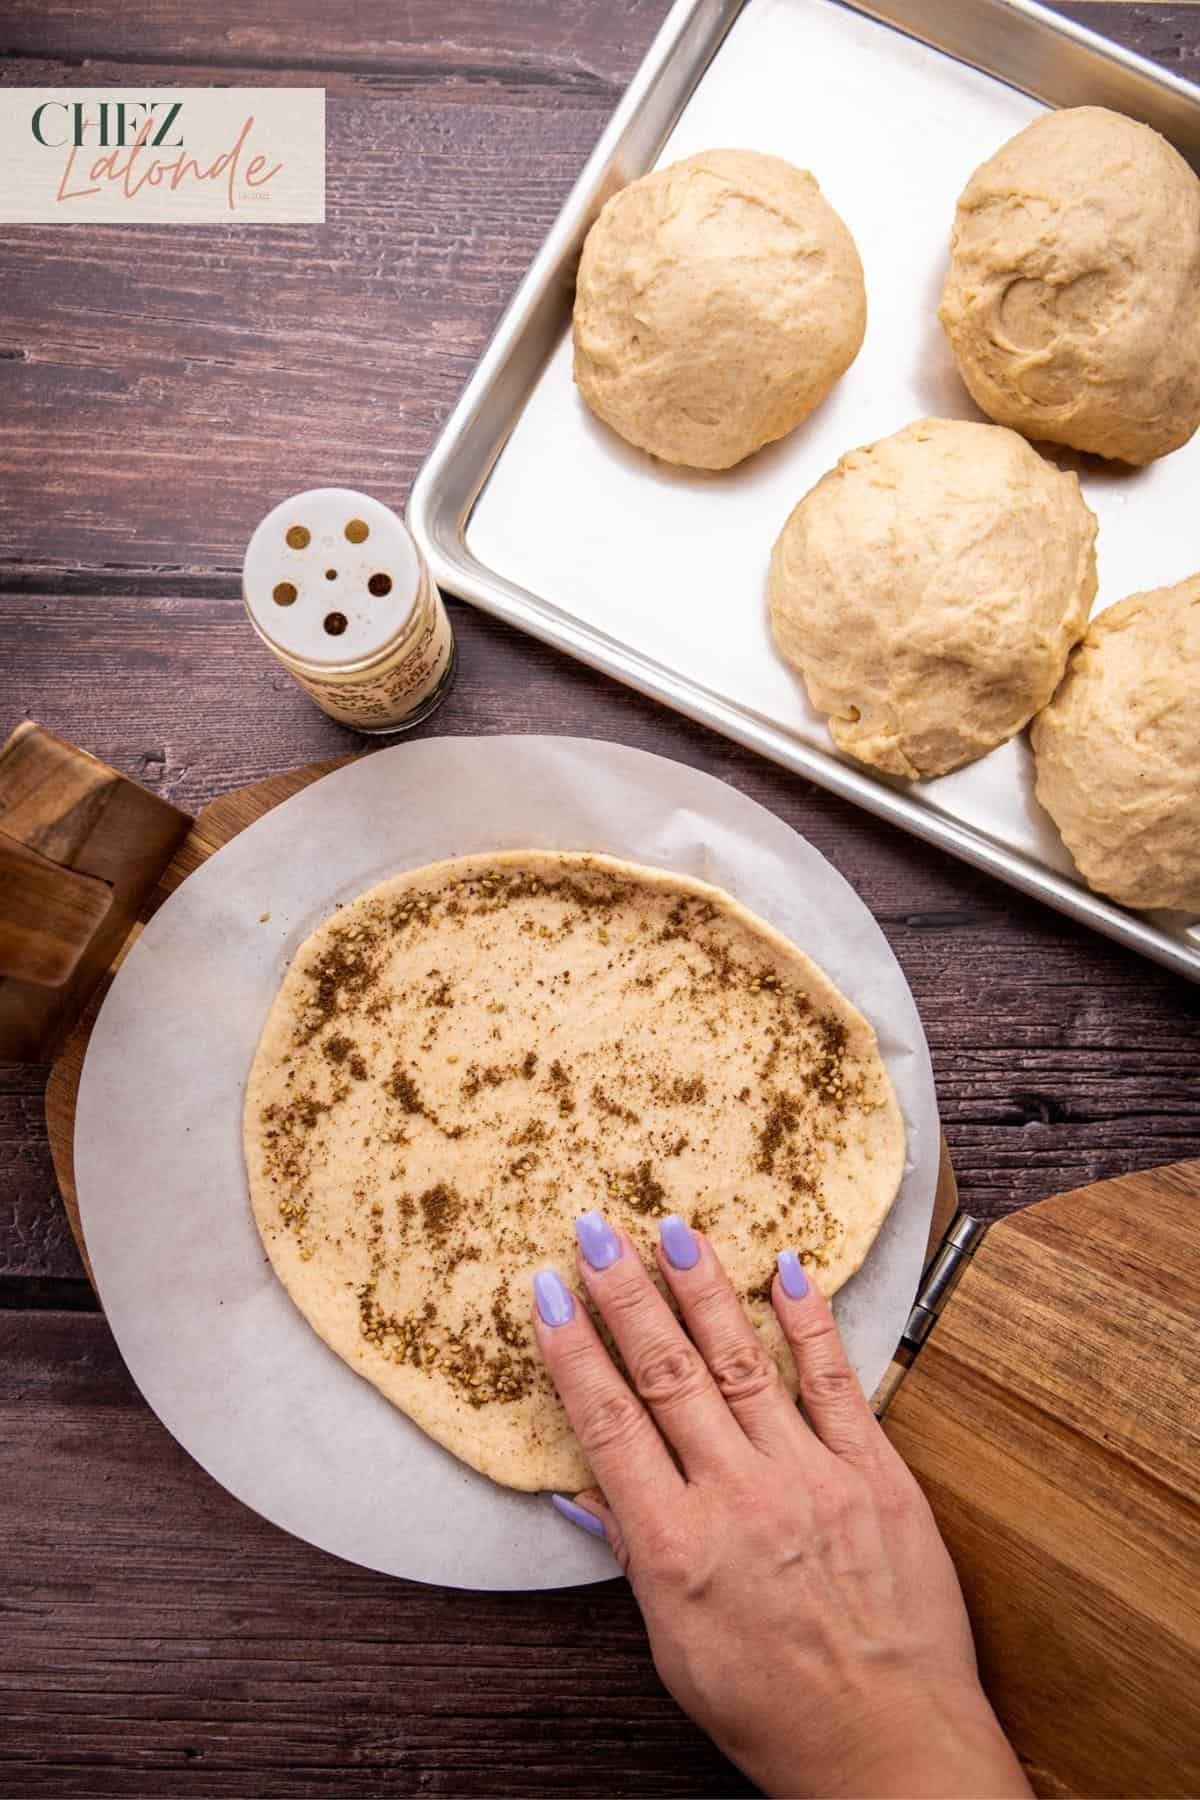
Za’atar: This is a popular Middle Eastern seasoning. It is optional, but I highly recommend adding some to the dough before air frying. It adds such amazing flavors to the pita bread.
Recipe Substitutions and Variations:
Add extra flavors:
Once I press my pita dough on the tortilla press, I enjoy sprinkling a thin layer of Za’atar on top for extra flavor before air frying the dough.
Omit whole wheat flour:
For those without whole wheat flour or who prefer not to use it, substitute it with all-purpose flour.
Other cooking methods:
Explore alternative cooking methods if you lack an air fryer. In the oven, bake at 450-500F for 5 minutes until golden. Use a heavy-bottom cast iron skillet for better puffing and heat retention on the stovetop.
How to make this marvelous Greek-style bread?
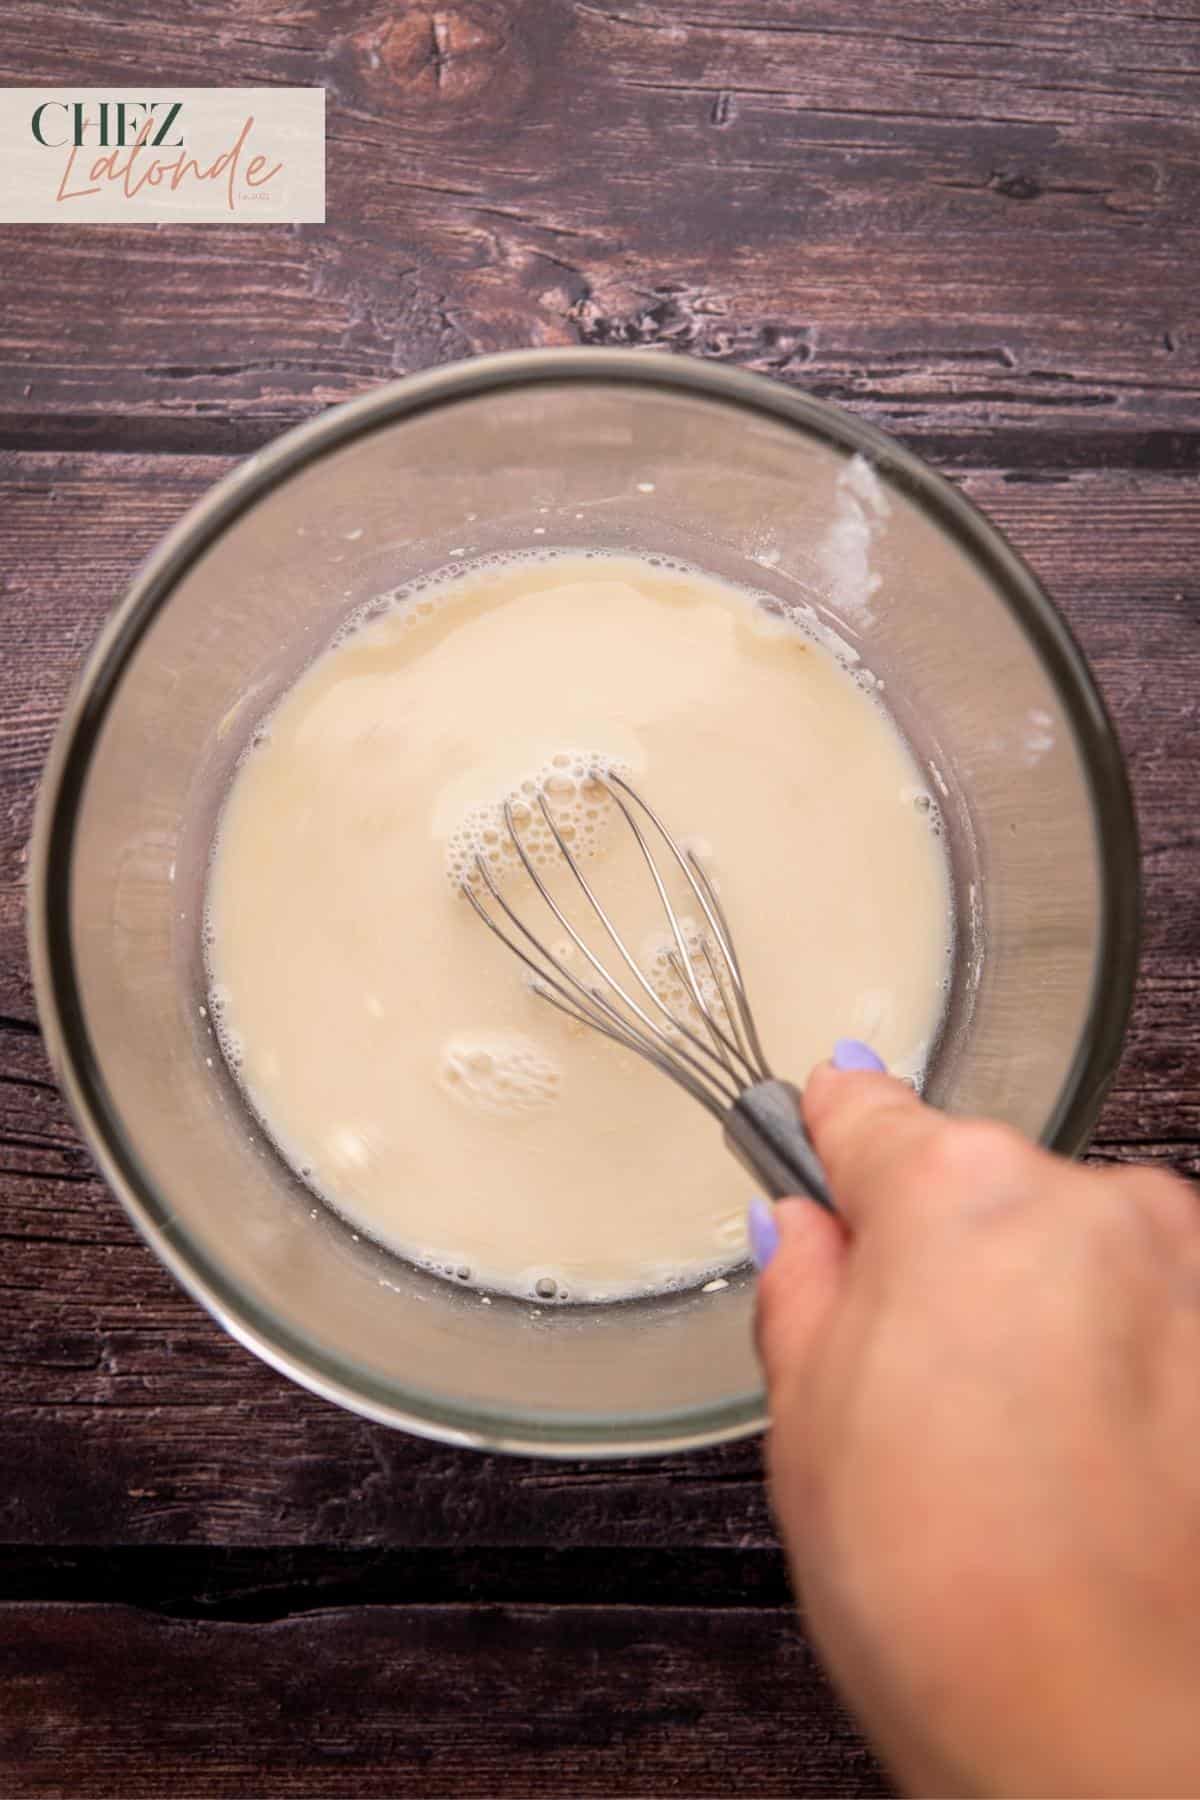
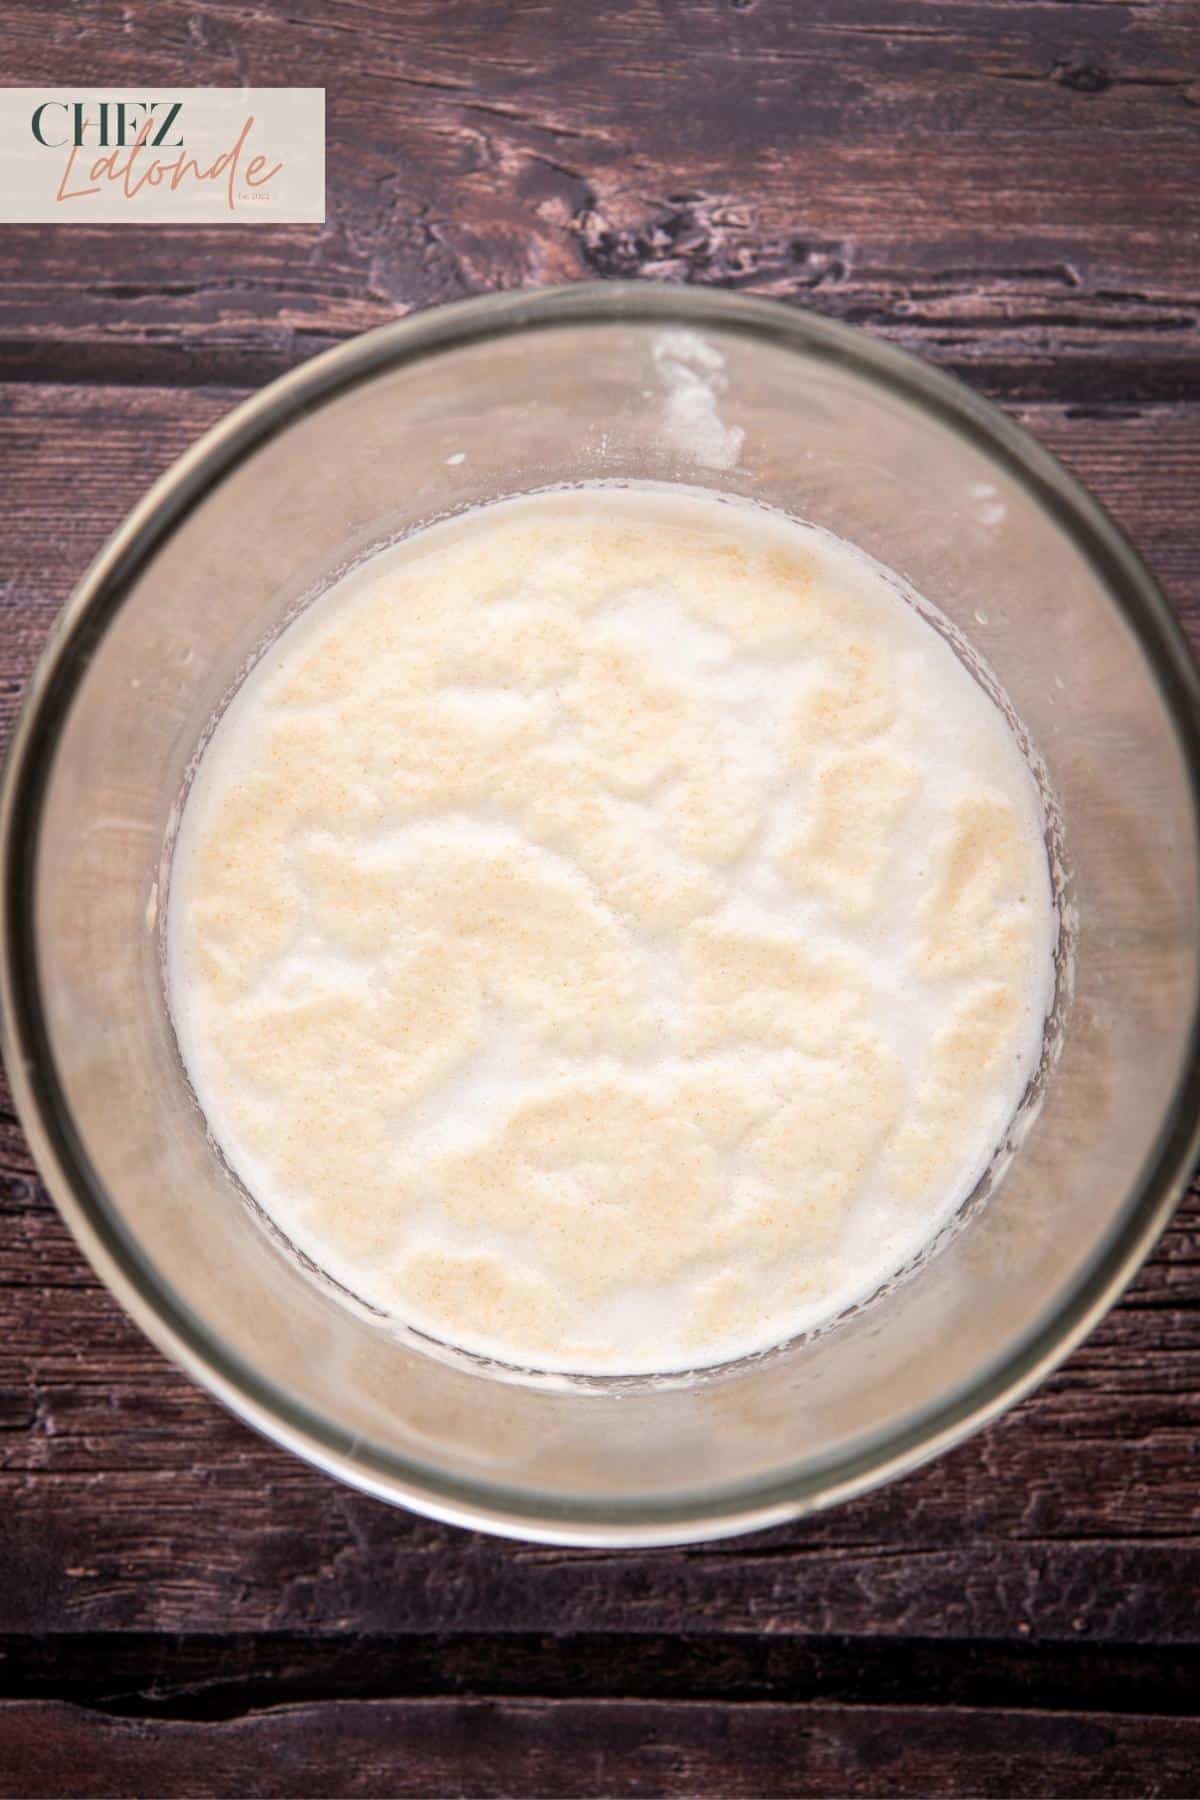
Step one – Active the yeast:
In a fresh bowl, combine 1 cup of lukewarm water (95 to 110F), 2 ¼ teaspoons of active dry yeast (or one packet), 2 tablespoons of sugar, and 2 tablespoons of all-purpose flour. Use a spatula or whisk to mix thoroughly. Cover the bowl with plastic wrap or a clean kitchen towel, and let the mixture activate in a warm spot for 15 minutes.


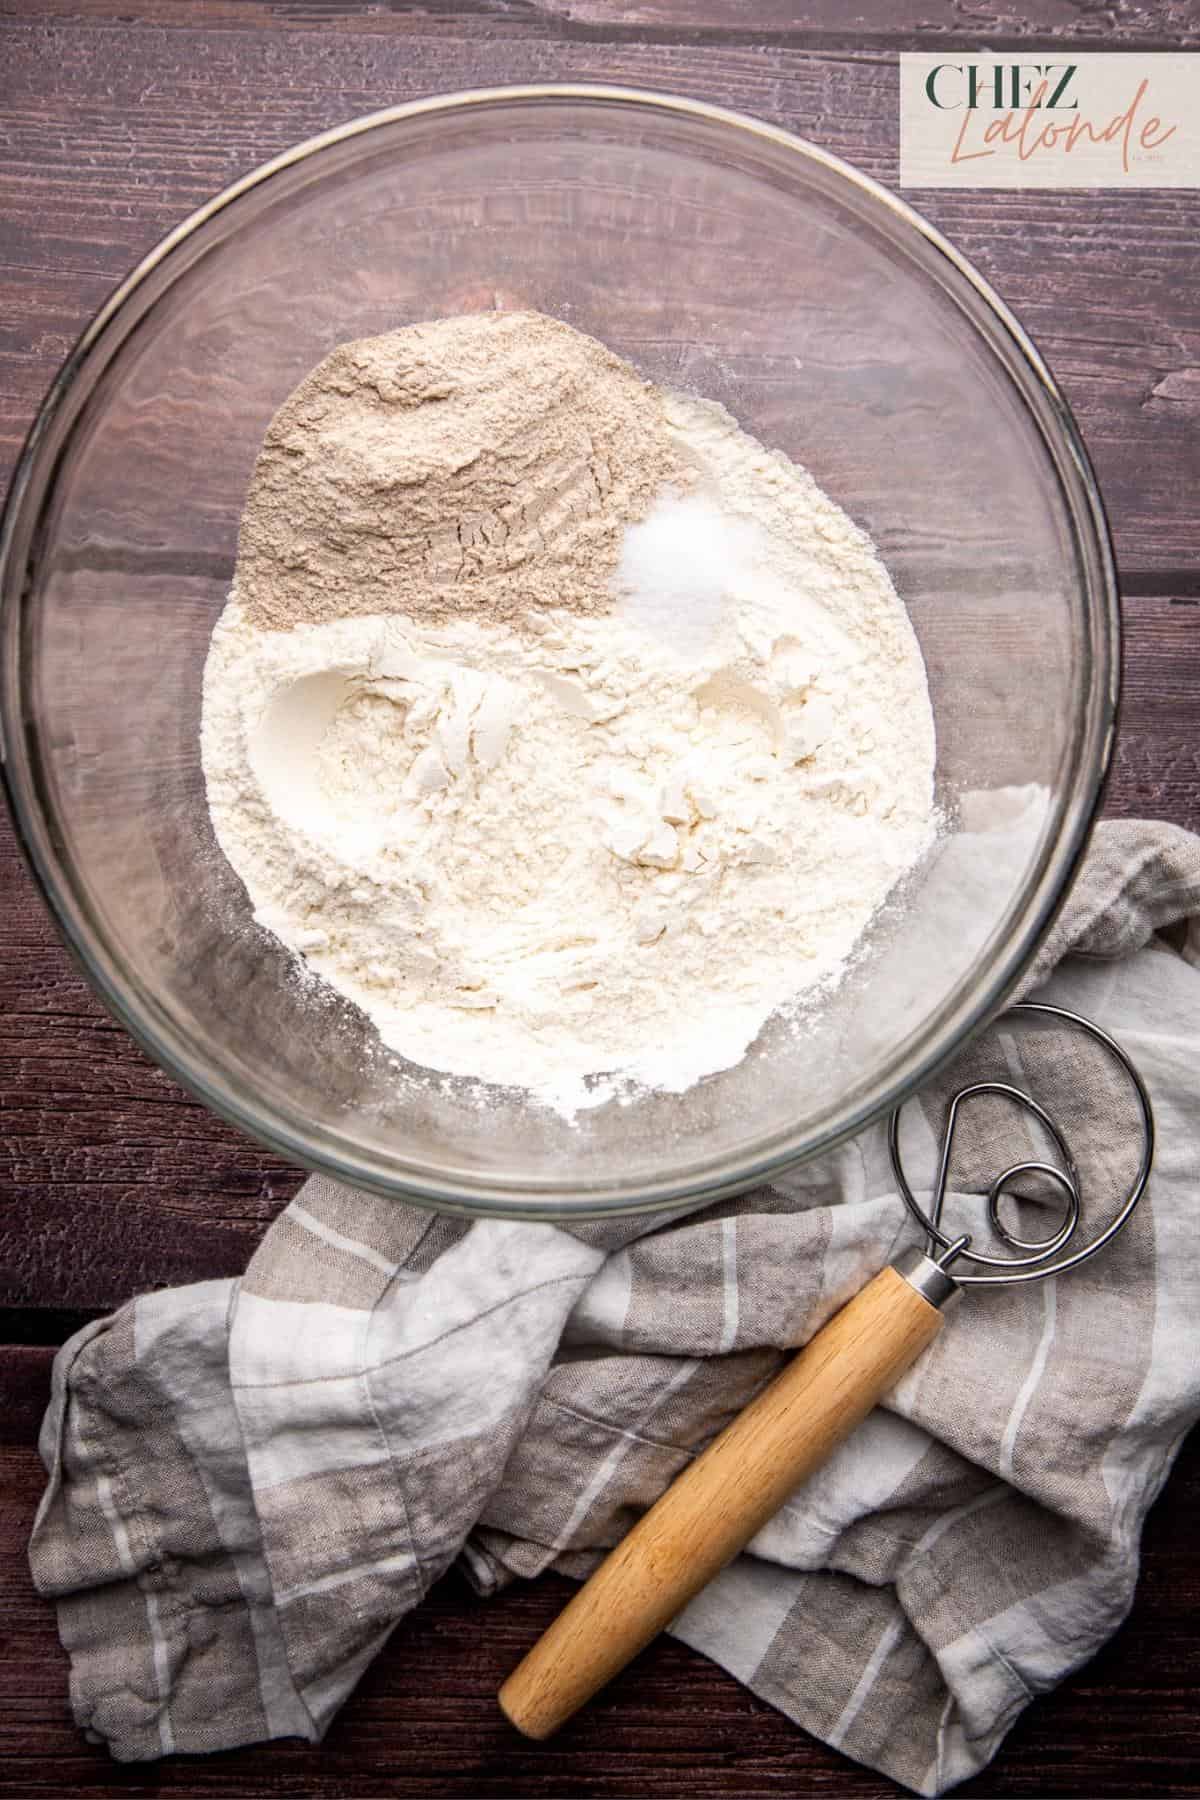
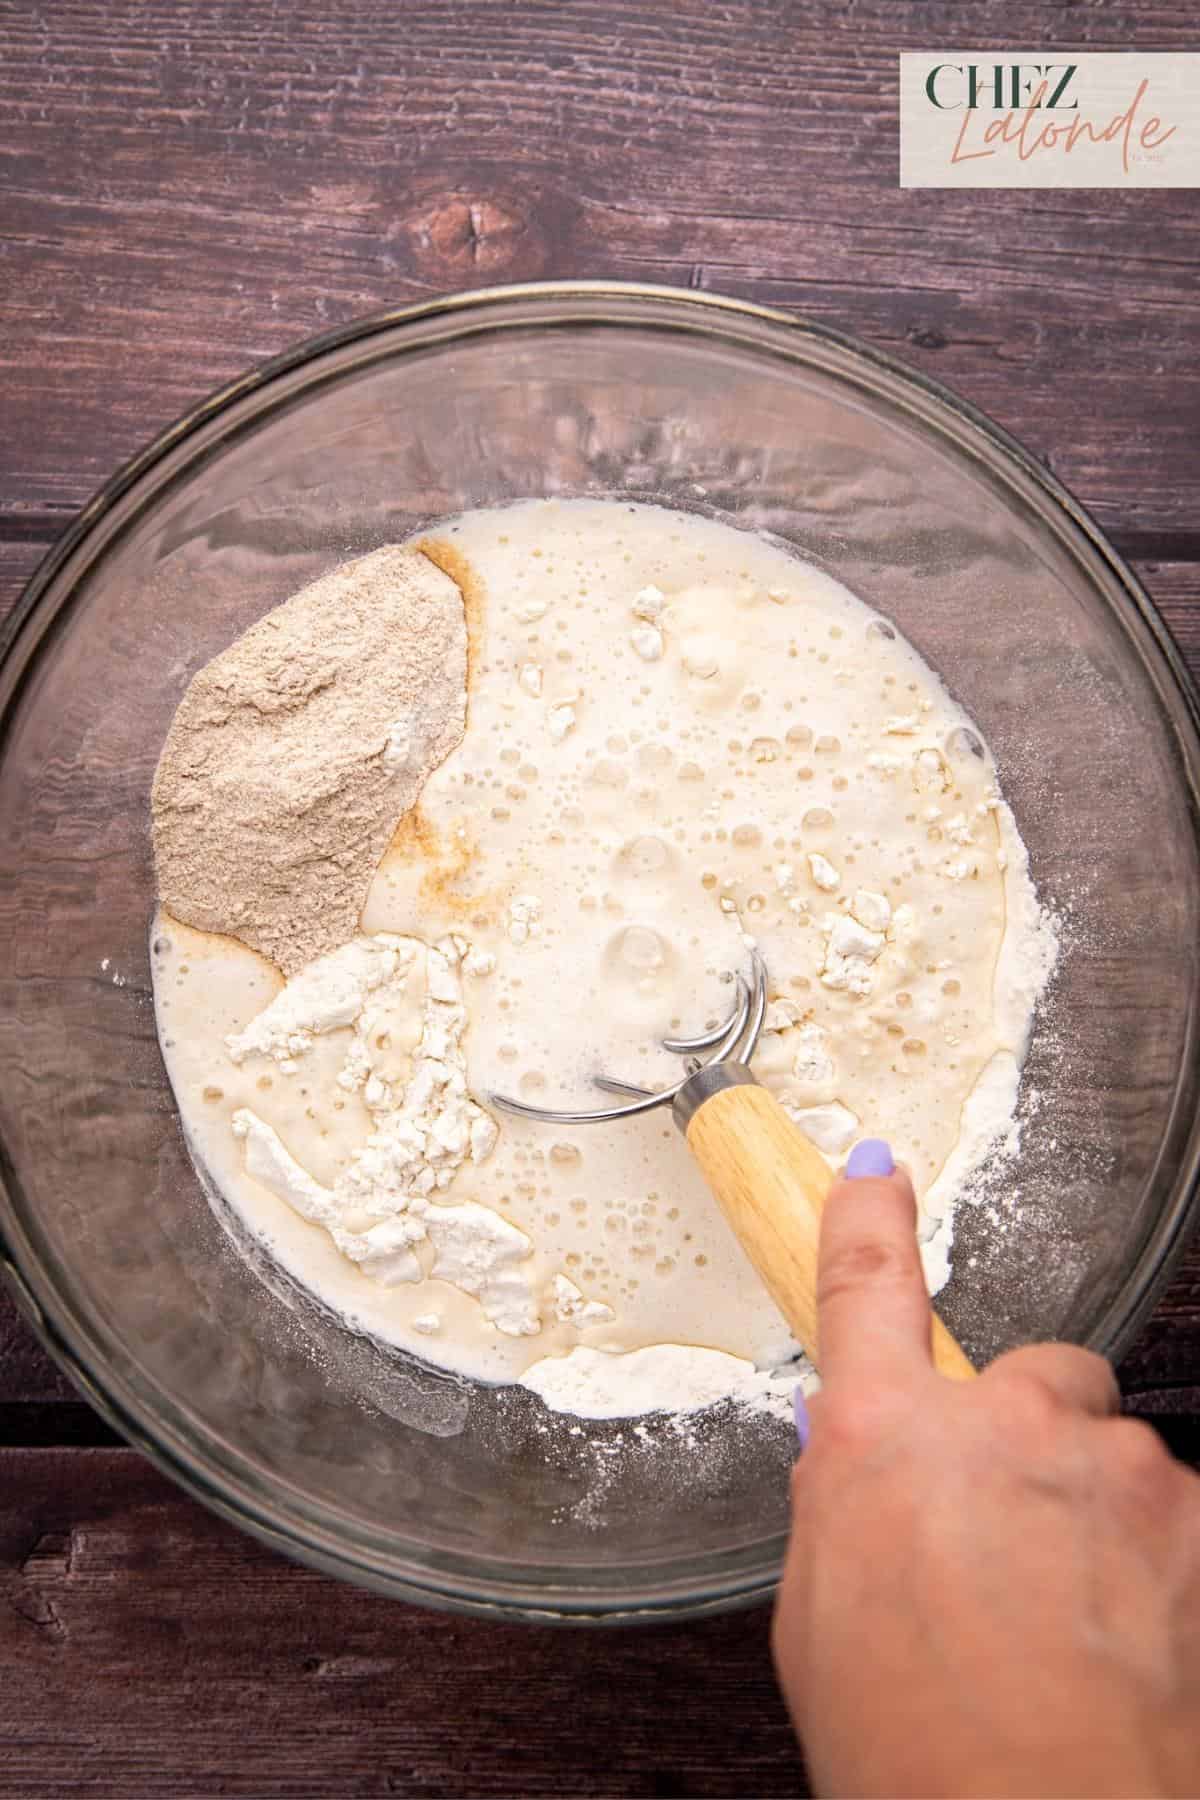
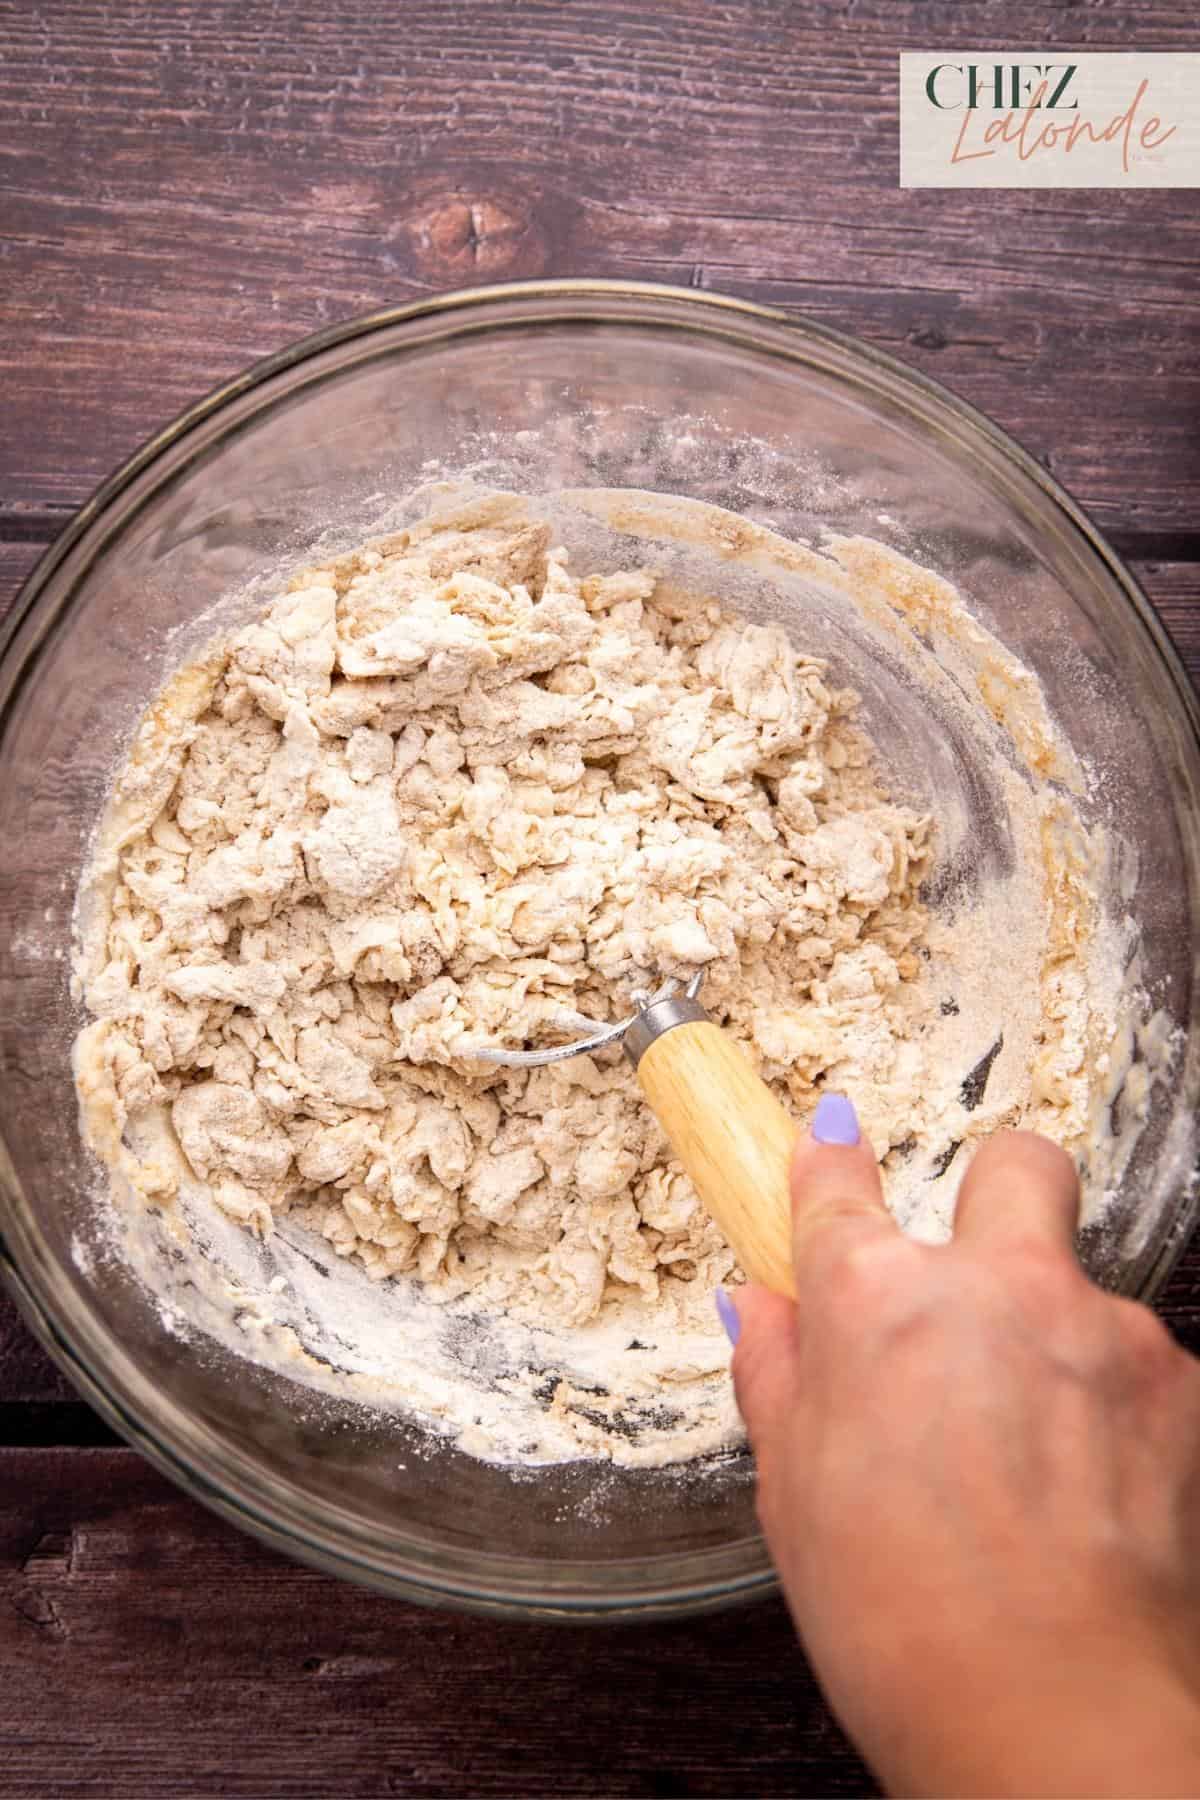
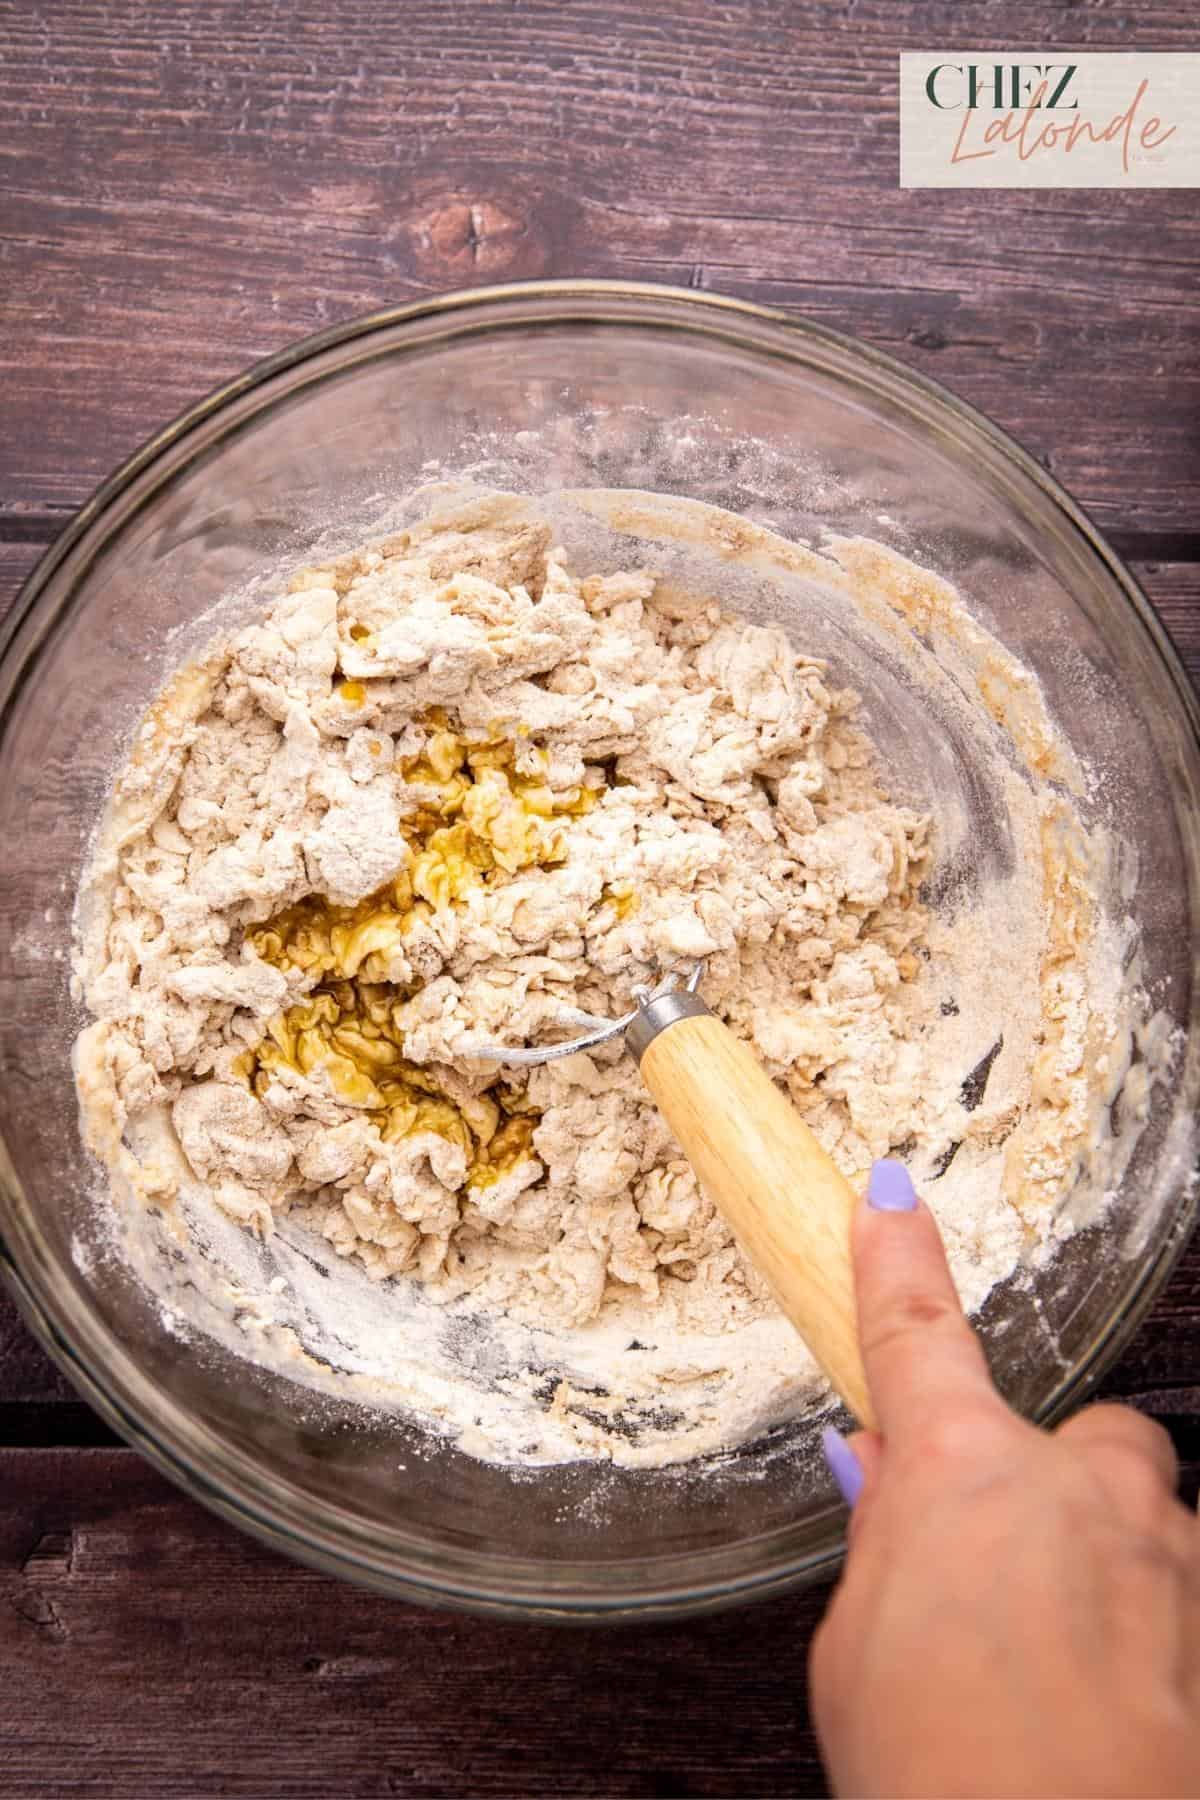
Step two – Combine the remaining ingredients:
Combine ½ cup of whole wheat flour, 2 1/3 cups of all-purpose flour, 1 teaspoon of sea salt, and the activated yeast mixture in a separate bowl. Mix with a spatula or dough whisk until it forms a shaggy messy dough. Then, add 3 tablespoons of extra virgin olive oil to the mixture.
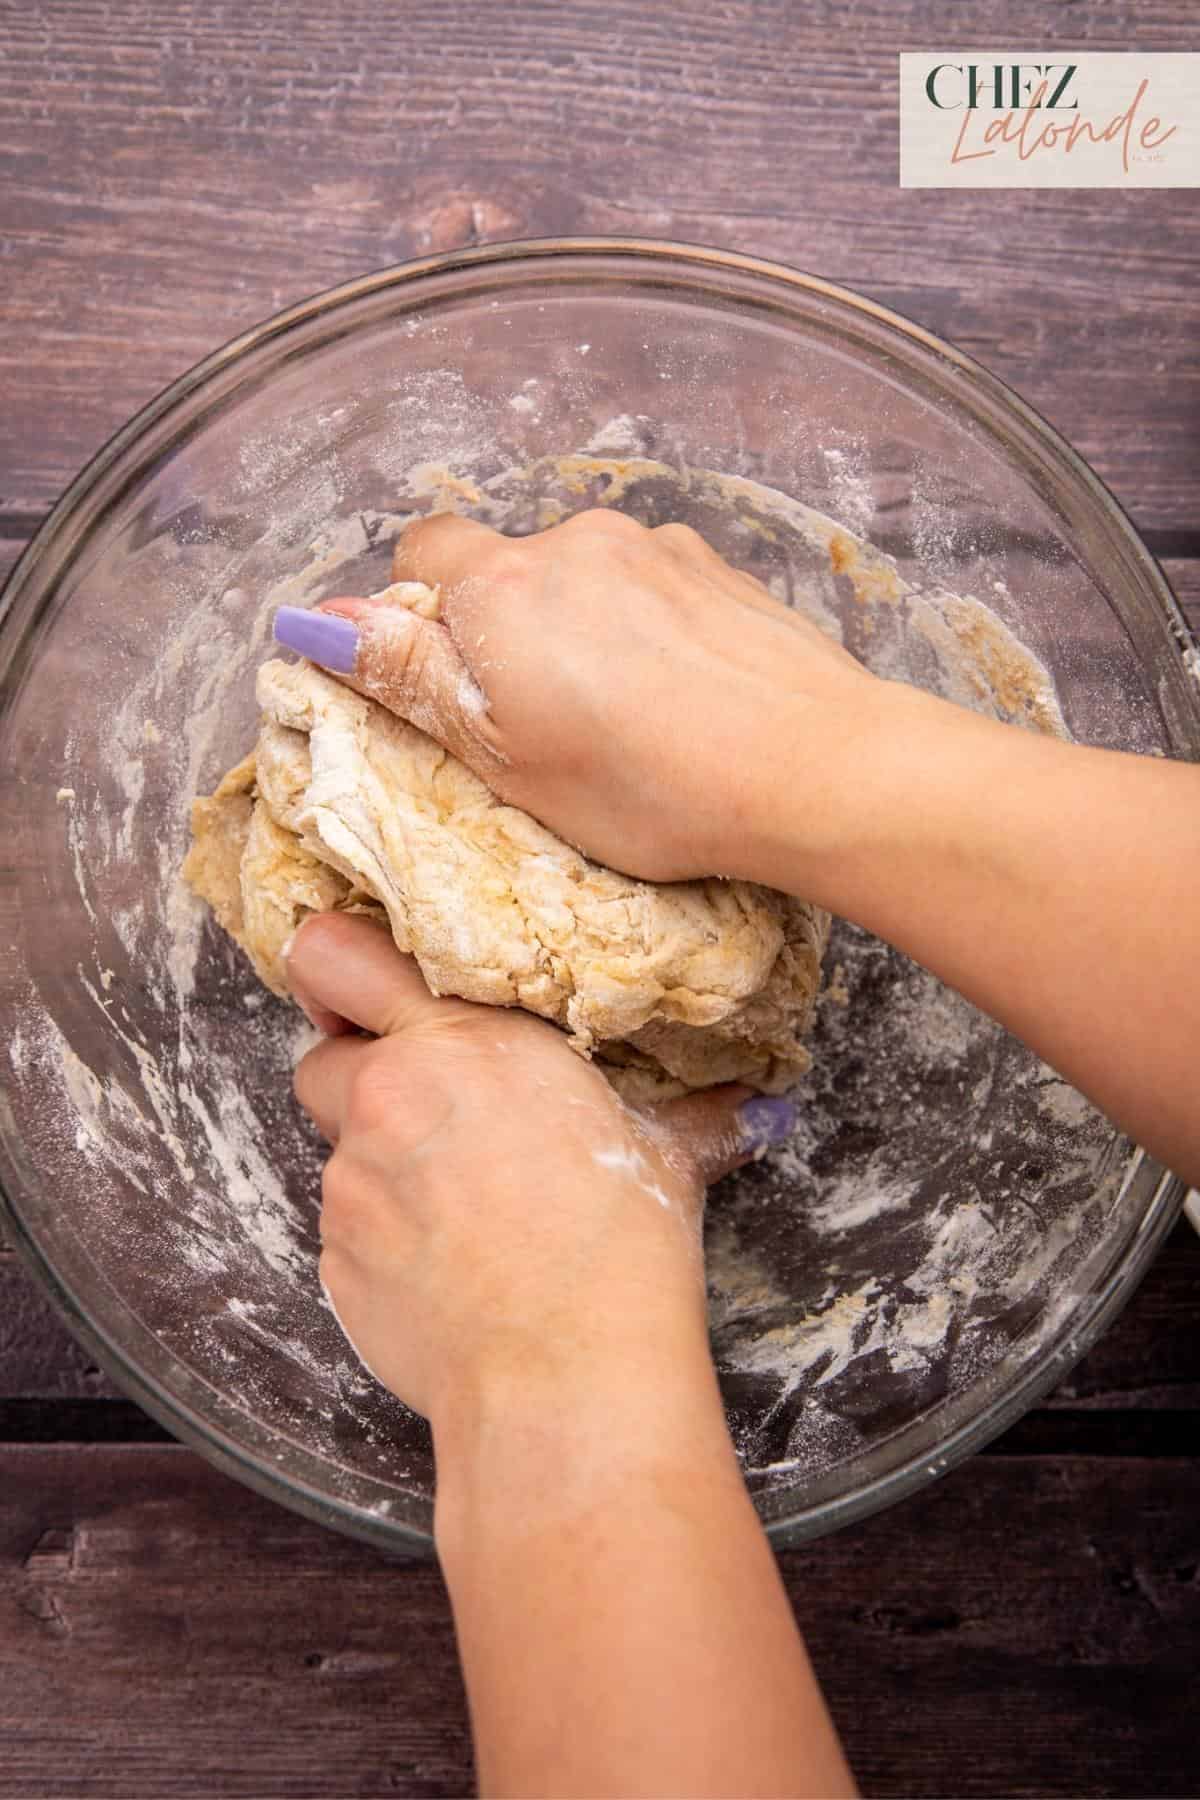
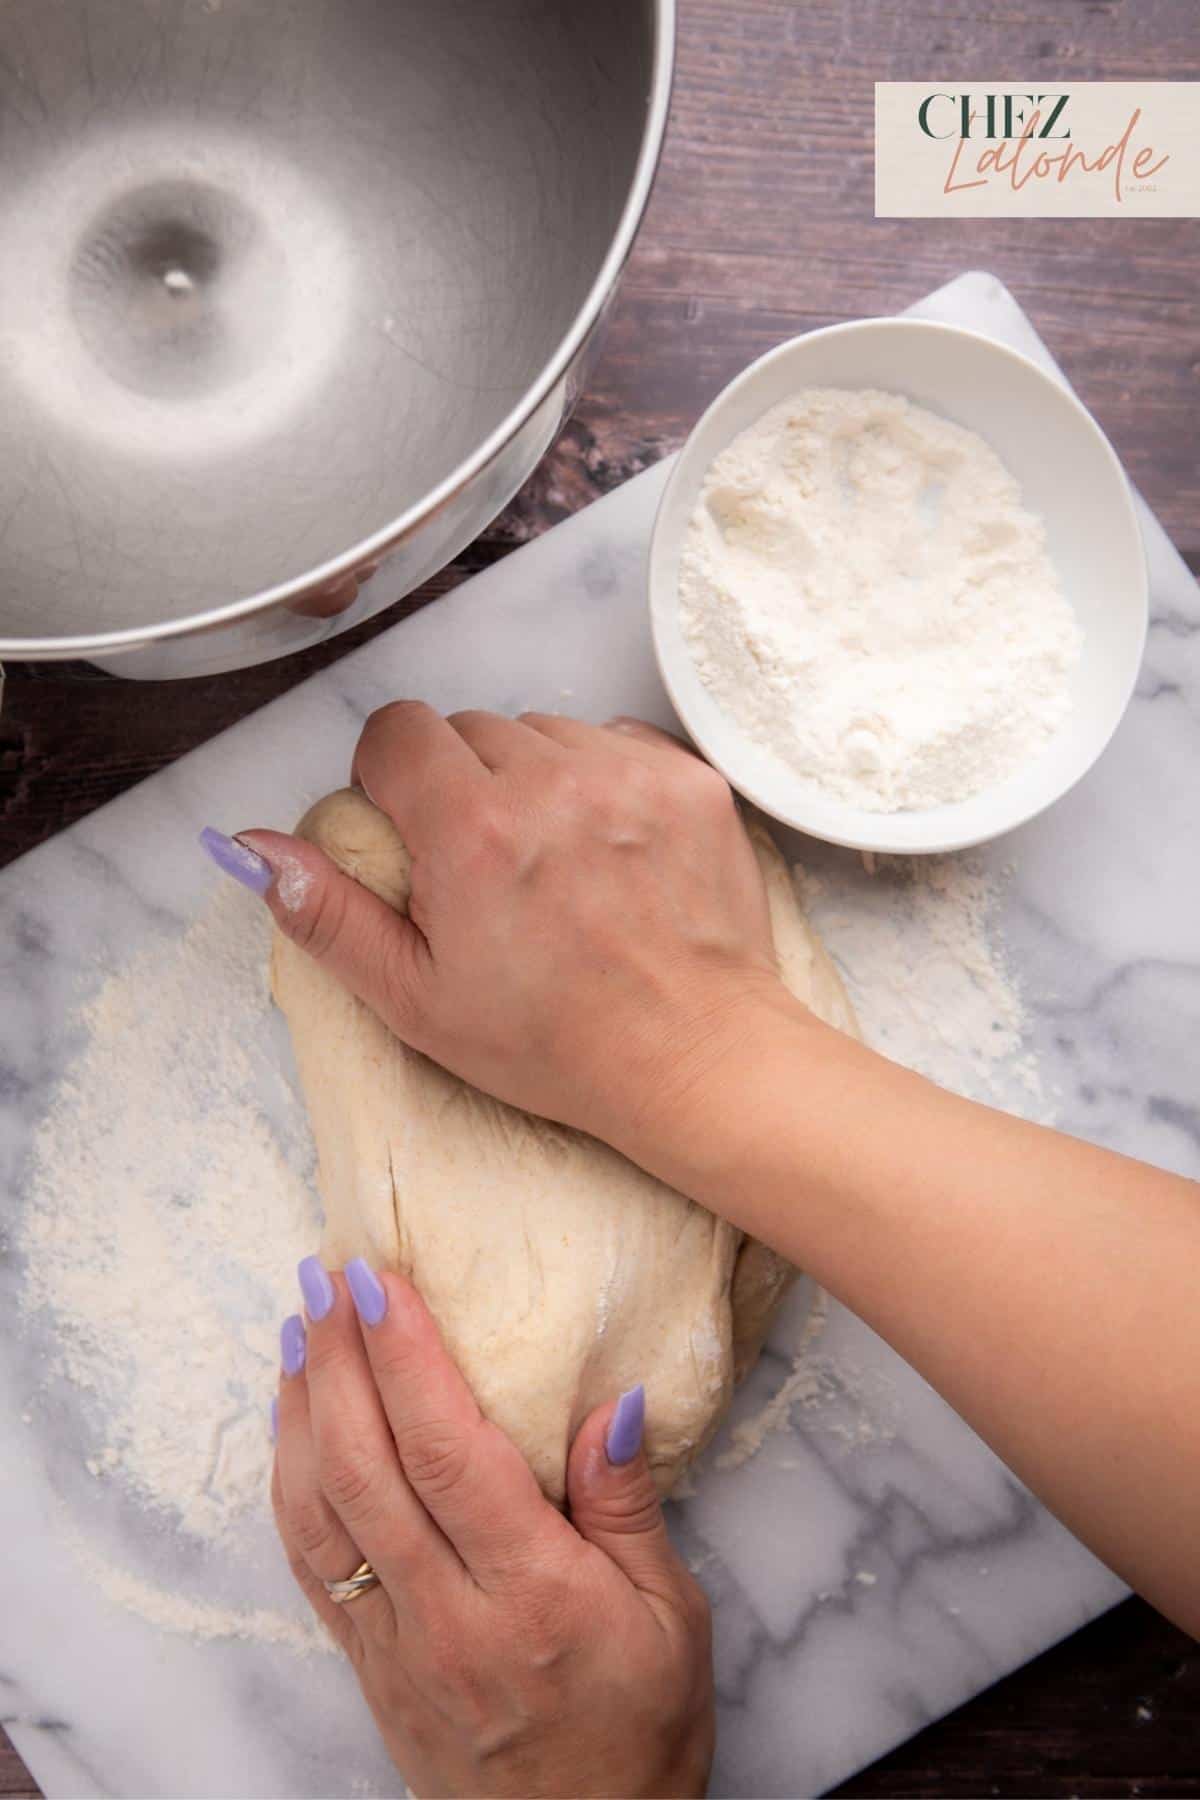
Step three – Form the dough in a stand mixer:
After incorporating the mixture, continue kneading the dough by hand for a minute or two until the texture becomes less tacky. Transfer the dough to a stand mixer with a dough hook attachment and knead at medium-high speed (Speed setting at 6 to 8) for 5 to 8 minutes until smooth.

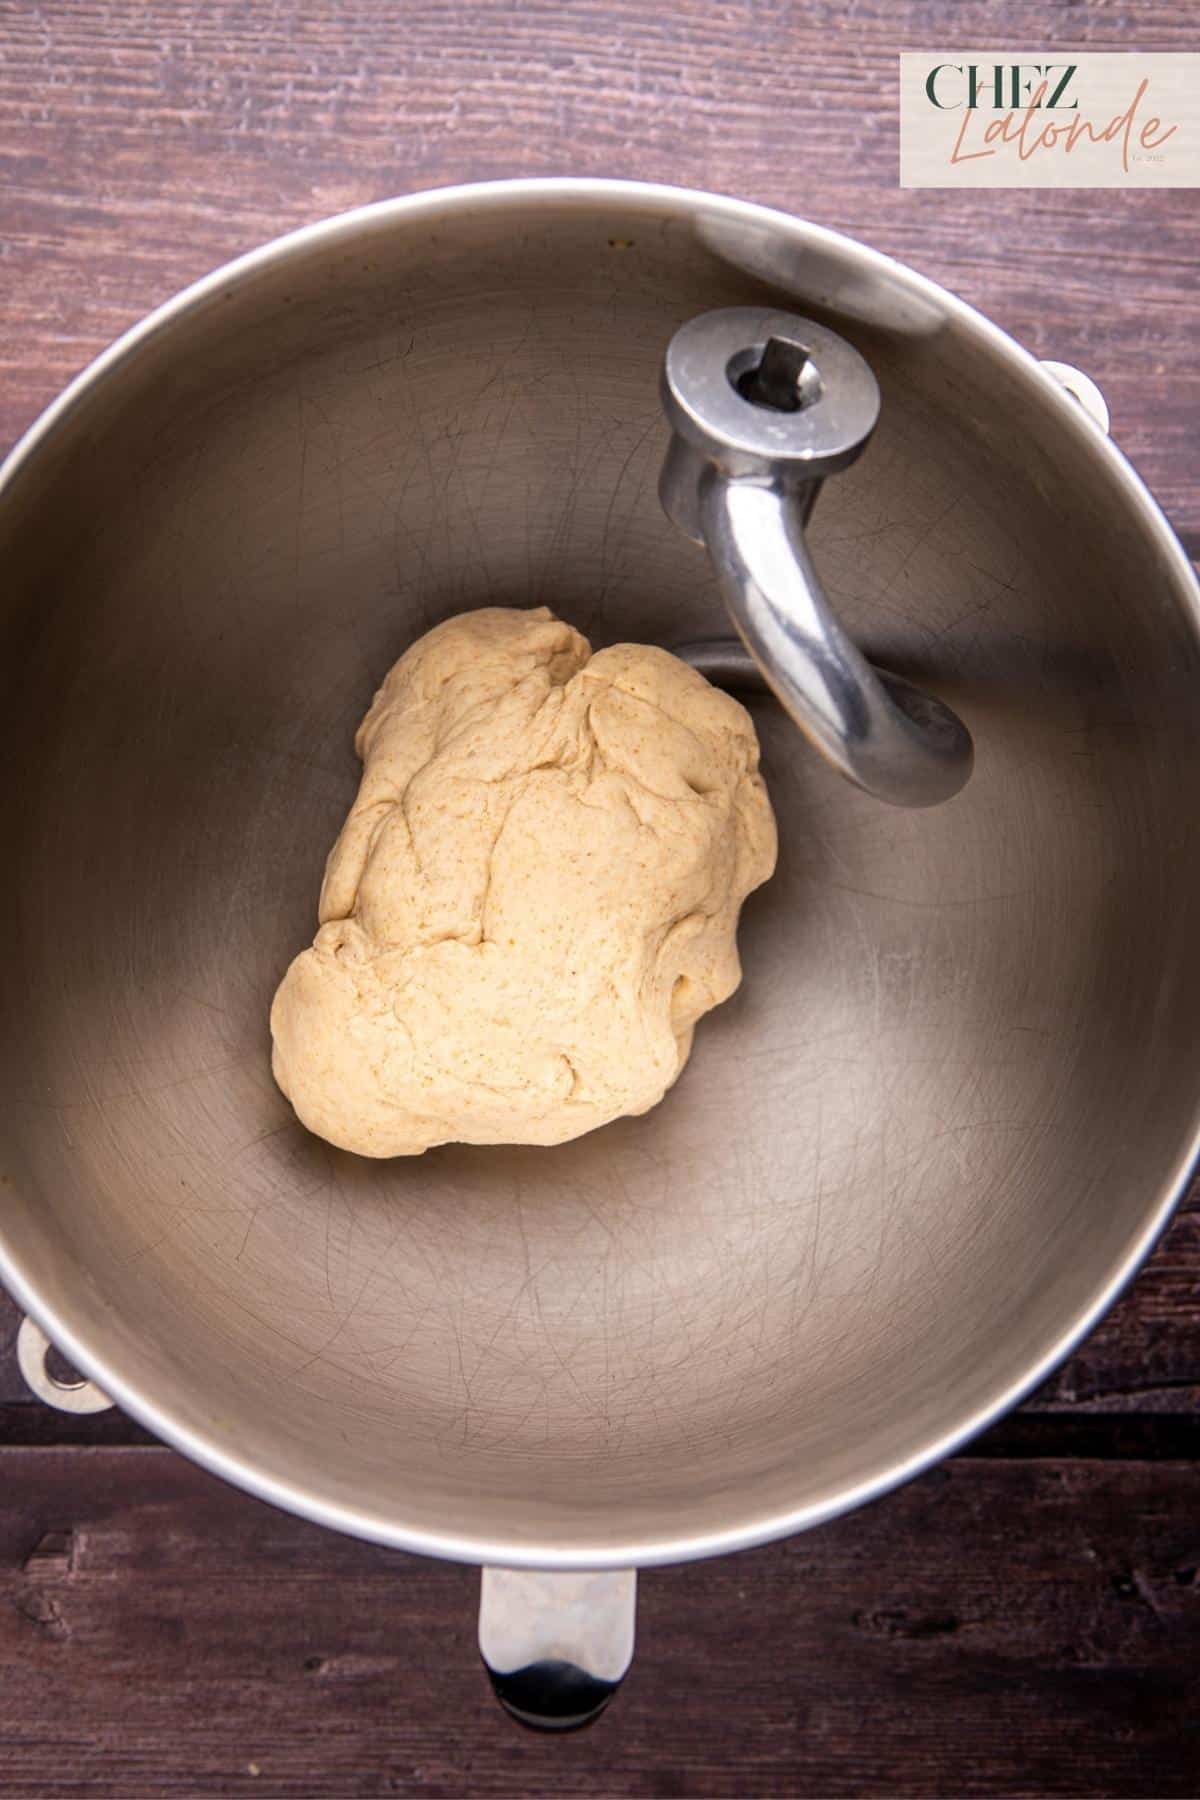
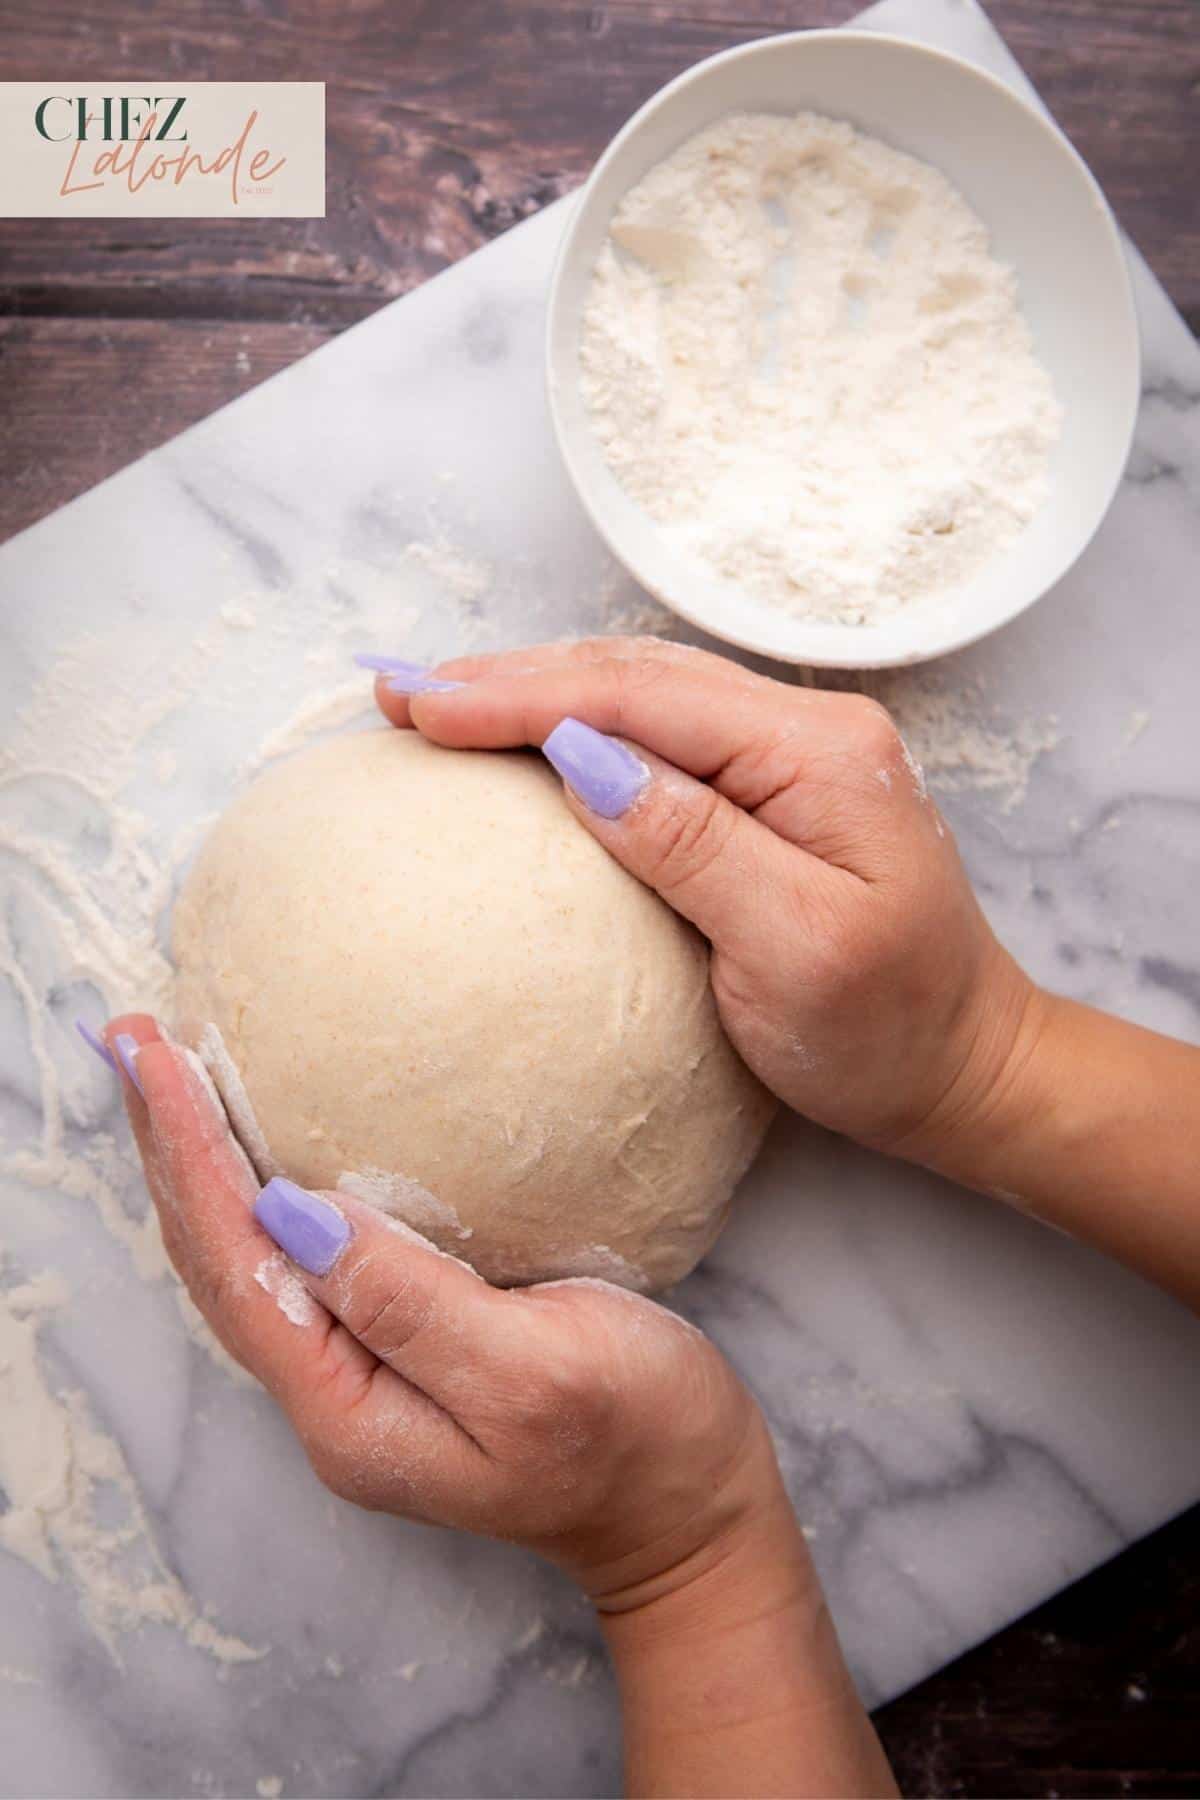
Step four – Prepare the dough for first proof:
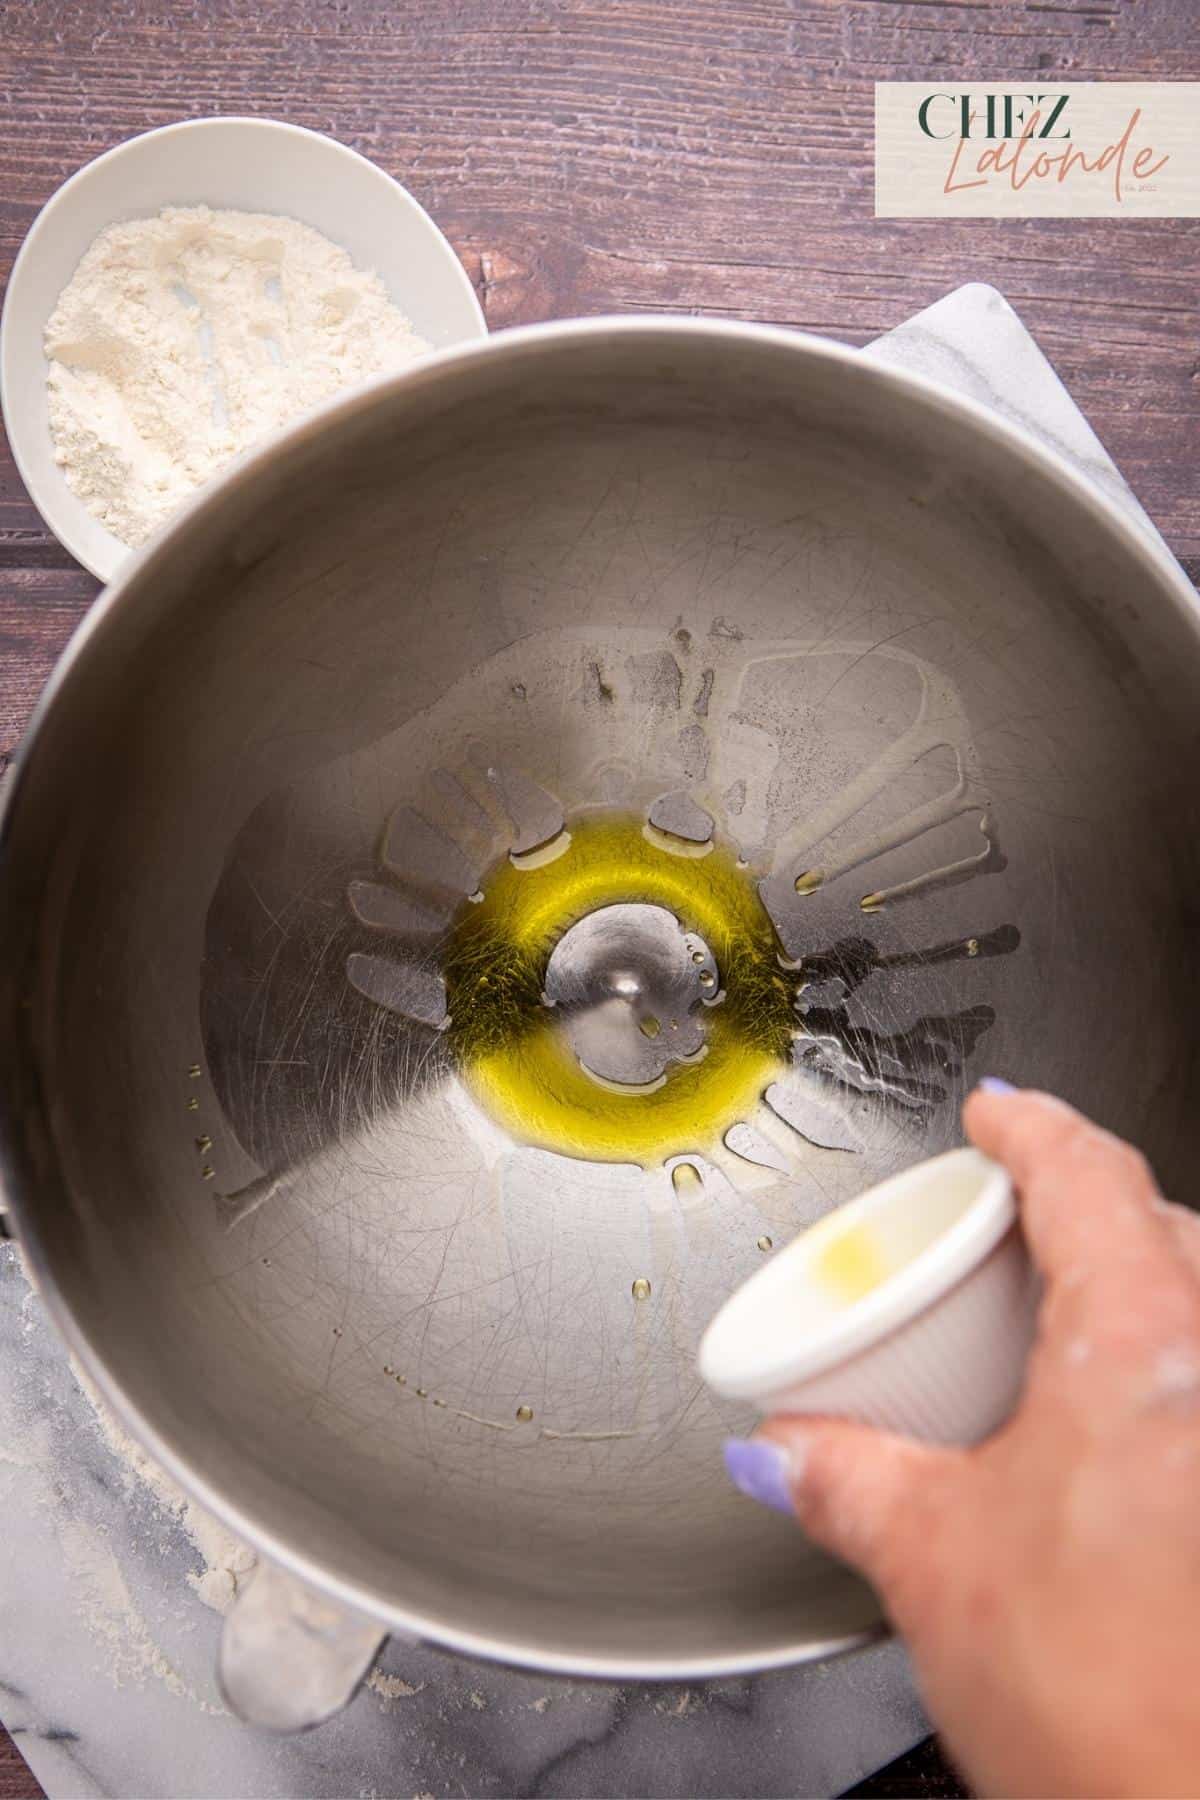
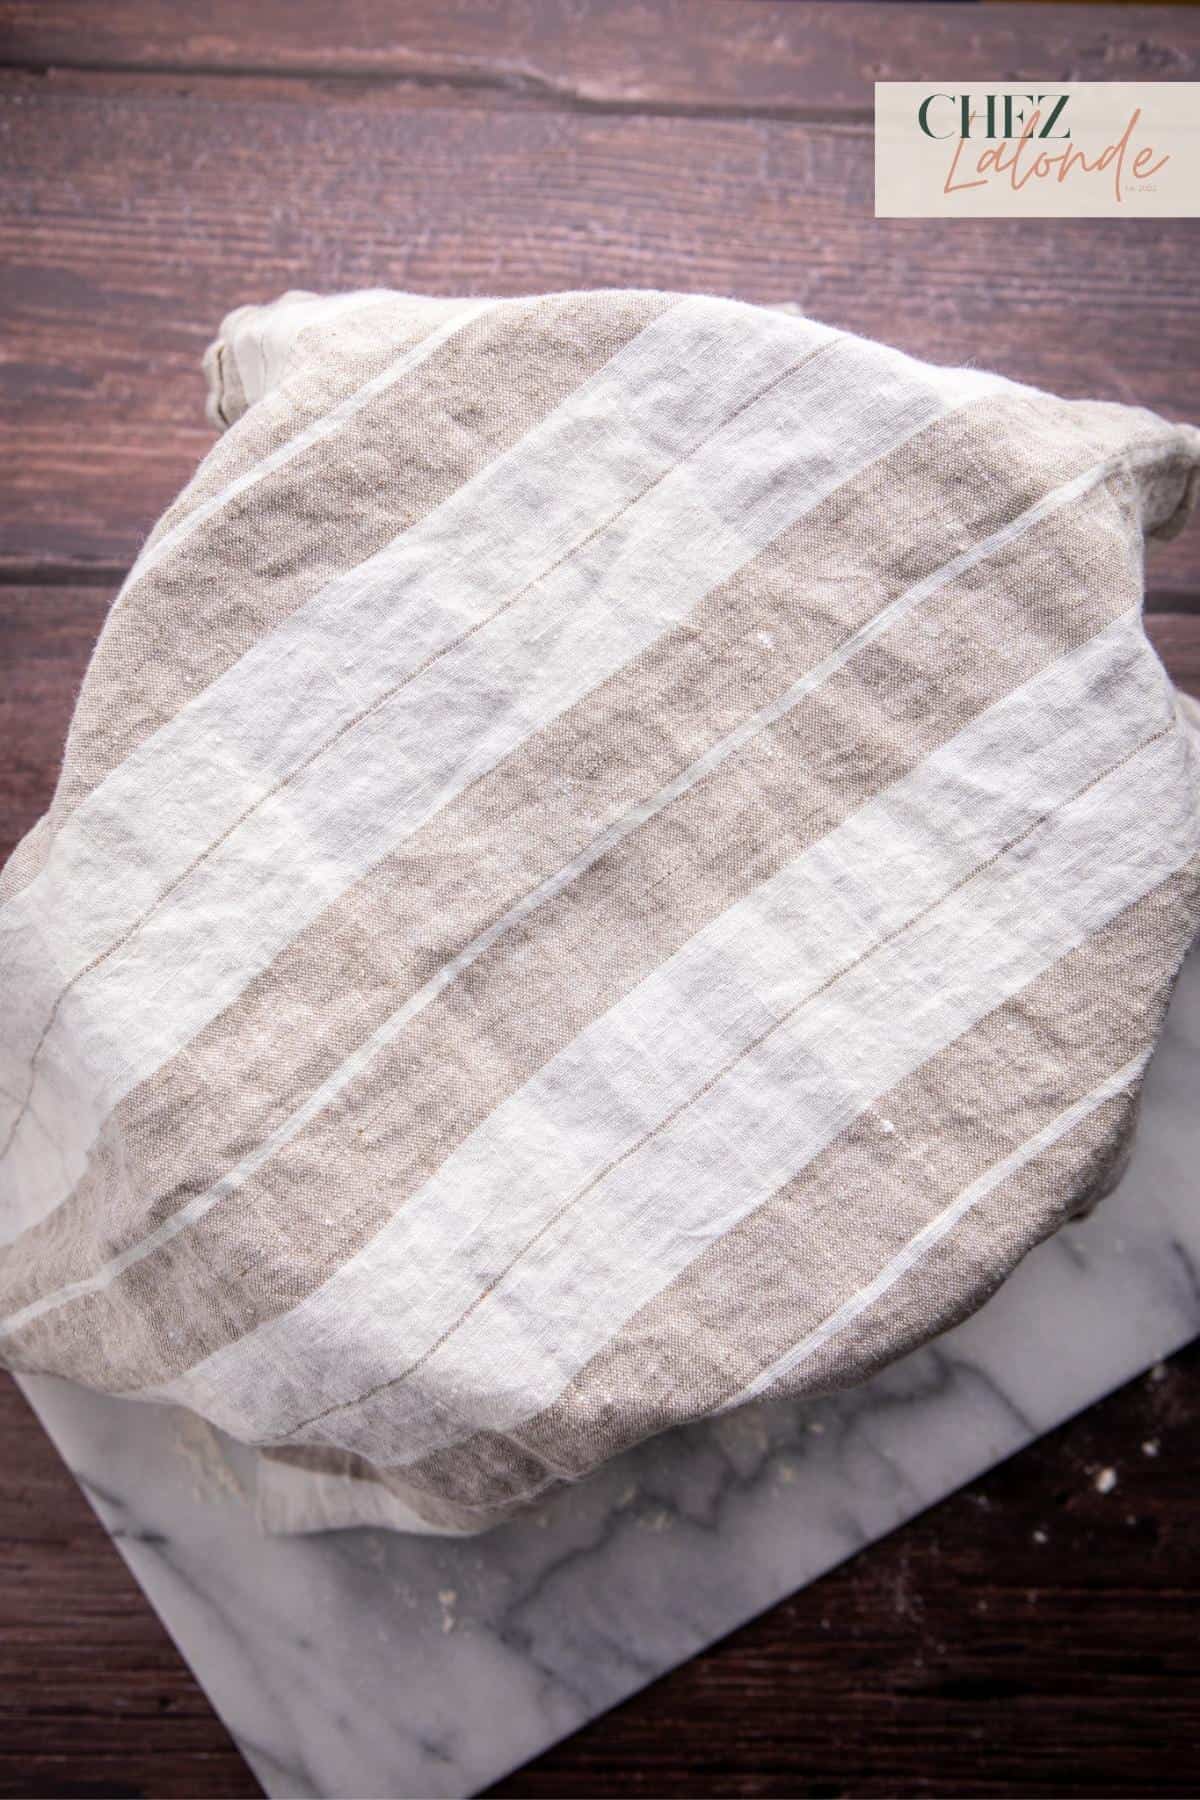
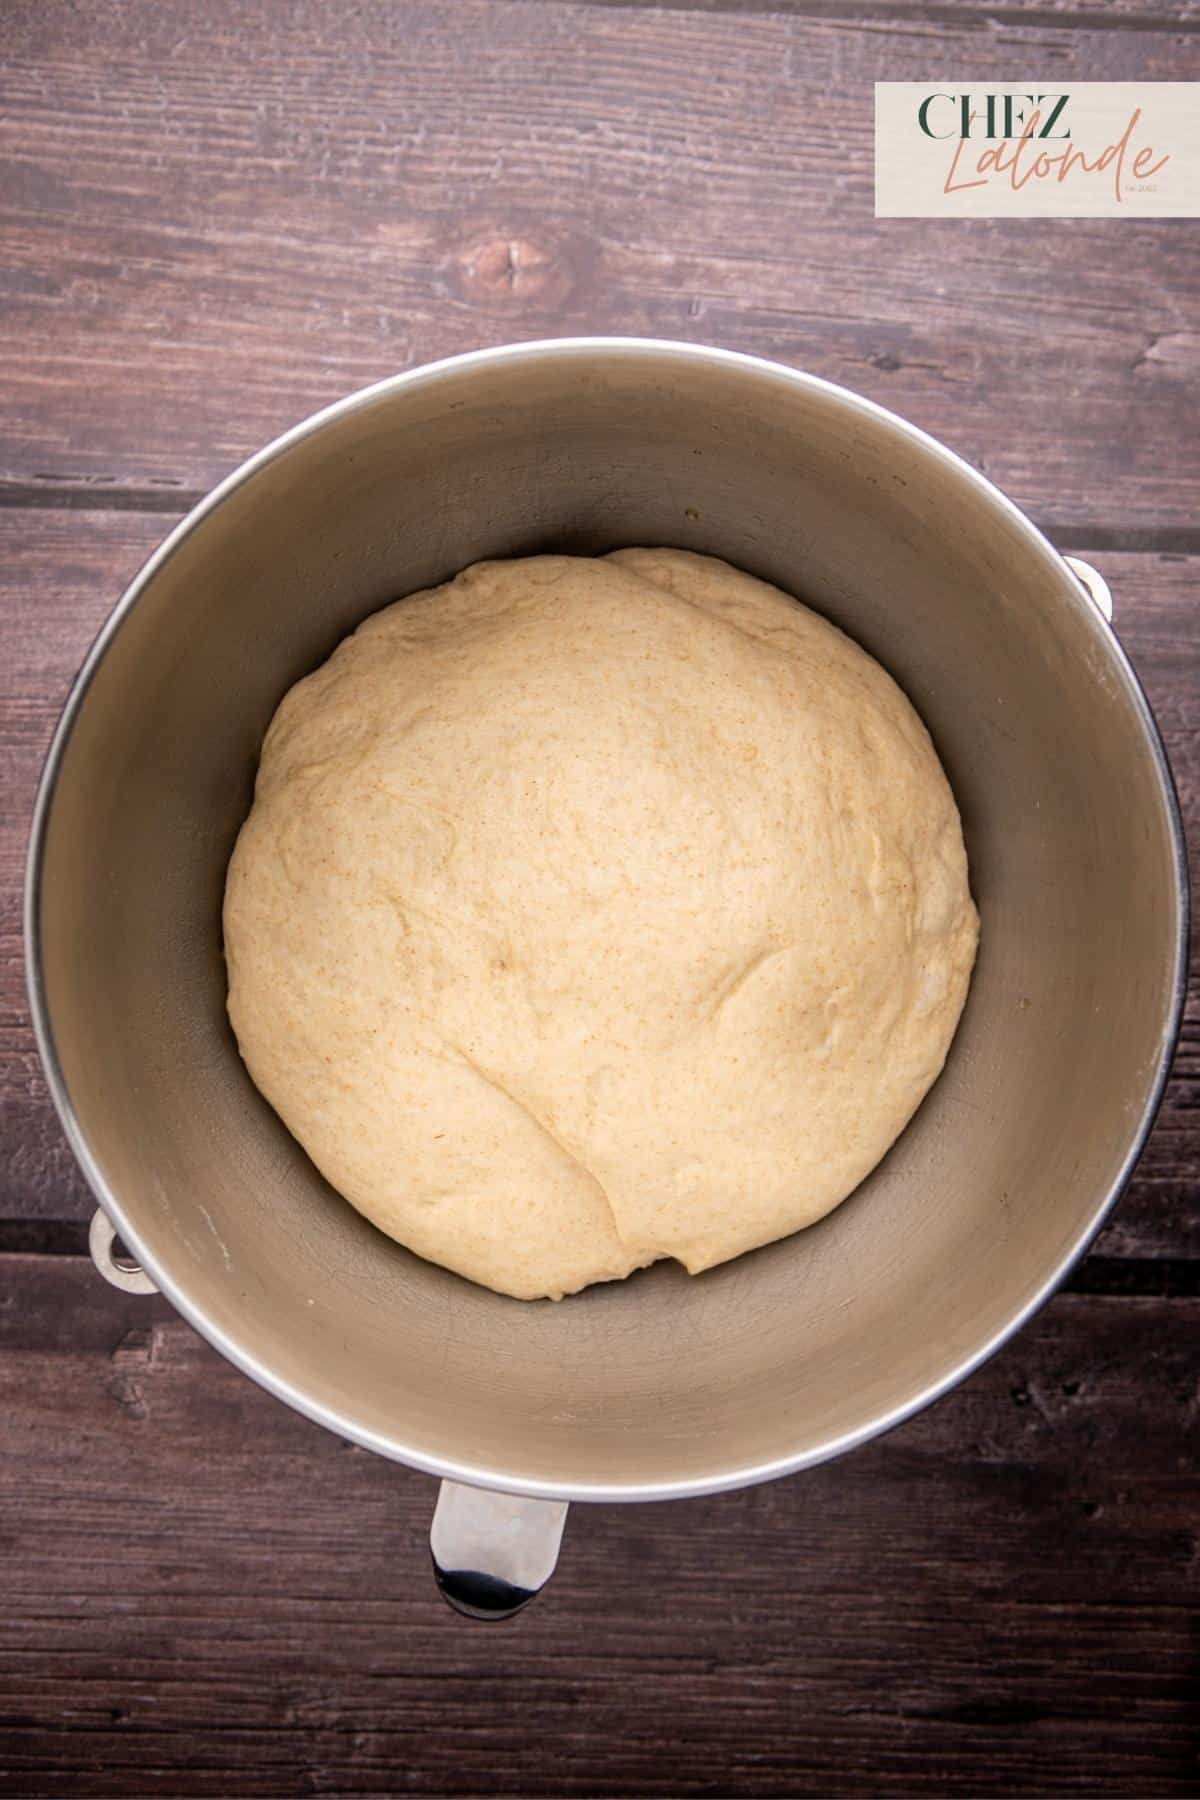
After kneading the dough in the stand mixer, transfer it to a floured kitchen counter and shape it into a ball by hand. Drizzle a tablespoon of olive oil in the stand mixing bowl and spread it around to prevent sticking. Place the dough ball inside the bowl, cover it with plastic wrap or a clean kitchen towel, and let it proof and rise for a minimum of 1 hour, but no more than 2 hours, in a warm area for the best results.
Step five – Determine your serving style and size of pita:
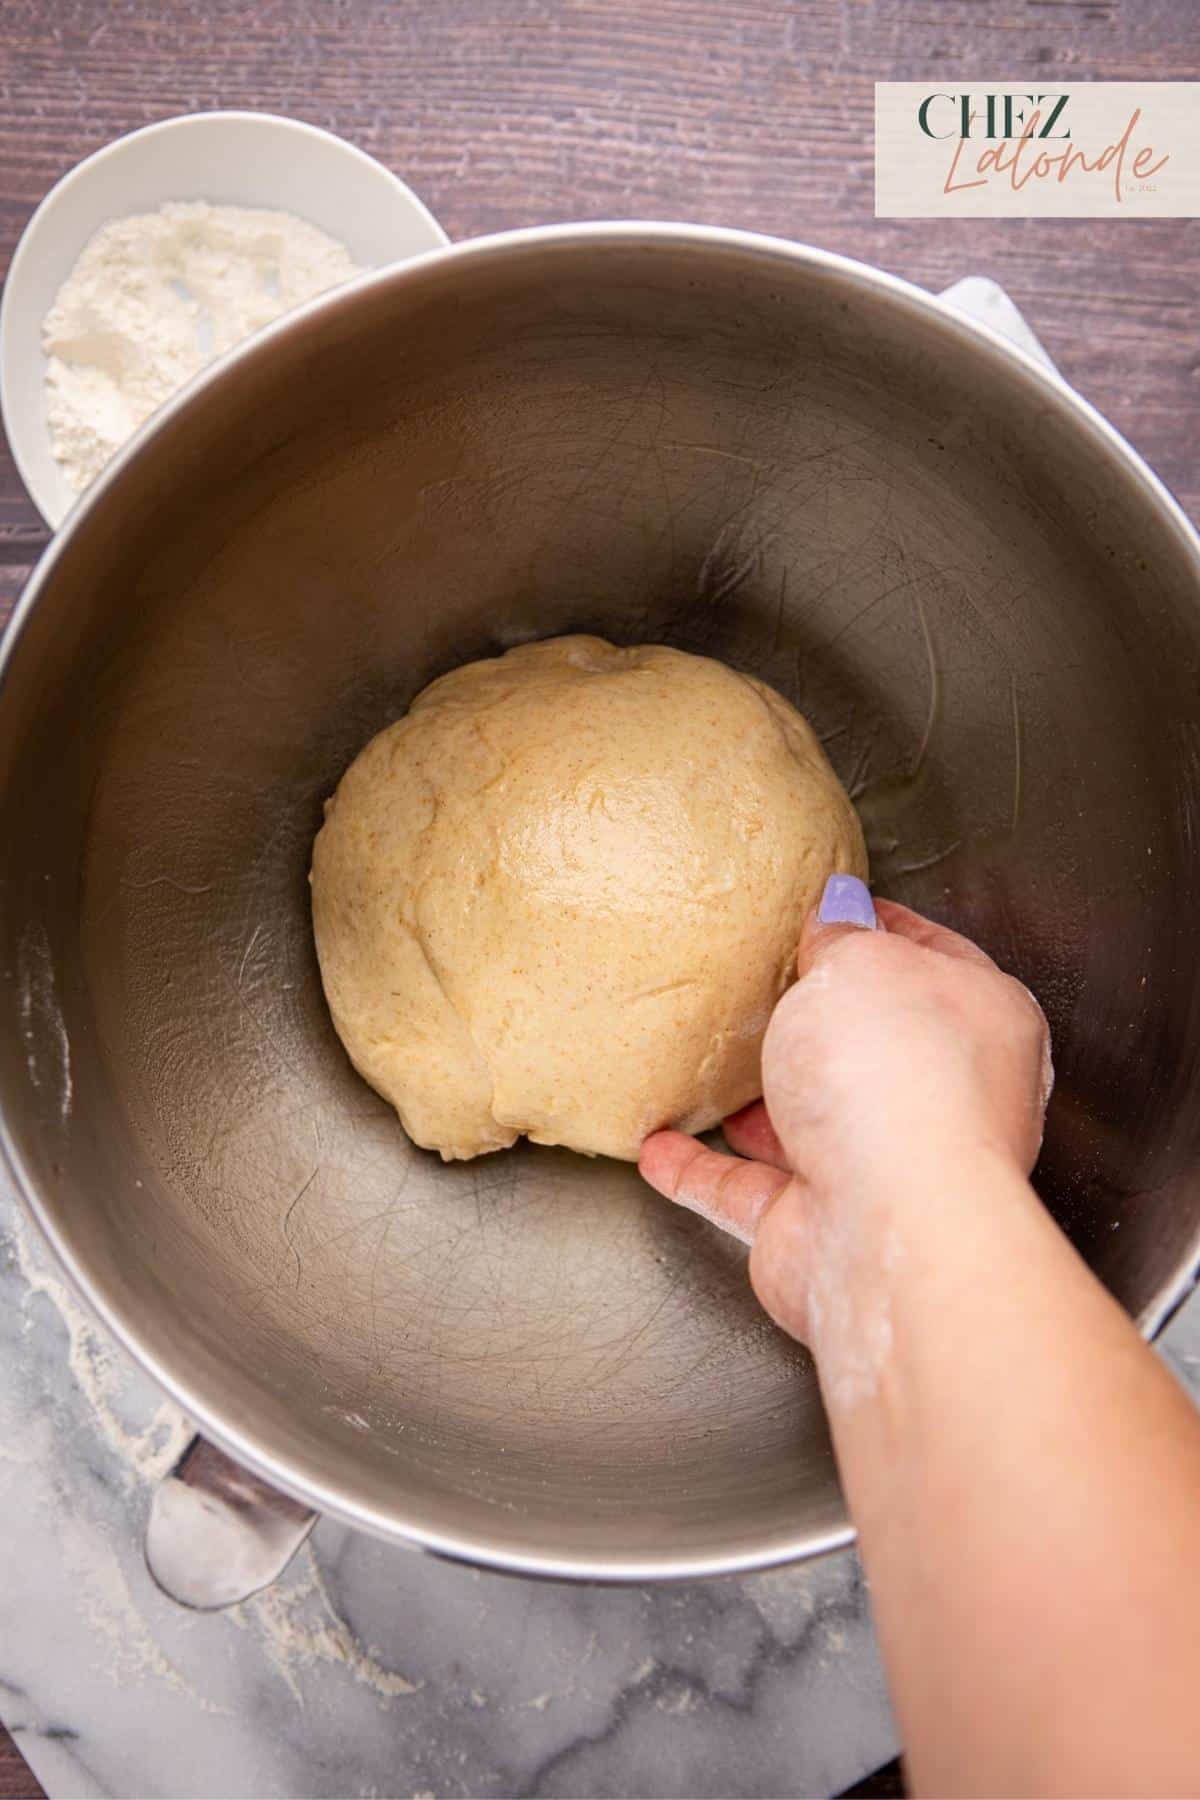
Once the 1st proof is complete, the dough should have doubled. Gently deflate the air by giving it a light punch. Remove the dough from the bowl and place it on a kitchen scale to determine its weight.
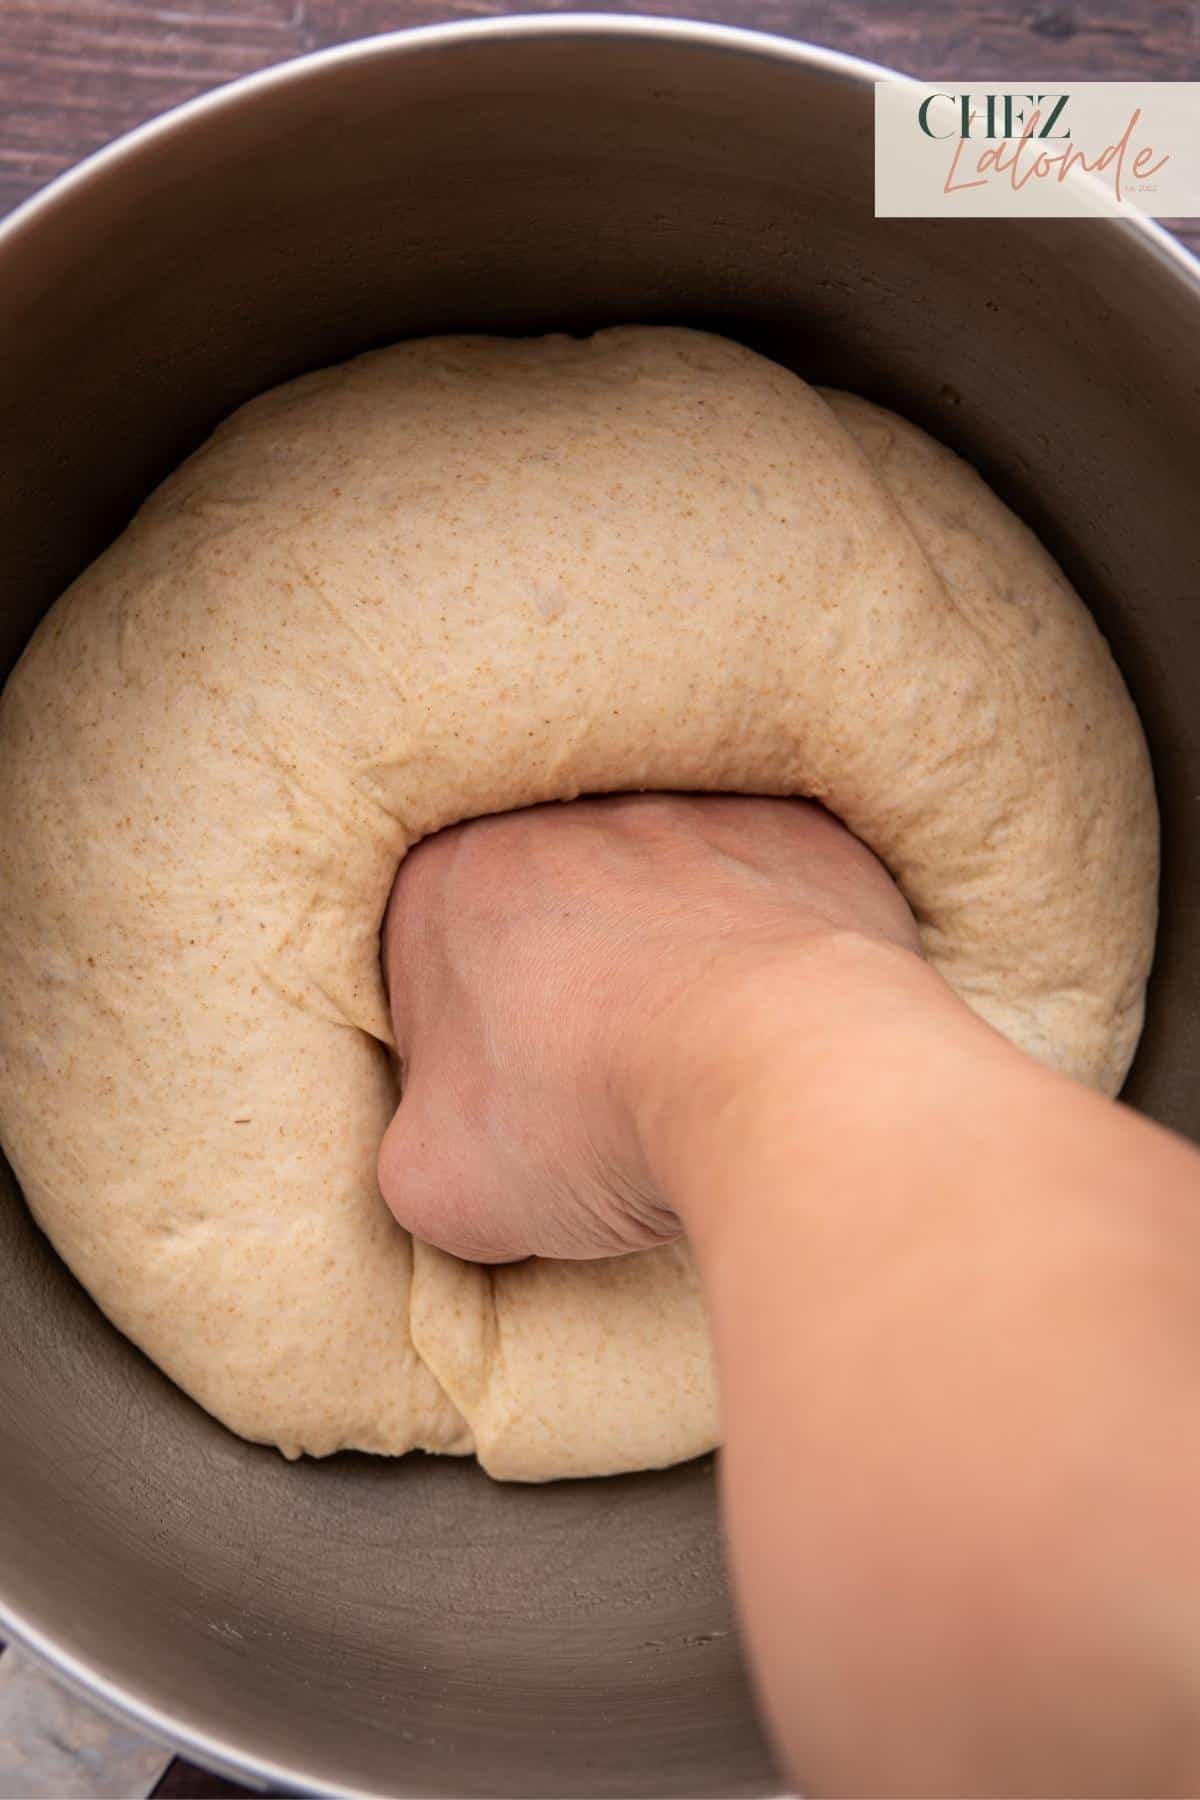
Remove the dough from the bowl and place it on a kitchen scale to determine its weight. Depending on what you are using the pita for, you can use the guide below to determine the weight of each pita dough:
To make Pita Sandwiches:
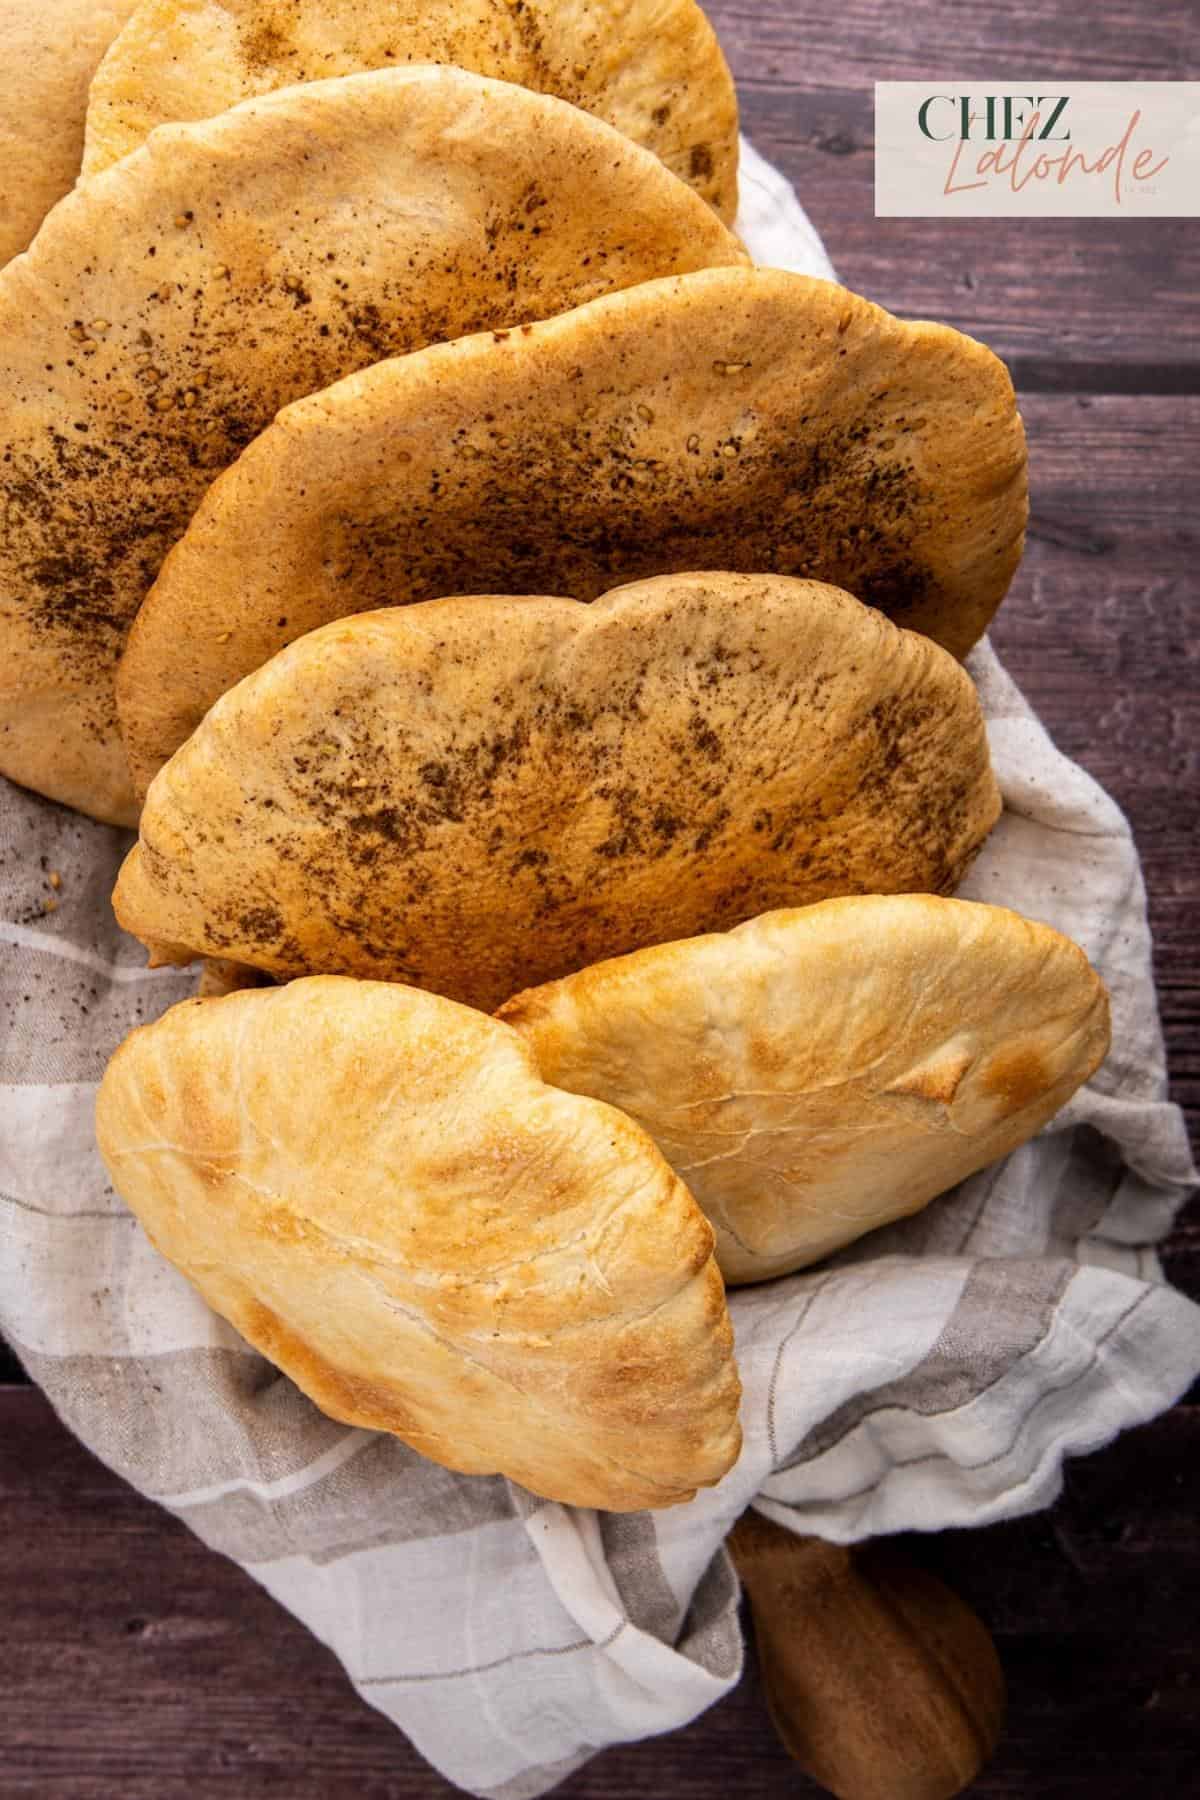
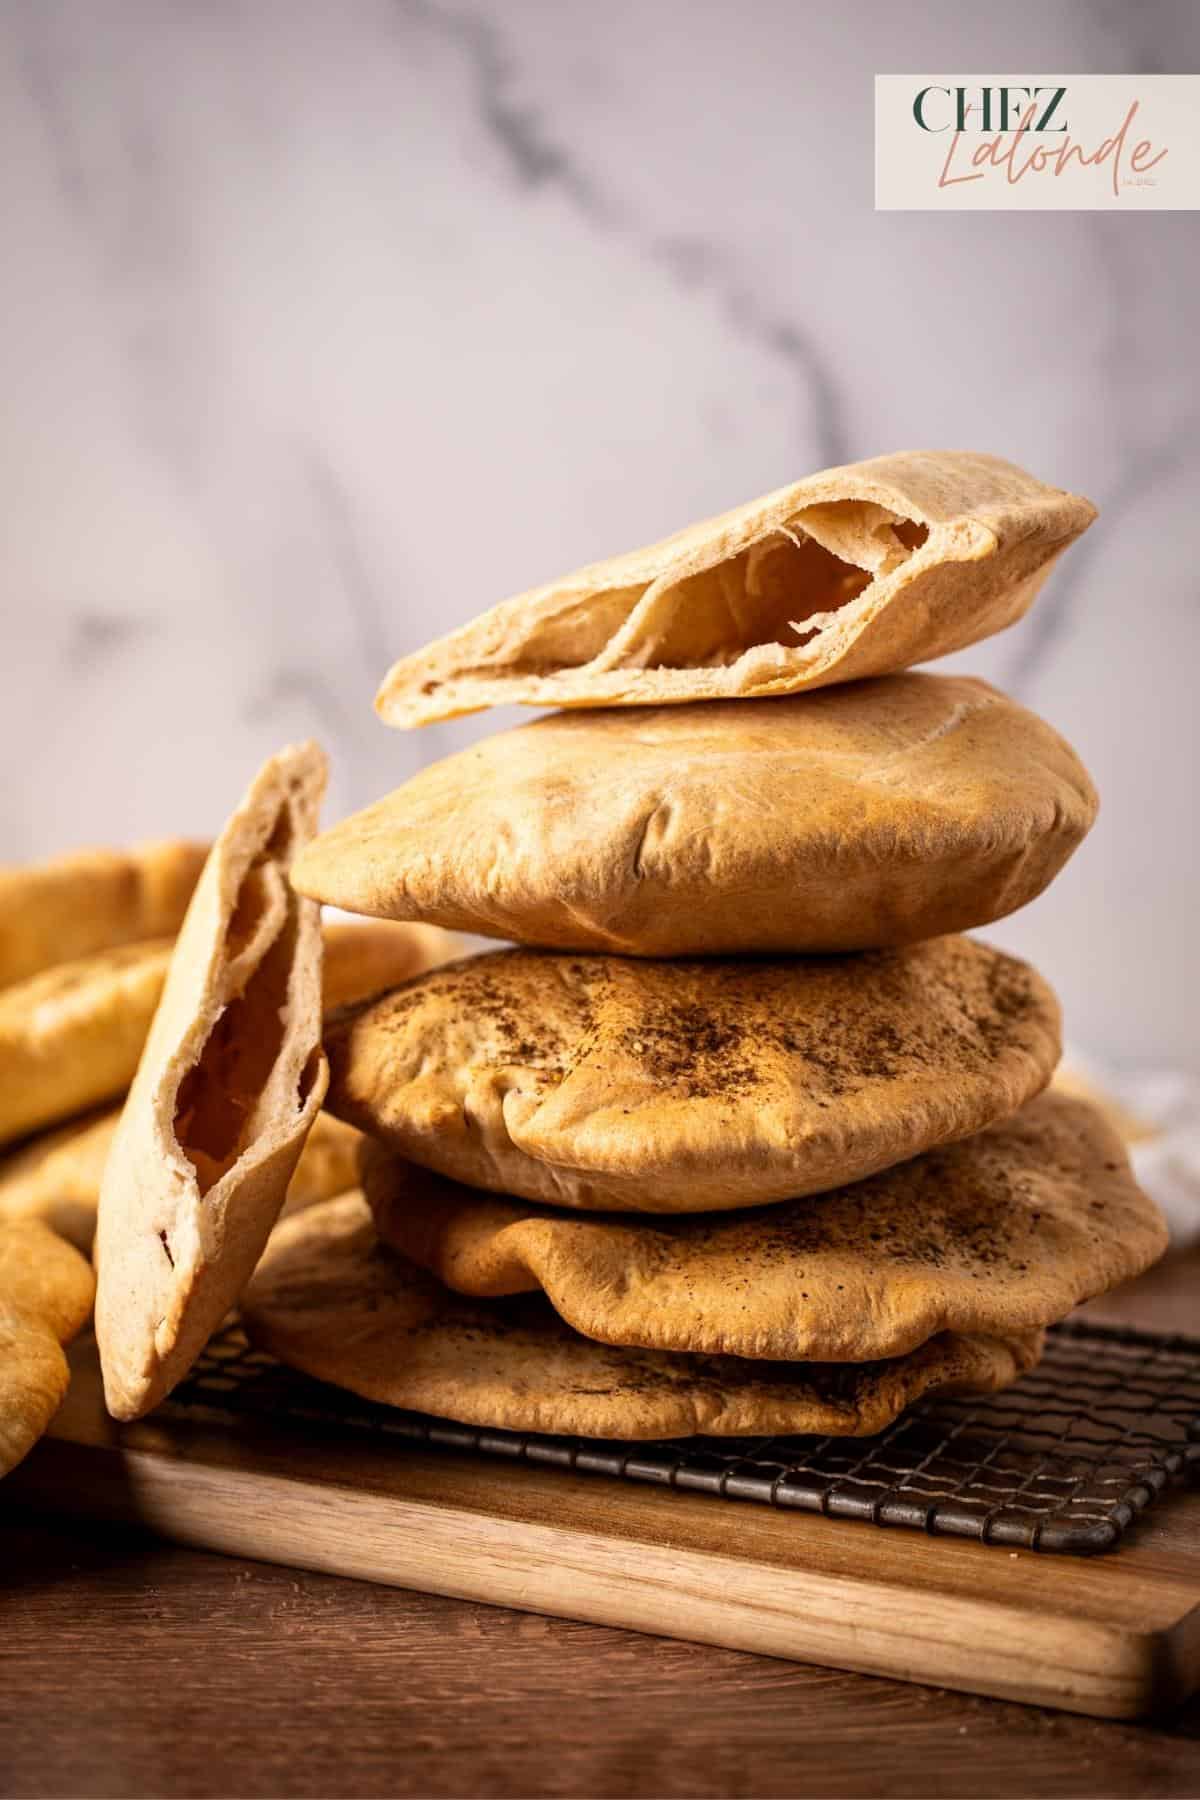
- This recipe should yield 5 whole pita bread.
- If you plan to make Pita sandwiches and stuff them with grilled meat and vegetables, each dough must weigh 110 to 120 grams. That will make an 8-inch pita.
- For a 7 to 8-inch pita, cook it for 7 to 8 minutes in an air fryer at 400F/ 200C. With less time, the dough will not fluff up.
- After it is cooked, slice it in half to serve as sandwiches. You should get about 10 sandwiches.
To Make it as a side dish or an appetizer:
- Use 90 to 100g of dough for smaller pitas. This should result in 5 to 6-inch pitas, perfect for dipping in hummus, baba ganoush, Tzatziki, or serving as a side dish with rice platters.
- For a smaller pita, you must shorten the cooking time to 5 minutes at 400F/200C.
- With this recipe, you should be able to get 8 small pitas.
- Please note that this size is too small to serve as a sandwich.
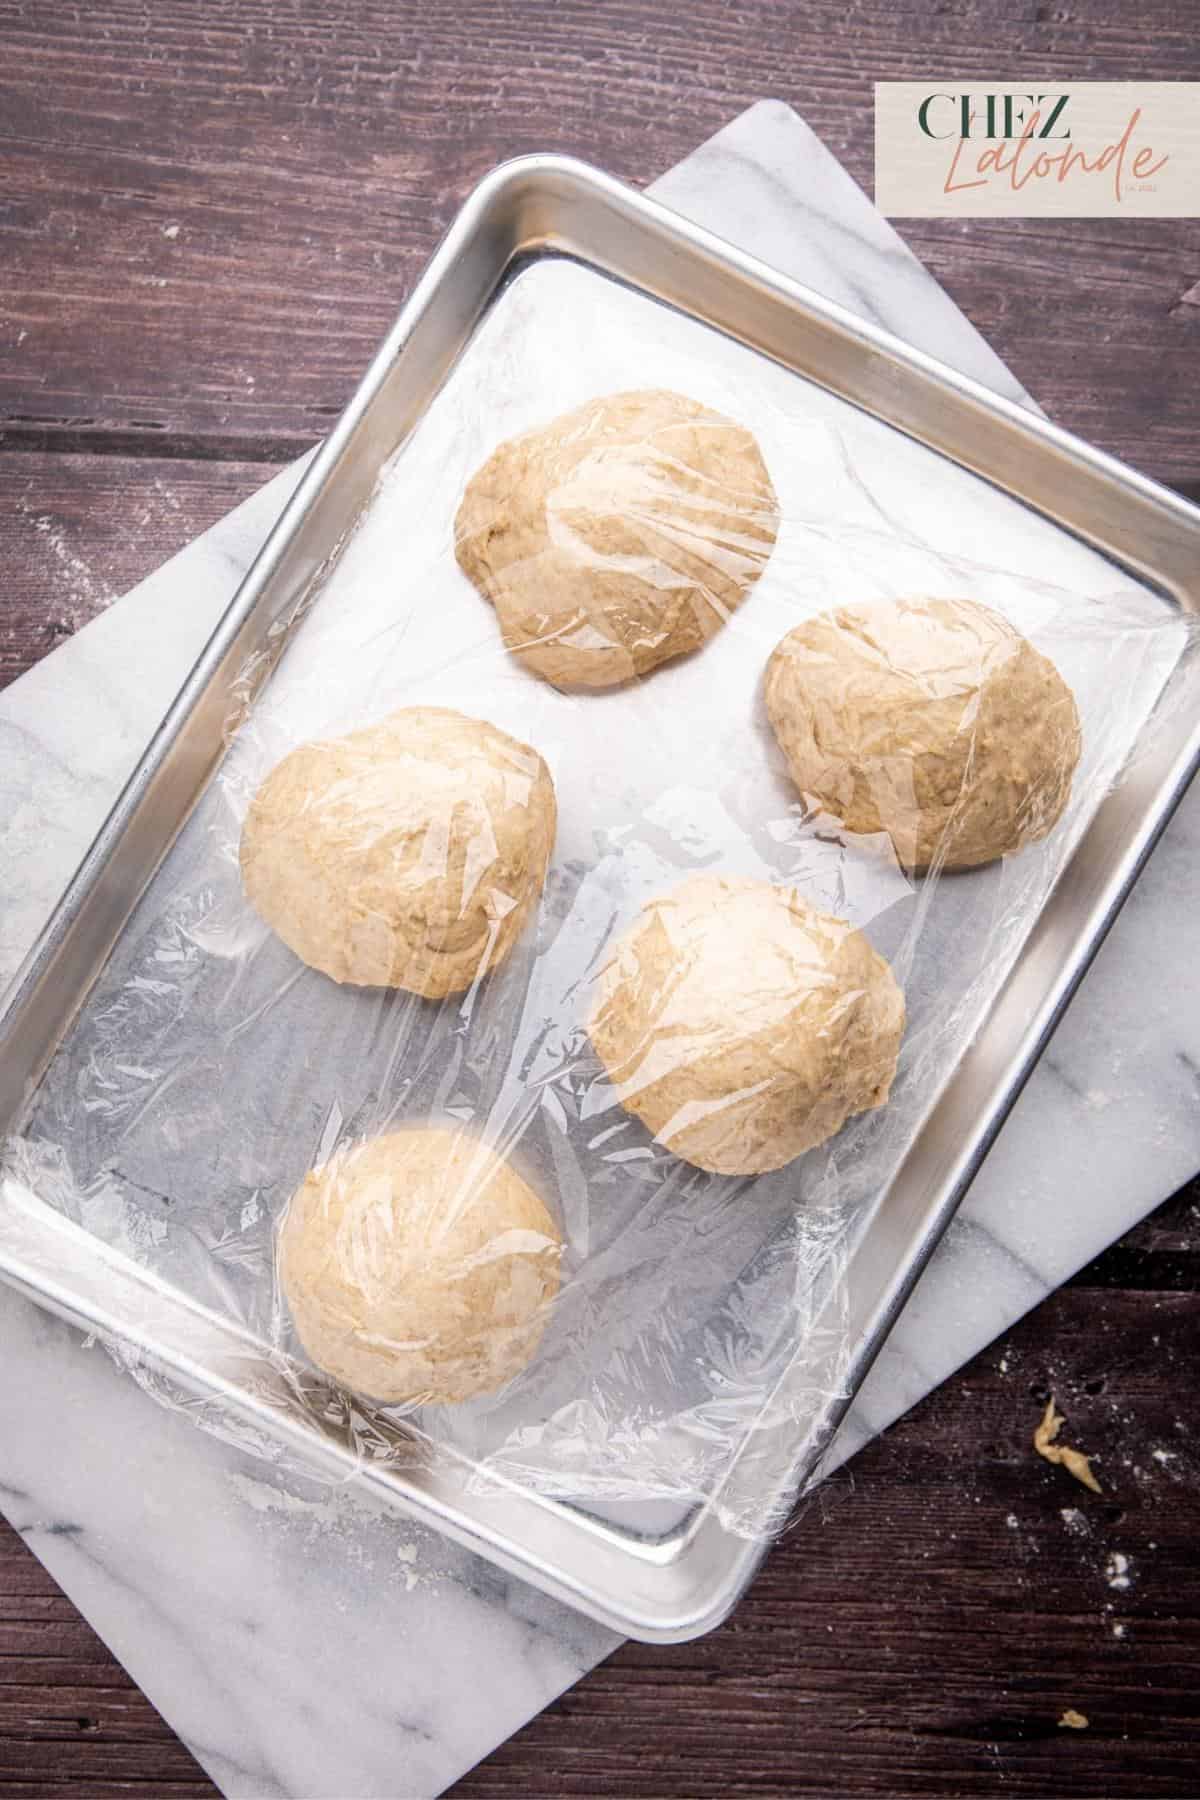
Step Six – Prepare for the second proof:
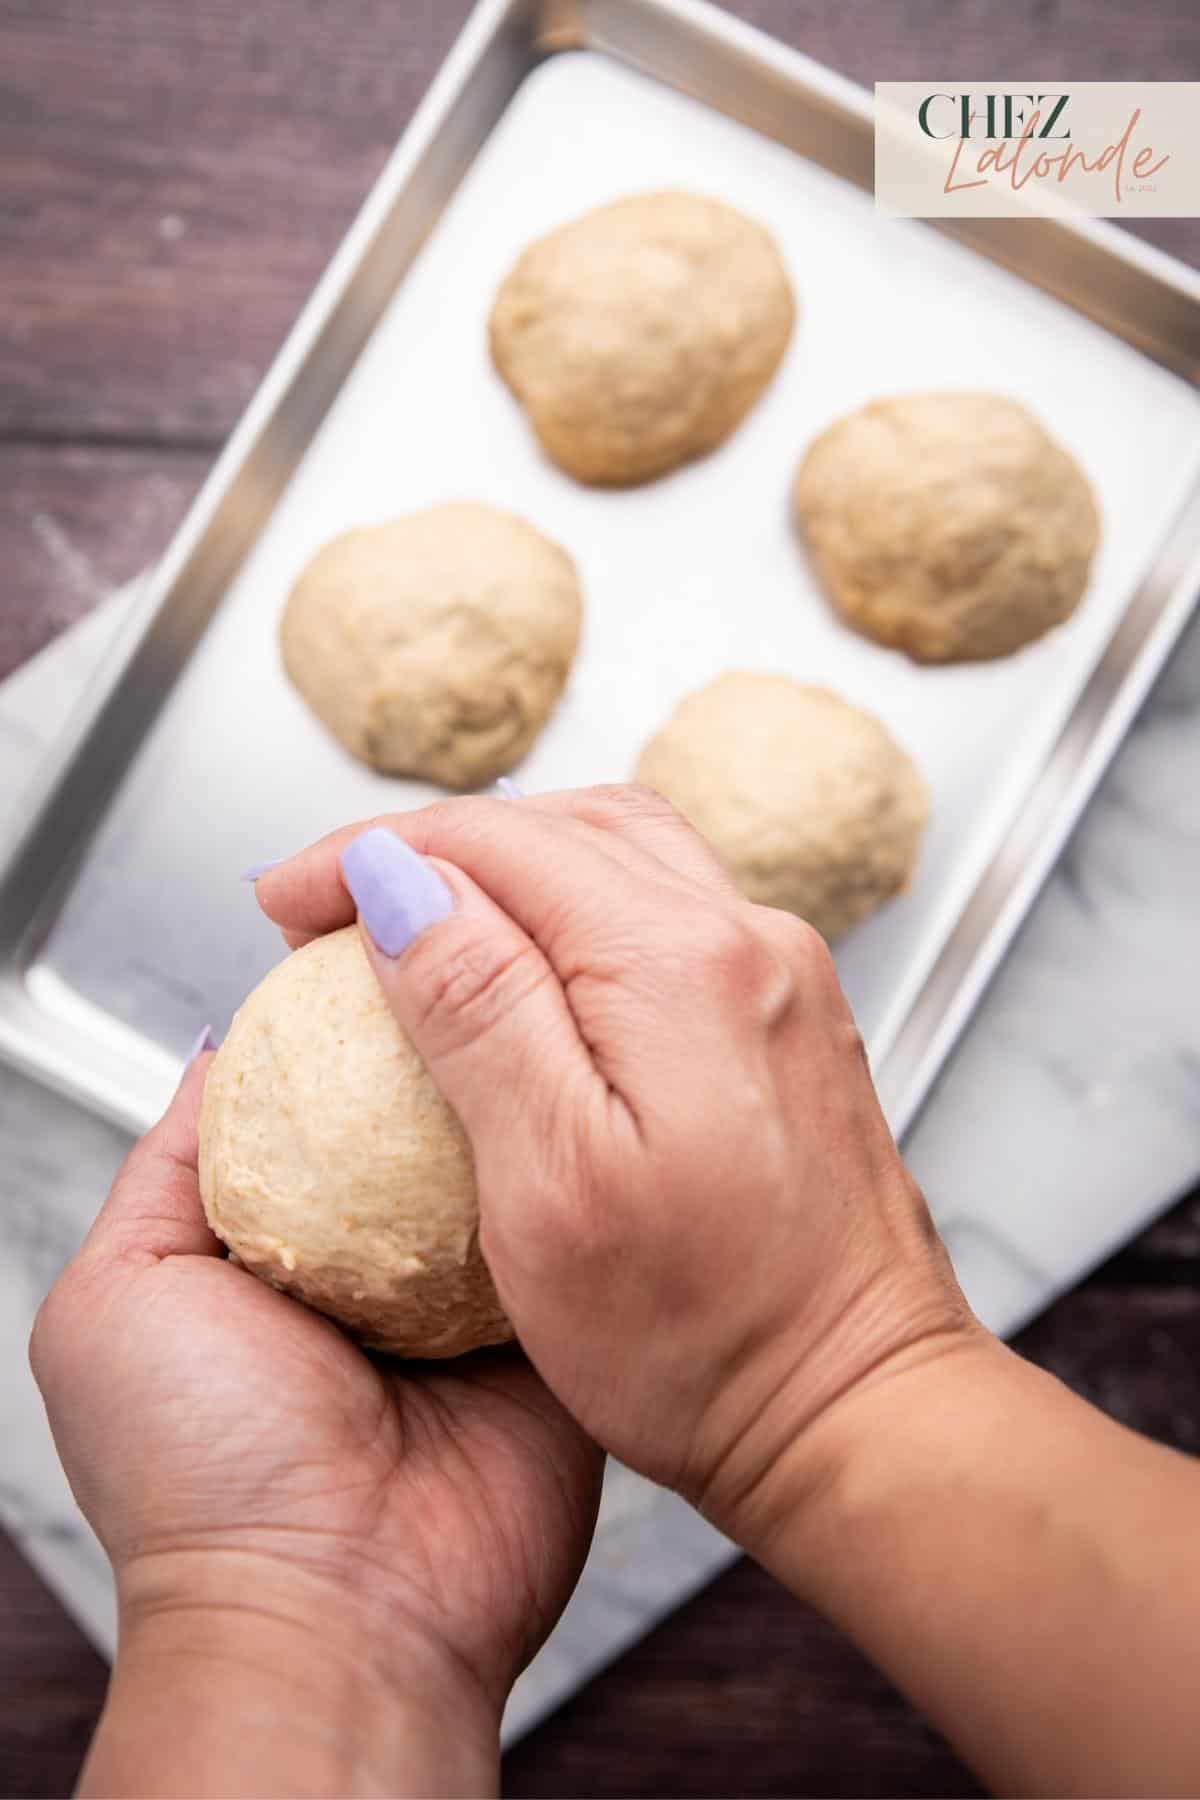
Based on the desired pita size, size the dough accordingly and form small dough balls using your hands. Place the dough balls on a baking sheet, cover them with plastic wrap, and return the tray to a warm spot for another 15 to 20 minutes of proofing.
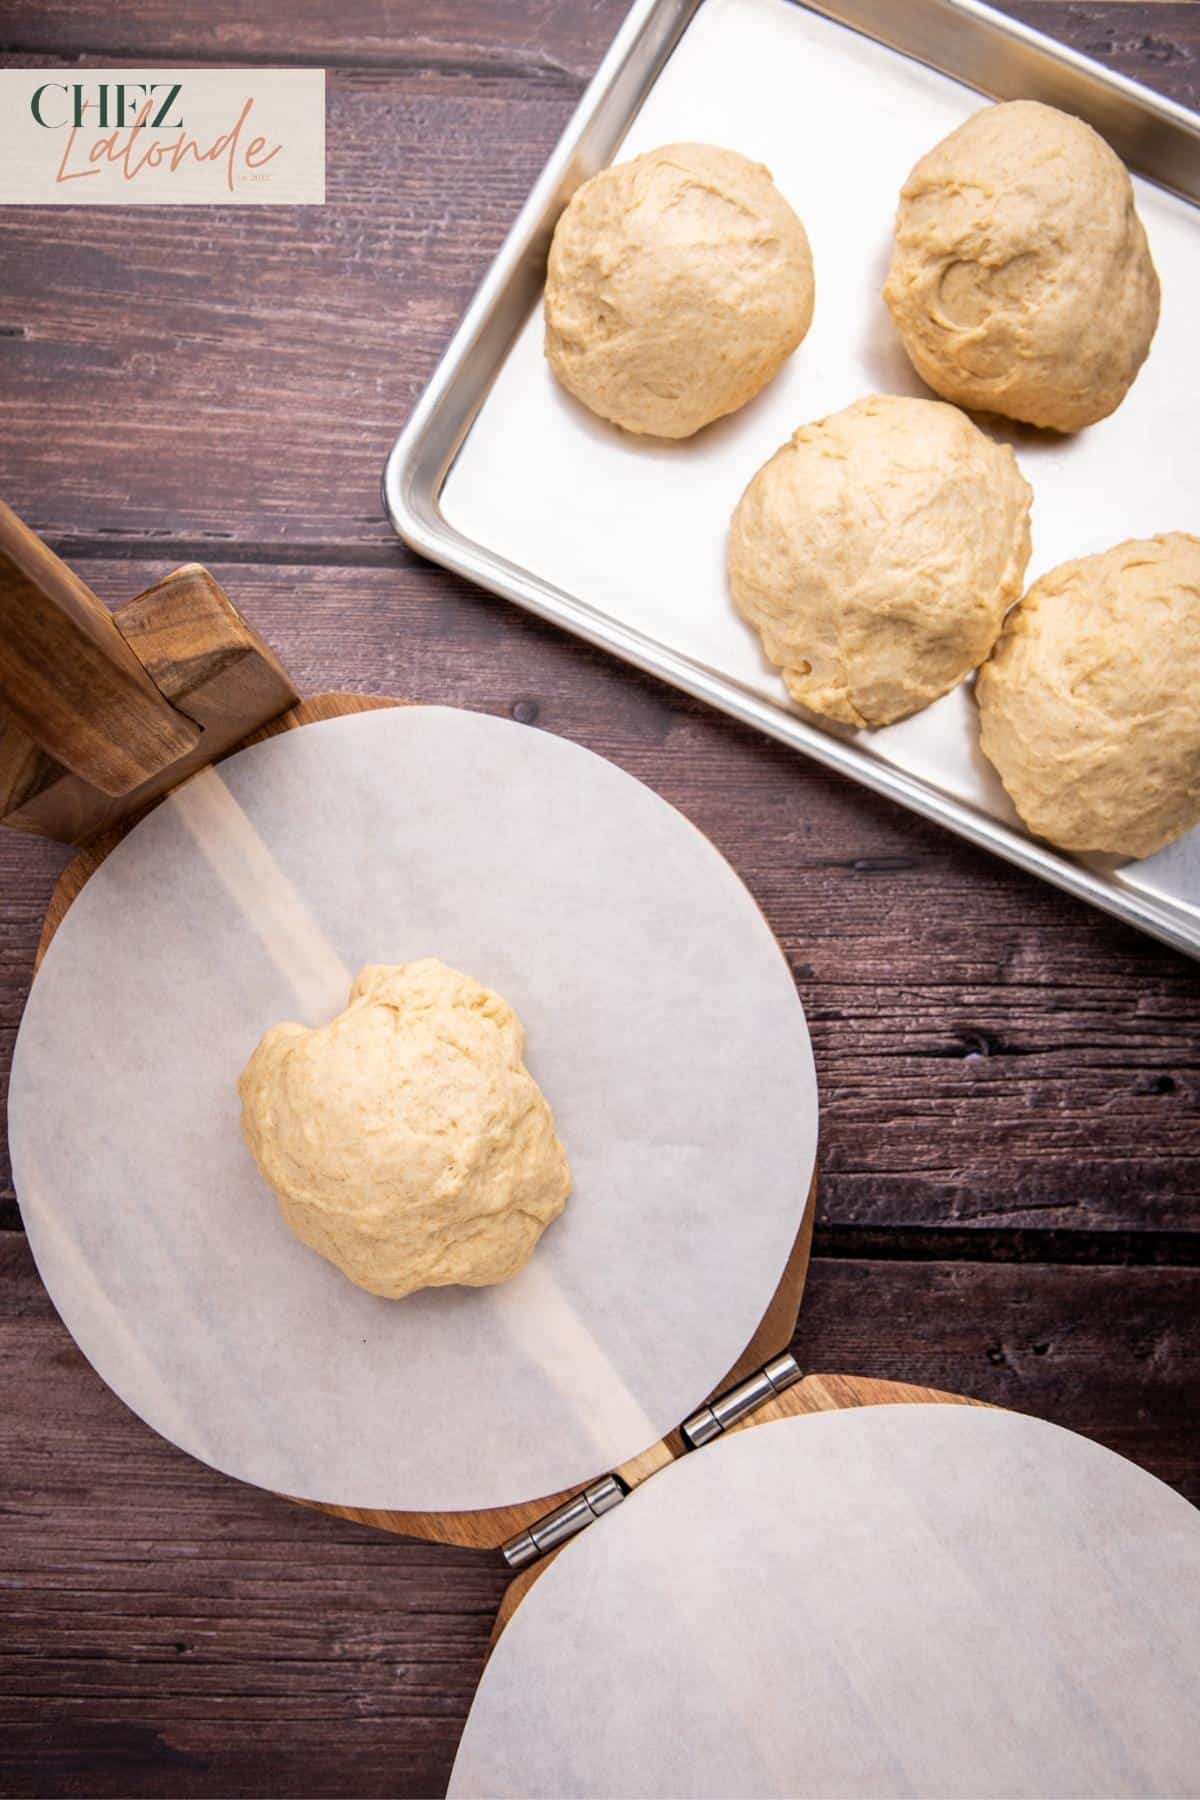
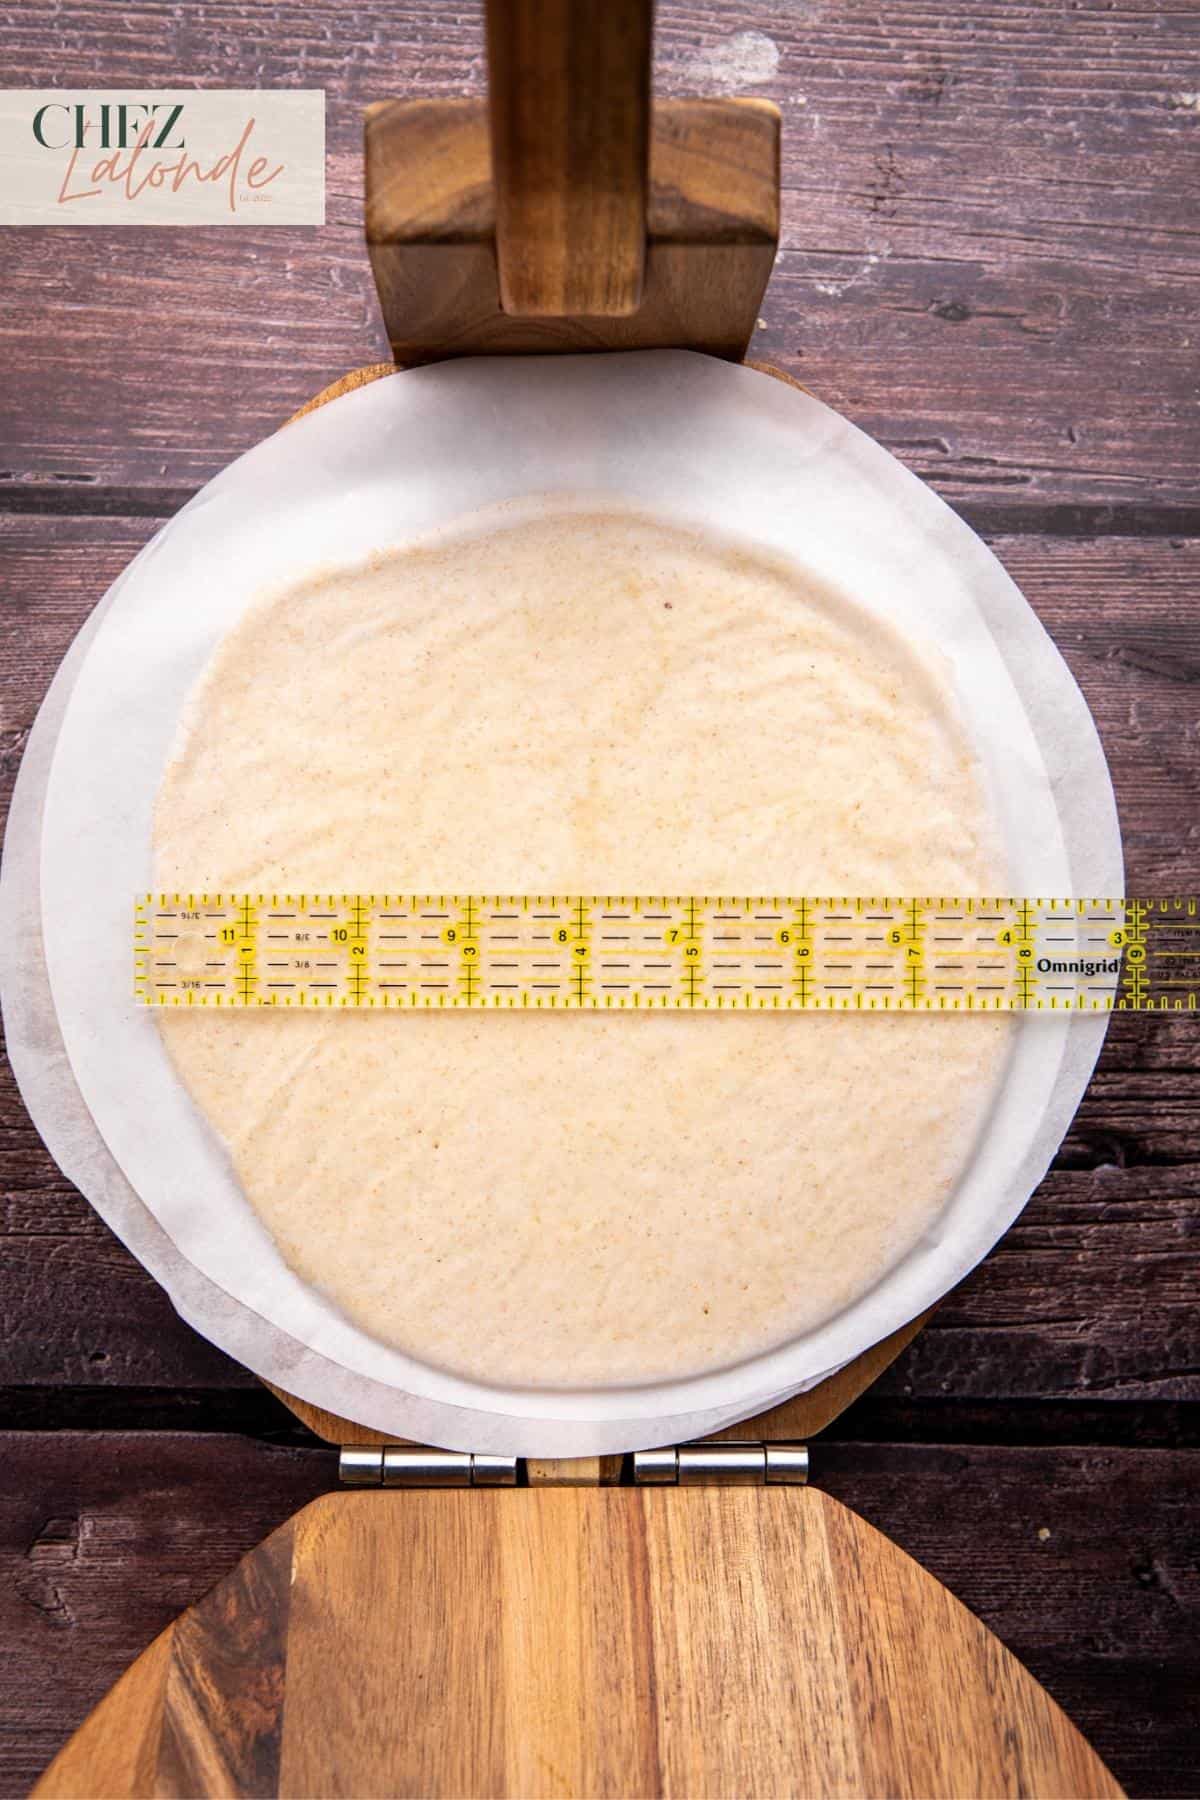
Step Seven – Press the pita dough:
After the second proofing, it’s time to roll out the pita dough. While a rolling pin is an option, I recommend using a tortilla press for its time-saving benefits and ability to create consistent thickness and roundness. Place a layer of parchment paper between the press and dough to prevent sticking, ensuring easy peeling off the press.


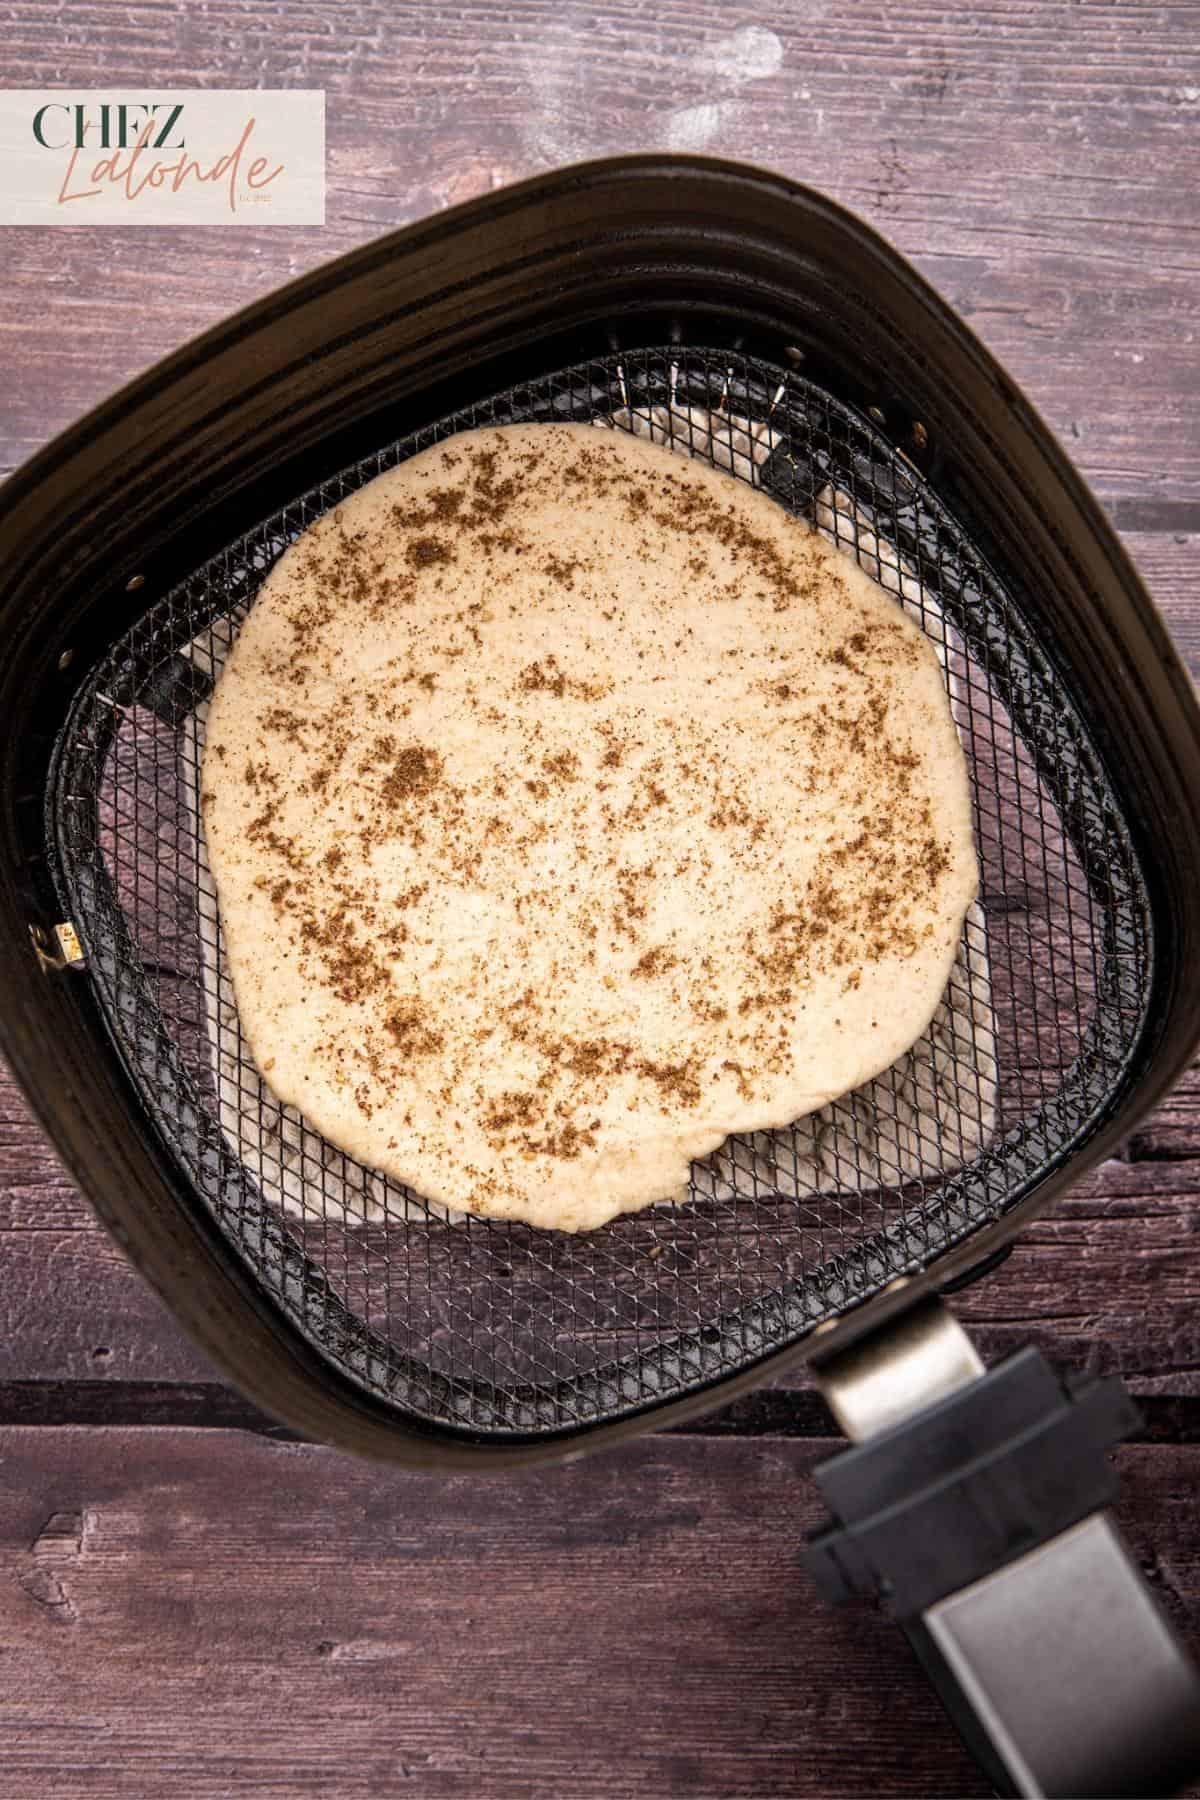
Step Eight – Cook your pita in an air fryer:
Preheat your air fryer to 400F for 5 to 8 minutes. After preheating, spray cooking spray in the air fryer basket to prevent sticking. Place the raw rolled-out pita dough in the air fryer and set the temperature to 400F. Cook it one at a time. For bigger pitas, cook for 7 to 8 minutes; for smaller ones, cook for 5 to 6 minutes until they puff up and turn golden.
Step Nine – Enjoy your homemade creations:
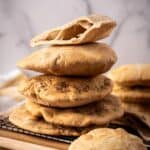
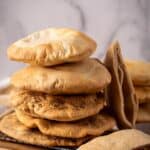
After cooking, use a kitchen knife to slice the larger pita bread in half, creating a perfect pocket for your favorite grilled meat, veggies, and condiments. As for the smaller pitas: shred them into smaller pieces, cut them into bite-size pita triangles, or enjoy them as the perfect snack, perfect for dipping in hummus, Baba ganoush, Lebanese garlic sauce (Toum), and Tzatziki.
Tips & Tricks
After struggling to attain uniform results, I found that weighing the dough was crucial. Without precise measurements, you won’t achieve consistent sizing or cooking time. Follow my method below to discover tips for achieving the perfect pita size.
- Weigh the dough after the 1st proof so that you can estimate how many pitas you can make. With this recipe, my master dough turned out to be about 650g.
- Always pre-heat the air fryer for 5 to 8 minutes before you cook your pitas. The first pita might not turn out as fluffy and golden, but subsequent ones will improve as the air fryer gets hotter.
- Use a tortilla press instead of a rolling pin to achieve consistent size and thickness. This method ensures a perfect round shape and even cooking for your pita bread.
- The proofing time is crucial—avoid rushing or over-proofing. Limit the 1st proof to 2 hours and the 2nd proof to 30 minutes max. Aim for 15 to 20 minutes for the best pita during the 2nd proofing phase.
- Ensure proper yeast activation by measuring the water temperature (between 95 to 110F), avoiding extreme temperatures that can either kill or fail to activate the yeast.
Leftover storage Tips:
Refrigeration:
Store leftover pitas in an airtight container or Ziploc bags in the fridge for 2 to 3 days. Turn them into Pita Chips for a tasty snack if they go stale.
Reheat options:
- Microwave for 30 seconds
- Toaster oven on toasting setting for 3 minutes or until warm and toasted.
- Air fryer at 350F for 2 minutes (to warm it up)
Freezing:
Cool the pita bread, place it in freezer-safe Ziploc bags, and store them for up to 3 months. Thaw before reheating using the mentioned reheating options above.
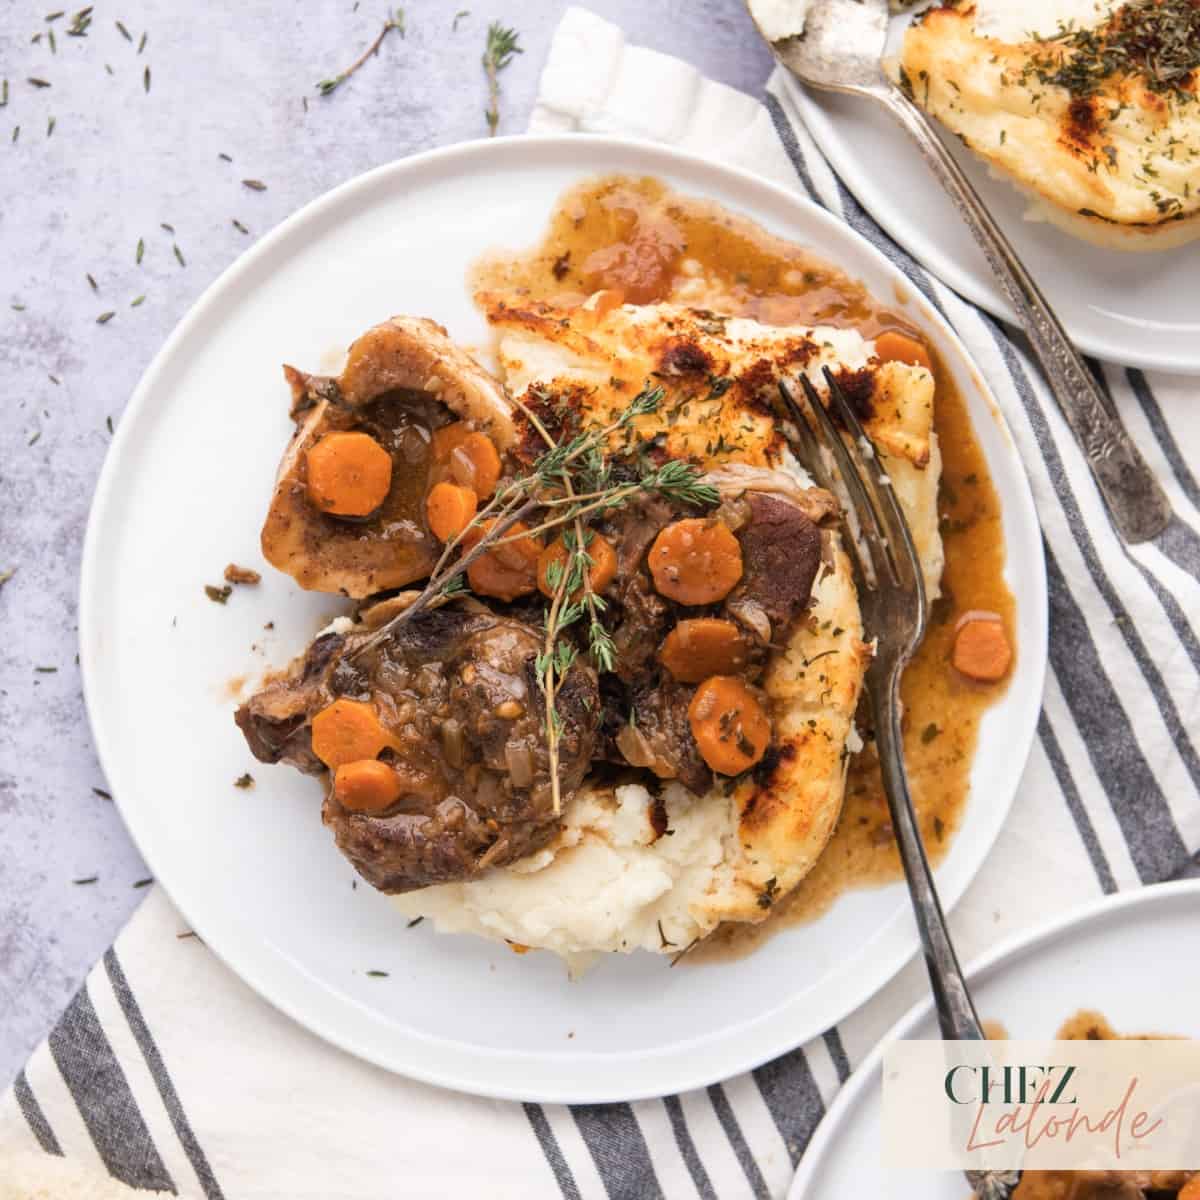
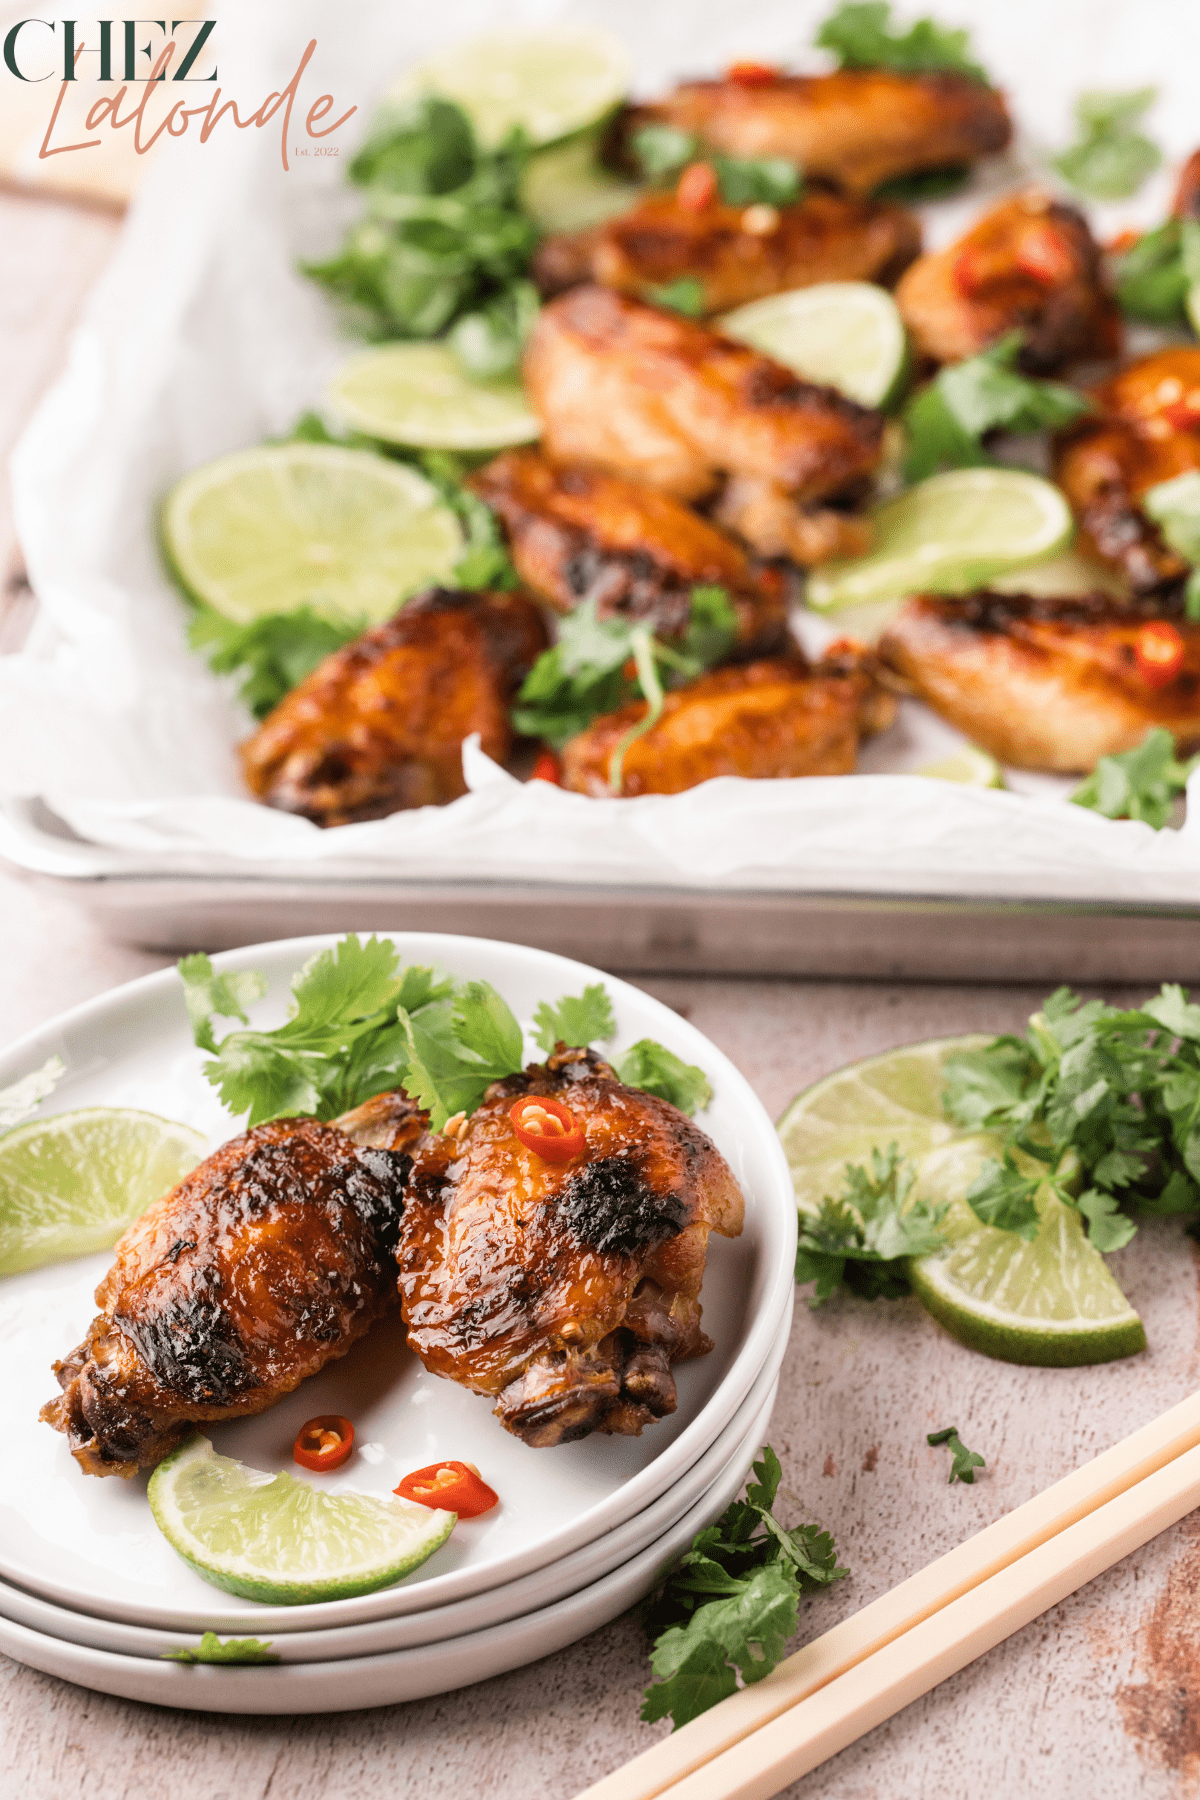
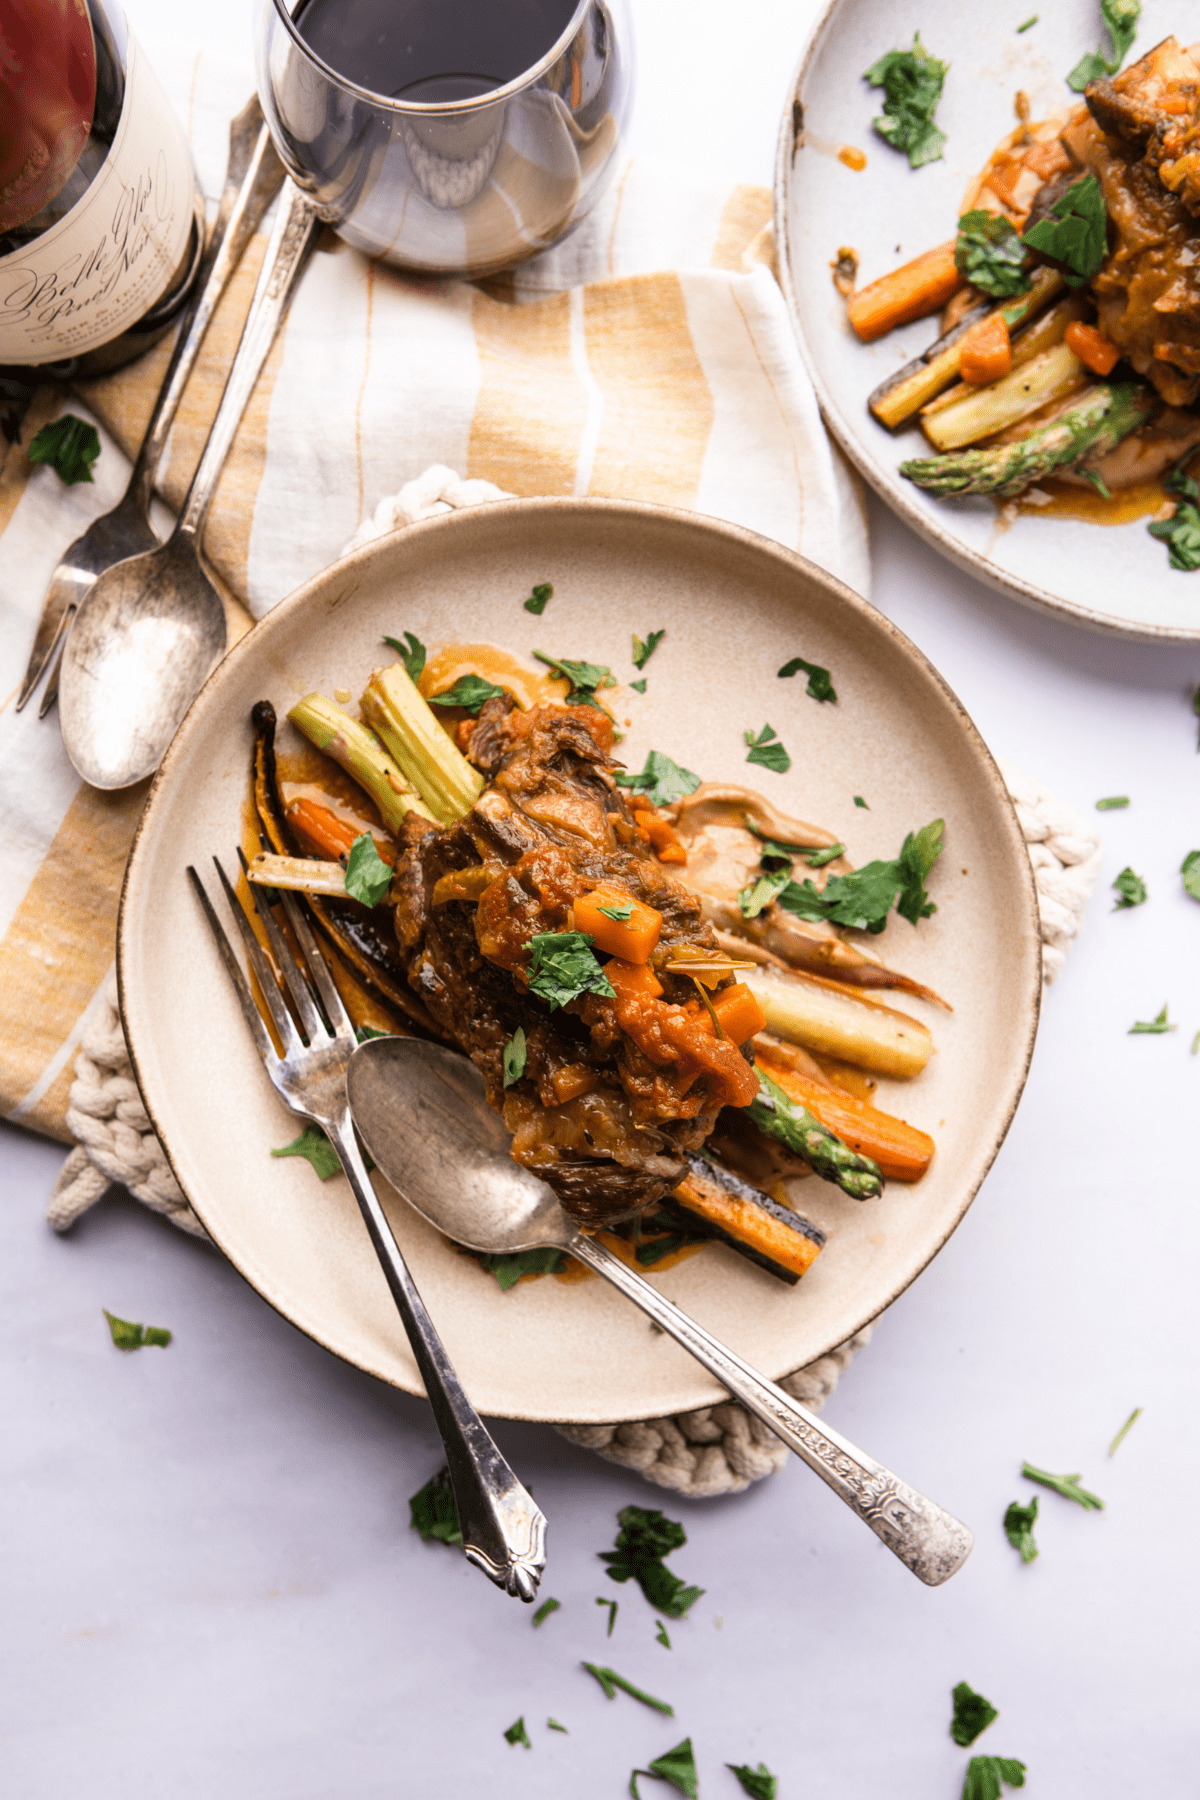
What is the best way to serve your pita bread?

FAQs about Air Fryer Pita Bread:
In Conclusion
As we near the end of this post, my goal has been to empower you with the knowledge to master the art of homemade air fryer pita bread, taking your culinary journey to new heights of Mediterranean delight. These golden-brown, delightful pita pockets will transport you to the sun-kissed shores of the Mediterranean, where you get to explore different flavors and fillings. Embrace the satisfaction of crafting your pita bread, bid farewell to store-bought options, and savor the joy of creating this tasty bread in the comfort of your home.
Happy cooking!
Did you make this recipe?
Thank you for joining me on this culinary journey to discover the joy of making homemade Air Fryer Pita Bread. If you enjoyed this recipe and want to explore more delicious recipes, don’t forget to follow my social media and never miss other exciting content!

Restaurant-style Homemade Air Fryer Pita Bread
- Total Time: 2 hours 8 minutes
- Yield: 10
Description
Get ready to savor the ultimate Mediterranean delight—Air Fryer Pita Bread! These golden, crispy pitas are incredibly simple to make using your air fryer. No special skills are needed, just essential ingredients. You can customize it with your favorite fillings or pair it with your homemade Mediterranean flavor dips.
Ingredients
2 1/3 Cups of All-purpose flour
1/2 Cup of Whole wheat flour
1 Teaspoon of Sea salt
4 Tablespoon of Extra virgin olive oil
1 Cup of Luke warm water (At 95 to 110F)
2 1/4 Teaspoons of Active dried yeast
2 Tablespoons of all-purpose flour
2 Teaspoons of Sugar
Instructions
Step one – Active the yeast:
In a fresh bowl, combine 1 cup of lukewarm water (95 to 110F), 2 ¼ teaspoons of active dry yeast (or a packet), 2 tablespoons of sugar, and 2 tablespoons of all-purpose flour. Use a spatula or whisk to mix thoroughly. Cover the bowl with plastic wrap or a clean kitchen towel, and let the mixture activate in a warm spot for 15 minutes.
Step two – Combine the remaining ingredients:
Combine ½ cup of whole wheat flour, 2 1/3 cups of all-purpose flour, 1 teaspoon of sea salt, and the activated yeast mixture in a separate bowl. Mix with a spatula or dough whisk until it forms a shaggy messy dough. Then, add 3 tablespoons of extra virgin olive oil to the mixture.
Step three – Form the dough in a stand mixer:
After incorporating the mixture, continue kneading the dough by hand for a minute or two until the texture becomes less tacky. Transfer the dough to a stand mixer with a dough hook attachment and knead at medium-high speed (Speed setting at 6 to 8) for 5 to 8 minutes until smooth.
Step four – Prepare the dough for first proof:
After kneading the dough in the stand mixer, transfer it to a floured kitchen counter and shape it into a ball by hand. Drizzle a tablespoon of olive oil in the stand mixing bowl and spread it around to prevent sticking. Place the dough ball inside the bowl, cover it with plastic wrap or a clean kitchen towel, and let it proof and rise for a minimum of 1 hour, but no more than 2 hours, in a warm area for the best results.
Step five – Determine your serving style and size of pita:
Once the 1st proof is complete, the dough should have doubled. Gently deflate the air by giving it a light punch. Remove the dough from the bowl and place it on a kitchen scale to determine its weight. Depending on what you are using the pita for, you can use the guide below to determine the weight of each pita dough:
To make Pita Sandwiches:
-
This recipe should yield 5 whole pita bread.
-
If you plan to make Pita sandwiches and stuff them with grilled meat and vegetables, each dough must weigh 110 to 120 grams. That will make an 8-inch pita.
-
For a 7 to 8-inch pita, cook it for 7 to 8 minutes in an air fryer at 400F/ 200C. With less time, the dough will not fluff up.
-
After it is cooked, slice it in half to serve as sandwiches. You should get about 10 sandwiches.
To Make it as a side dish or an appetizer:
-
Use 90 to 100g of dough for smaller pitas. This should result in 5 to 6-inch pitas, perfect for dipping in hummus, baba ganoush, Tzatziki, or serving as a side dish with rice platters.
-
For a smaller pita, you must shorten the cooking time to 5 minutes at 400F/200C.
-
With this recipe, you should be able to get 8 small pitas.
-
Please note that this size is too small to serve as a sandwich.
Step Six – Prepare for the second proof:
Based on the desired pita size, size the dough accordingly and form small dough balls using your hands. Place the dough balls on a baking sheet, cover them with plastic wrap, and return the tray to a warm spot for another 15 to 20 minutes of proofing.
Step Seven – Press the pita dough:
After the second proofing, it’s time to roll out the pita dough. While a rolling pin is an option, I recommend using a tortilla press for its time-saving benefits and ability to create consistent thickness and roundness. Place a layer of parchment paper between the press and dough to prevent sticking, ensuring easy peeling off the press.
Step Eight – Cook your pita in an air fryer:
Preheat your air fryer to 400F for 5 to 8 minutes. After preheating, spray cooking spray in the air fryer basket to prevent sticking. Place the raw rolled-out pita dough in the air fryer and set the temperature to 400F. Cook it one at a time. For bigger pitas, cook for 7 to 8 minutes; for smaller ones, cook for 5 to 6 minutes until they puff up and turn golden.
Step Nine – Cook your pita in an air fryer:
After cooking, use a kitchen knife to slice the larger pita bread in half, creating a perfect pocket for your favorite grilled meat, veggies, and condiments. As for the smaller pitas: shred them into smaller pieces, cut them into bite-size pita triangles, or enjoy them as the perfect snack, perfect for dipping in hummus, Baba ganoush, or other delightful sauces.
Notes
Weigh the dough after the 1st proof (master dough around 650g).
Always preheat the air fryer for 5-8 minutes for better pita results.
Use a tortilla press for consistent size and thickness.
Limit 1st proof to less than 2 hours, 2nd proof to 30 mins (15-20 mins optimal).
Pita Sandwiches: Dough 130g for 8-inch pitas, cook for 7-8 mins at 400F/200C.
Slice cooked pitas in half for 10 sandwiches. Yield 5 big pitas.
Side Dish/Appetizer: Use 80-90g dough for 5-6 inch pitas, and cook for 5 mins at 400F/200C.
The recipe yields 8 to 10 small pitas, which are not suitable to use as sandwiches.
- Prep Time: 2 hours
- Cook Time: 8 minutes
- Category: Appetizers
- Method: Air-Frying
- Cuisine: Mediterranean