How To Make Creamy Homemade Hummus With A Vitamix
Let’s dive into the captivating world of hummus, the beloved Middle Eastern dip that has taken the culinary scene by storm. Can you imagine indulging in a creamy, homemade version that surpasses anything you’ve ever tasted? In this tantalizing recipe post, I will show you how to make creamy homemade hummus with a Vitamix. You can create the most divine velvety-smooth hummus with the perfect blend of flavors using a Vitamix blender in a few minutes. This hummus recipe looks straight from the restaurant, and I bet your friends and family won’t believe it’s homemade.
Disclaimer Notice: This website contains affiliate links. If you make a purchase through these links, I may earn a commission at no extra cost to you. I only endorse products or services I believe will be valuable to my readers. I appreciate your support.
Hummus, a global phenomenon adored by countless food enthusiasts, has captured hearts with its luxurious and velvety texture, accompanied by an array of enticing flavors. While store-bought hummus is available, there’s an undeniable magic in crafting your homemade hummus. With the help of a Vitamix blender, crafting this delightful appetizer becomes a breeze, allowing you to fine-tune every aspect of your creation—ingredients, flavors, and textures—to suit your preferences.
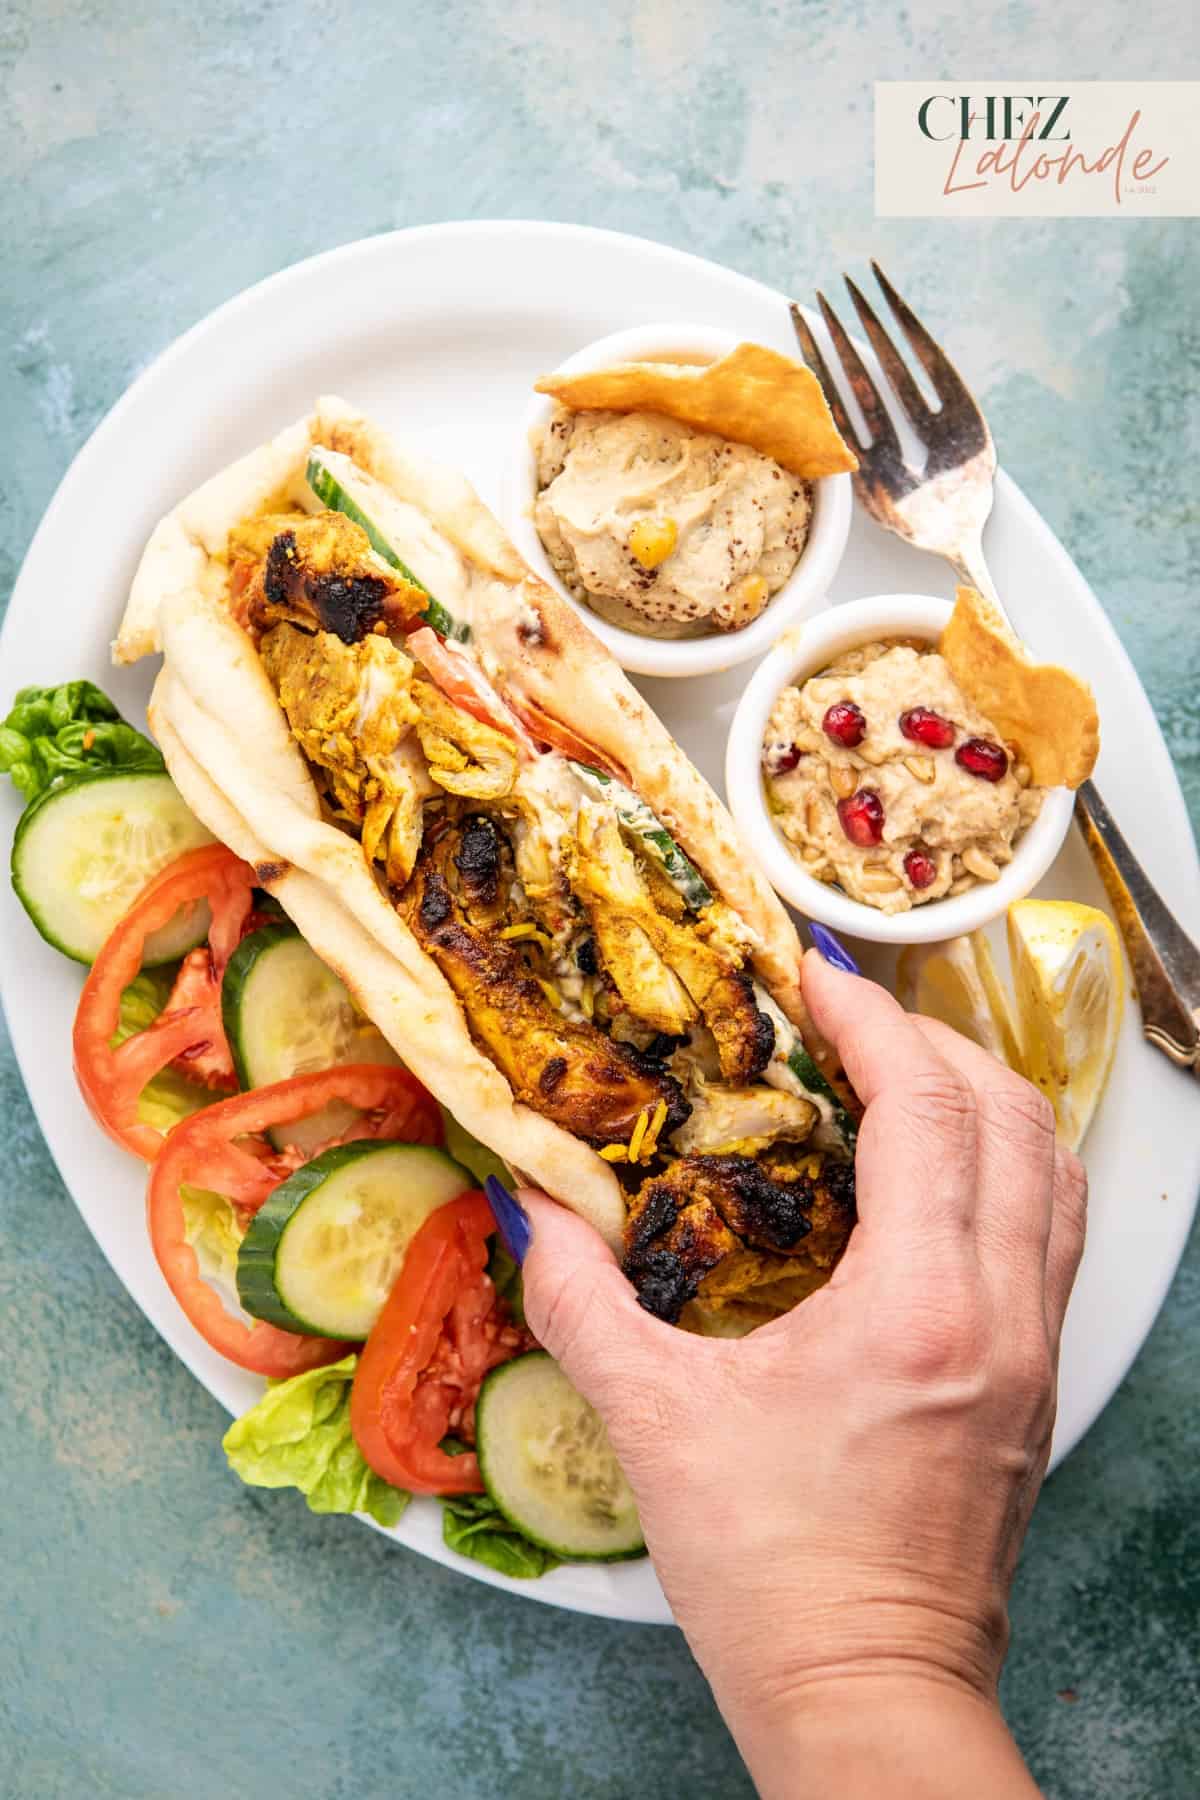
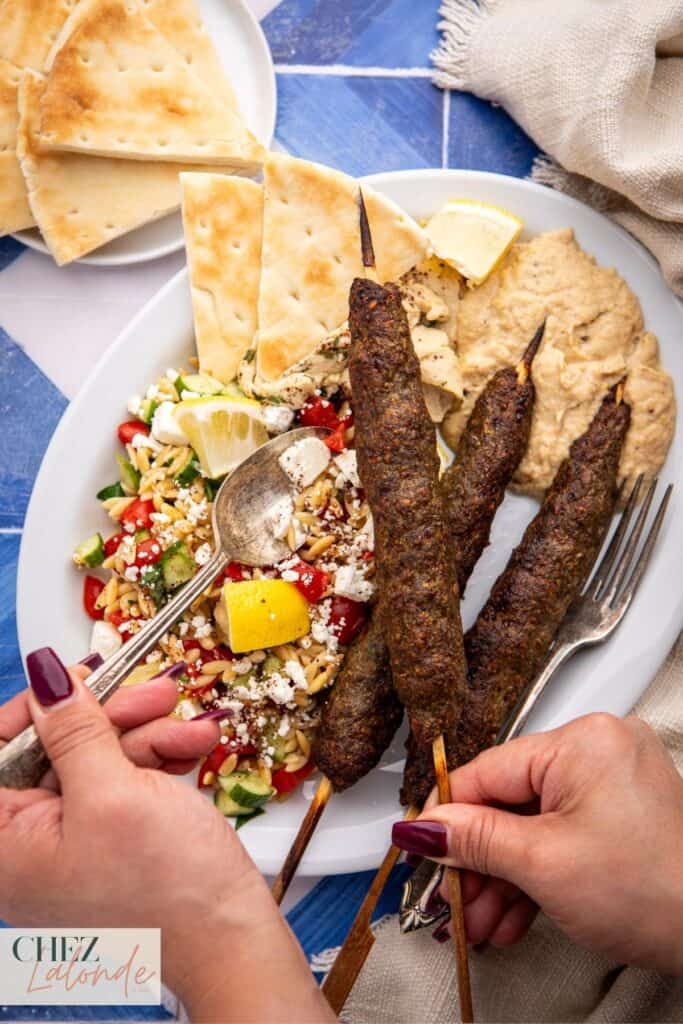
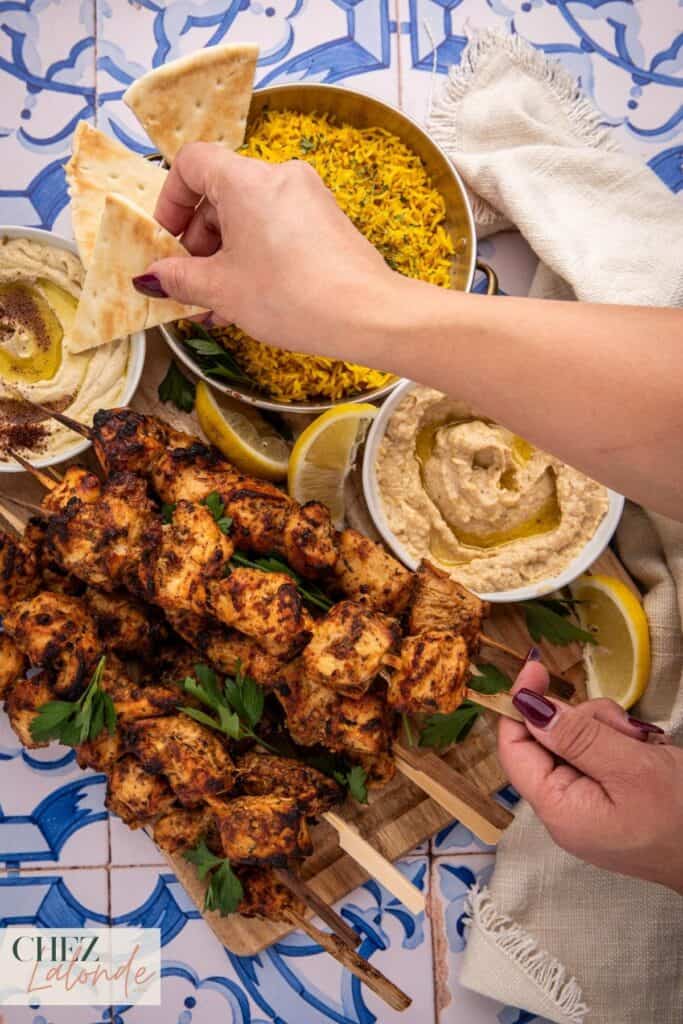
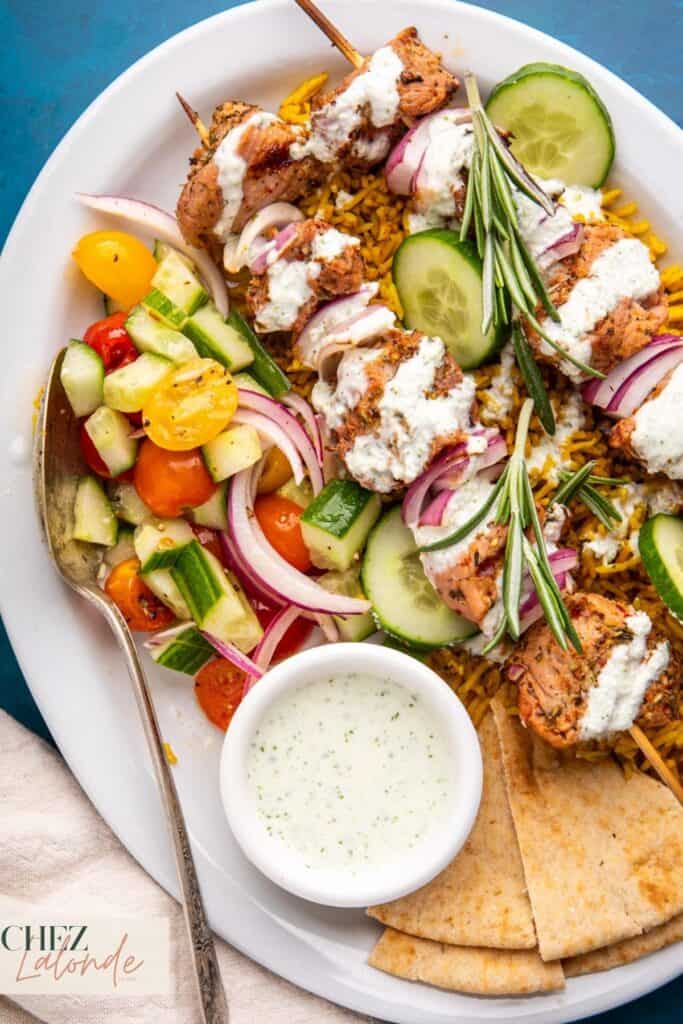
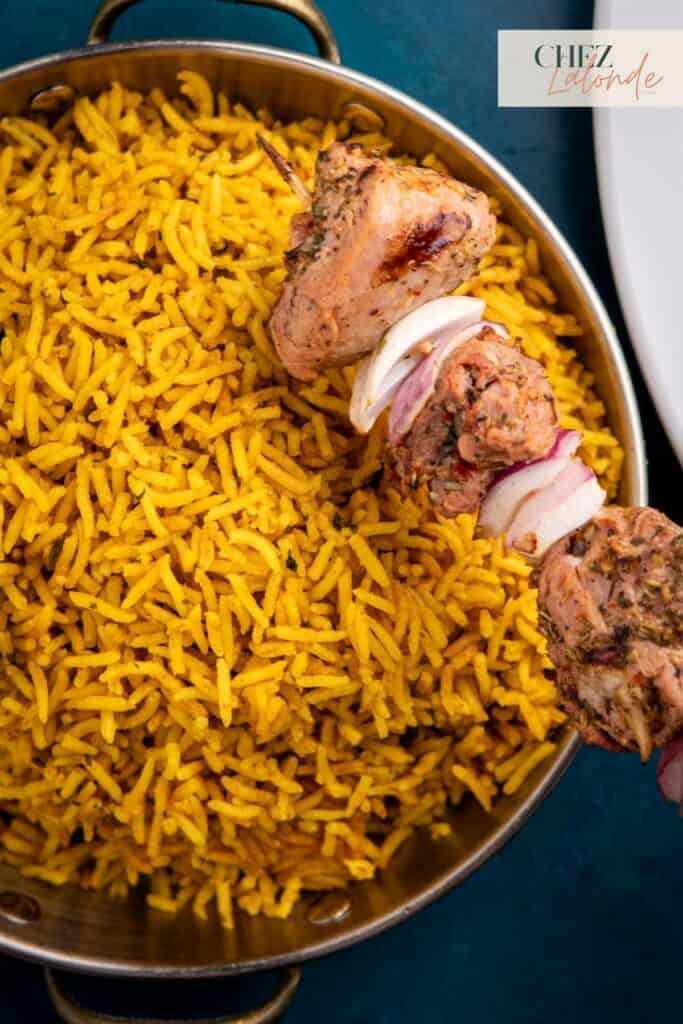
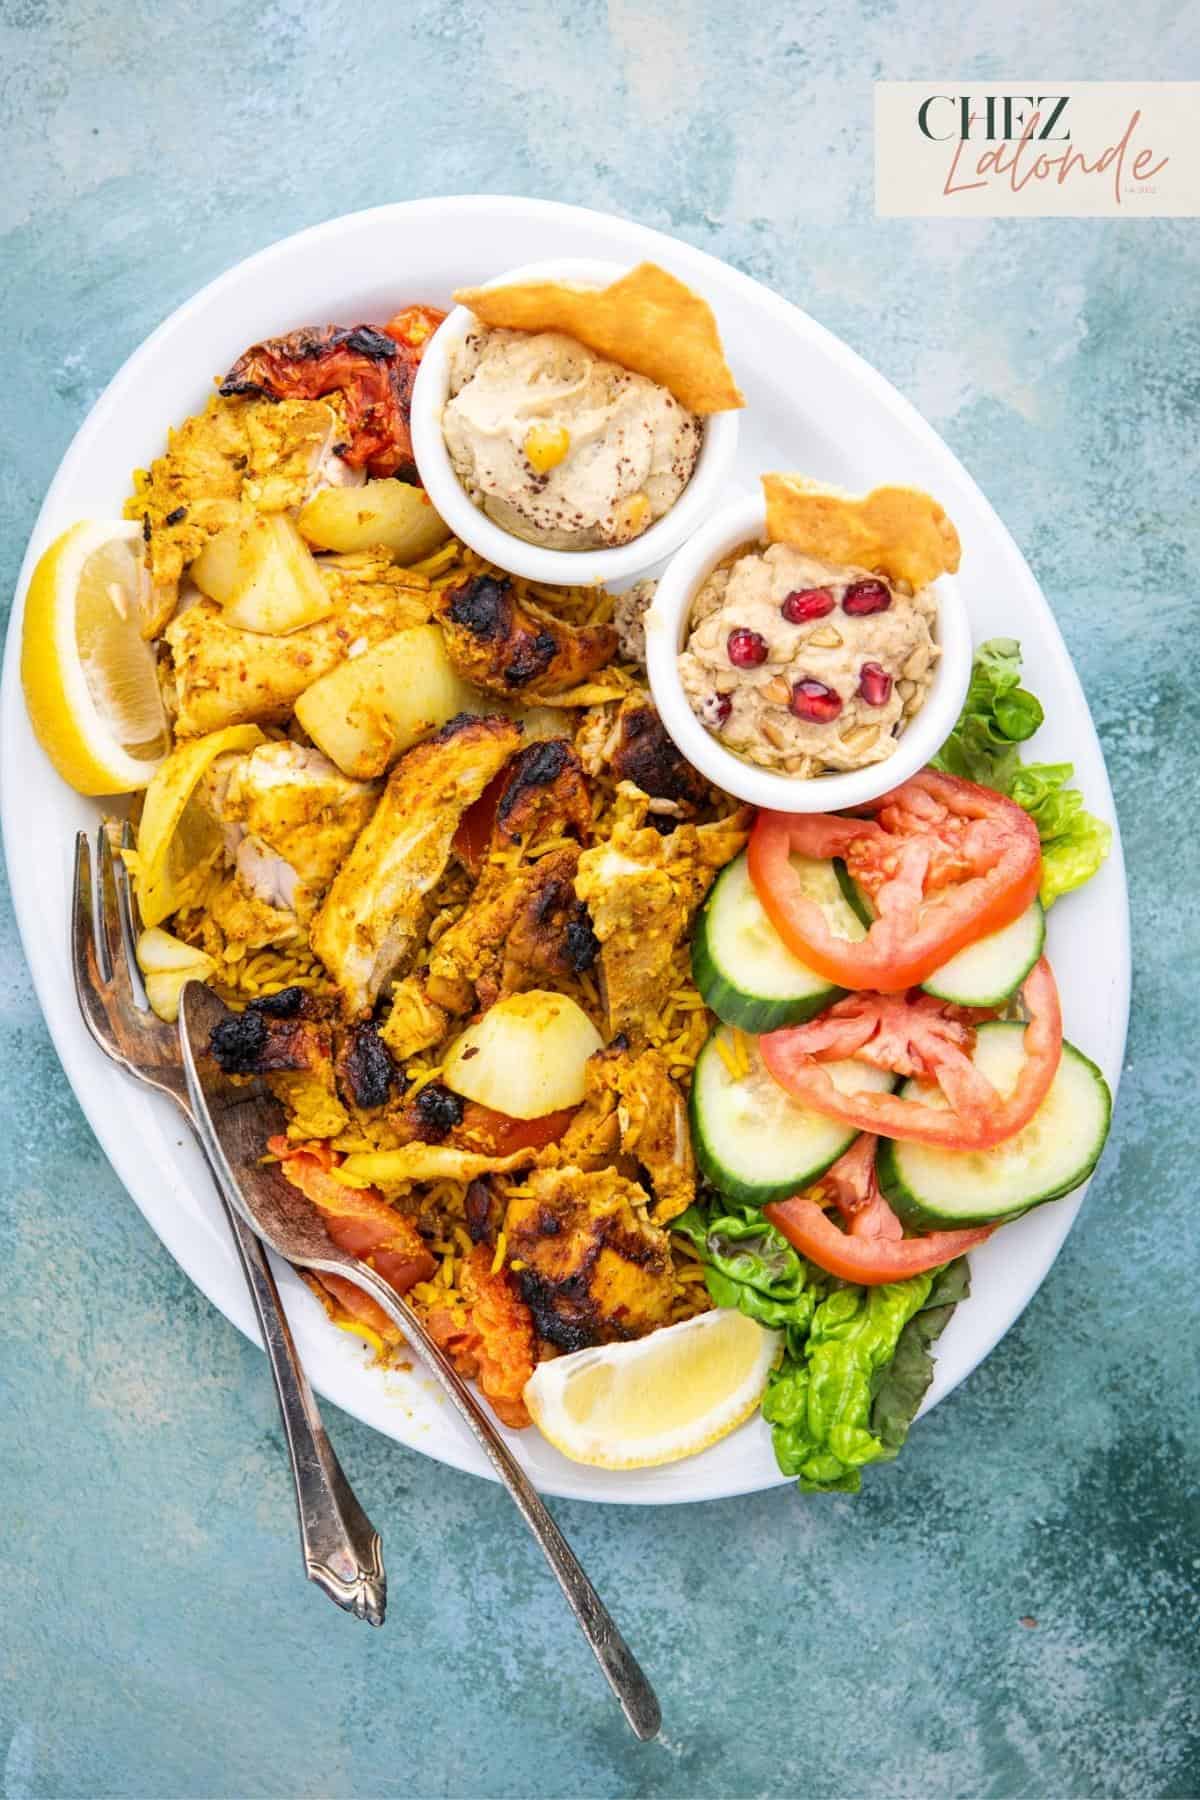
This tantalizing recipe pairs perfectly with skewers such as Shish Tawook, Kofta Kebabs, and Pork Souvlaki with Tzatziki sauce. Also, don’t forget about Chicken Shawarma on Mediterranean yellow rice platters with Lebanese garlic Toum sauce. Often, people serve Hummus along with Baba ganoush as a dip or spread with Pita bread as an appetizer. It is the perfect appetizer for any occasion or season. Let’s prepare your ingredients and Vitamix and embark on another mouthwatering adventure together.
Recipe Snapshot
EASE: Easier to make and tastes just like the one at the Middle Eastern restaurant.
PROS: It’s creamy and flavorful.
CONS: You will need to spend some time removing the outer shell of each chickpea.
WOULD I MAKE THIS AGAIN? For sure. My family requests this appetizer when I make the Sous Vide Pork Souvlaki.
Why will you enjoy this recipe?
The quick and effortless preparation using a Vitamix blender ensures smooth hummus in minutes, making it a convenient option for any occasion. Whether served as a party dip or a wholesome snack, this Middle Eastern delight will impress guests with its impressive taste and nutritional profile.
What is Hummus?
Hummus is a famous Middle Eastern dip made from cooked and mashed chickpeas (Also known as Garbanzo beans) blended with tahini (sesame seed paste), olive oil, lemon juice, garlic, and various seasonings. It has a creamy and smooth texture, often served as a dip or spread. Hummus is known for its rich flavor and versatility and is a nutritious source of protein, fiber, and healthy fats. It is enjoyed with a Souvlaki platter, homemade pita bread, fresh vegetables, or as a condiment in sandwiches and wraps.
What does Hummus taste like?
Classic Hummus has a distinct and delightful taste characterized by a harmonious blend of flavors. It has a nutty undertone from the tahini, a slight tanginess from the lemon juice, and a subtle garlicky essence. The chickpeas contribute a mild earthiness and a creamy, smooth texture. Together, these elements create a well-balanced and savory profile with a hint of freshness. The overall taste of hummus can vary slightly depending on the specific ingredients and seasonings used, but it is generally regarded as deliciously rich, satisfying, and addictive.
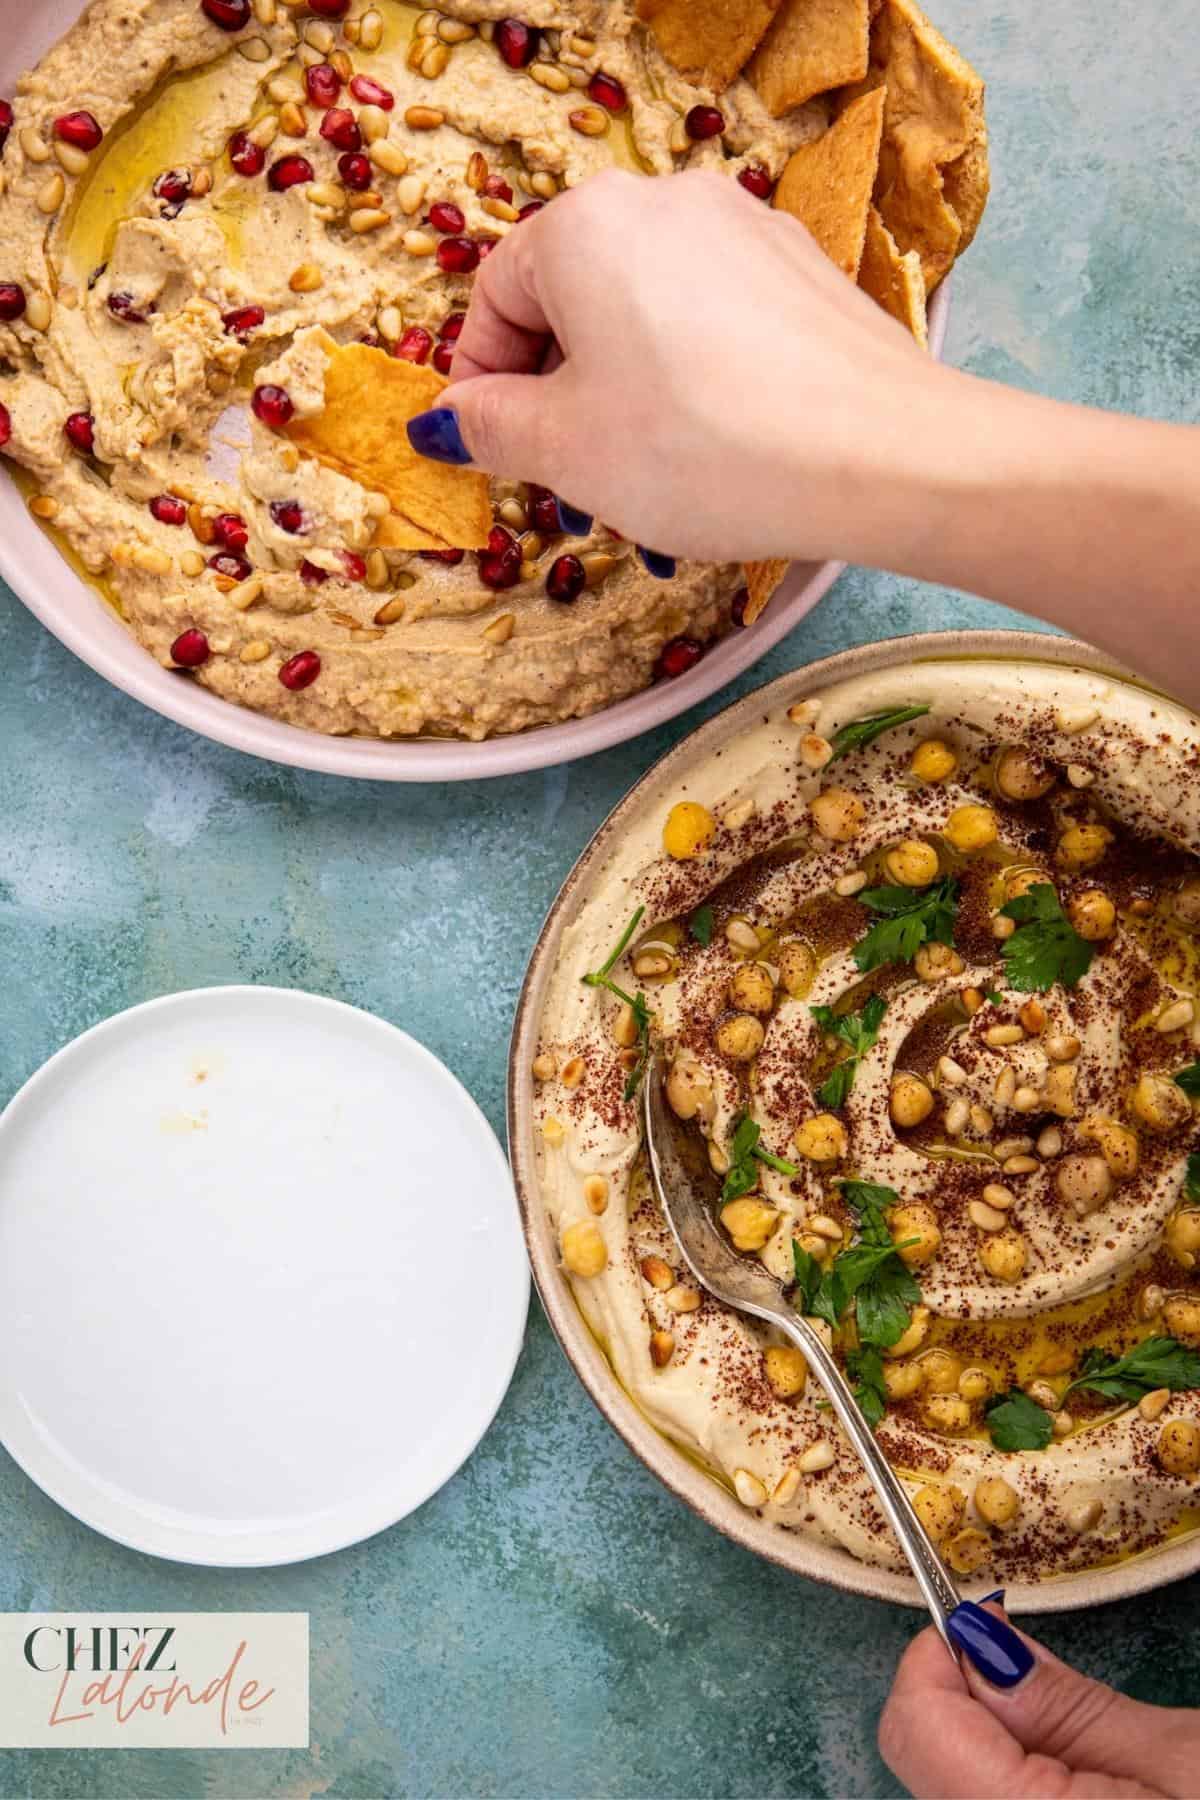
What is the difference between Hummus and Baba Ganoush?
Hummus
Hummus is believed to have originated in the Levantine region of the Middle East, specifically in countries like Lebanon, Palestine, and Syria. It has been a staple in Middle Eastern cuisine for centuries and has gained immense popularity worldwide. Here are some of its characteristics:
- Made from cooked and mashed chickpeas (Garbanzo beans).
- Smooth and creamy texture.
- The nutty and tangy flavor from tahini, lemon juice, and garlic.
- Light beige or tan in color.
- It is served as a dip with pita bread and vegetables or a spread in sandwiches or wraps.
- Versatile and popular Middle Eastern dip.
Baba Ganoush:
Baba Ganoush is also rooted in the Levantine region, particularly in countries like Lebanon and Syria. It is considered a traditional dish in the Eastern Mediterranean and has become a cherished part of the Middle Eastern culinary heritage. Here are some of its characteristics:
- It is made from roasted eggplants.
- Slightly chunky and smoky texture.
- The rich and slightly sweet flavor from roasted eggplants.
- Darker hue, ranging from light brown to dark brown.
- Served as a dip with pita bread or as a side dish.
- Offers a unique smoky and savory experience in Middle Eastern cuisine.
What is the difference between Canned chickpeas Versus dried chickpeas?
You can use dried or canned chickpeas in this recipe based on your preference and availability. While dried chickpeas are often praised for offering a more authentic taste, I opted for canned chickpeas during testing due to time constraints. However, I encourage you to compare the differences and make your own decision when preparing this recipe. Both options can yield delicious results, so choose what works best for you.
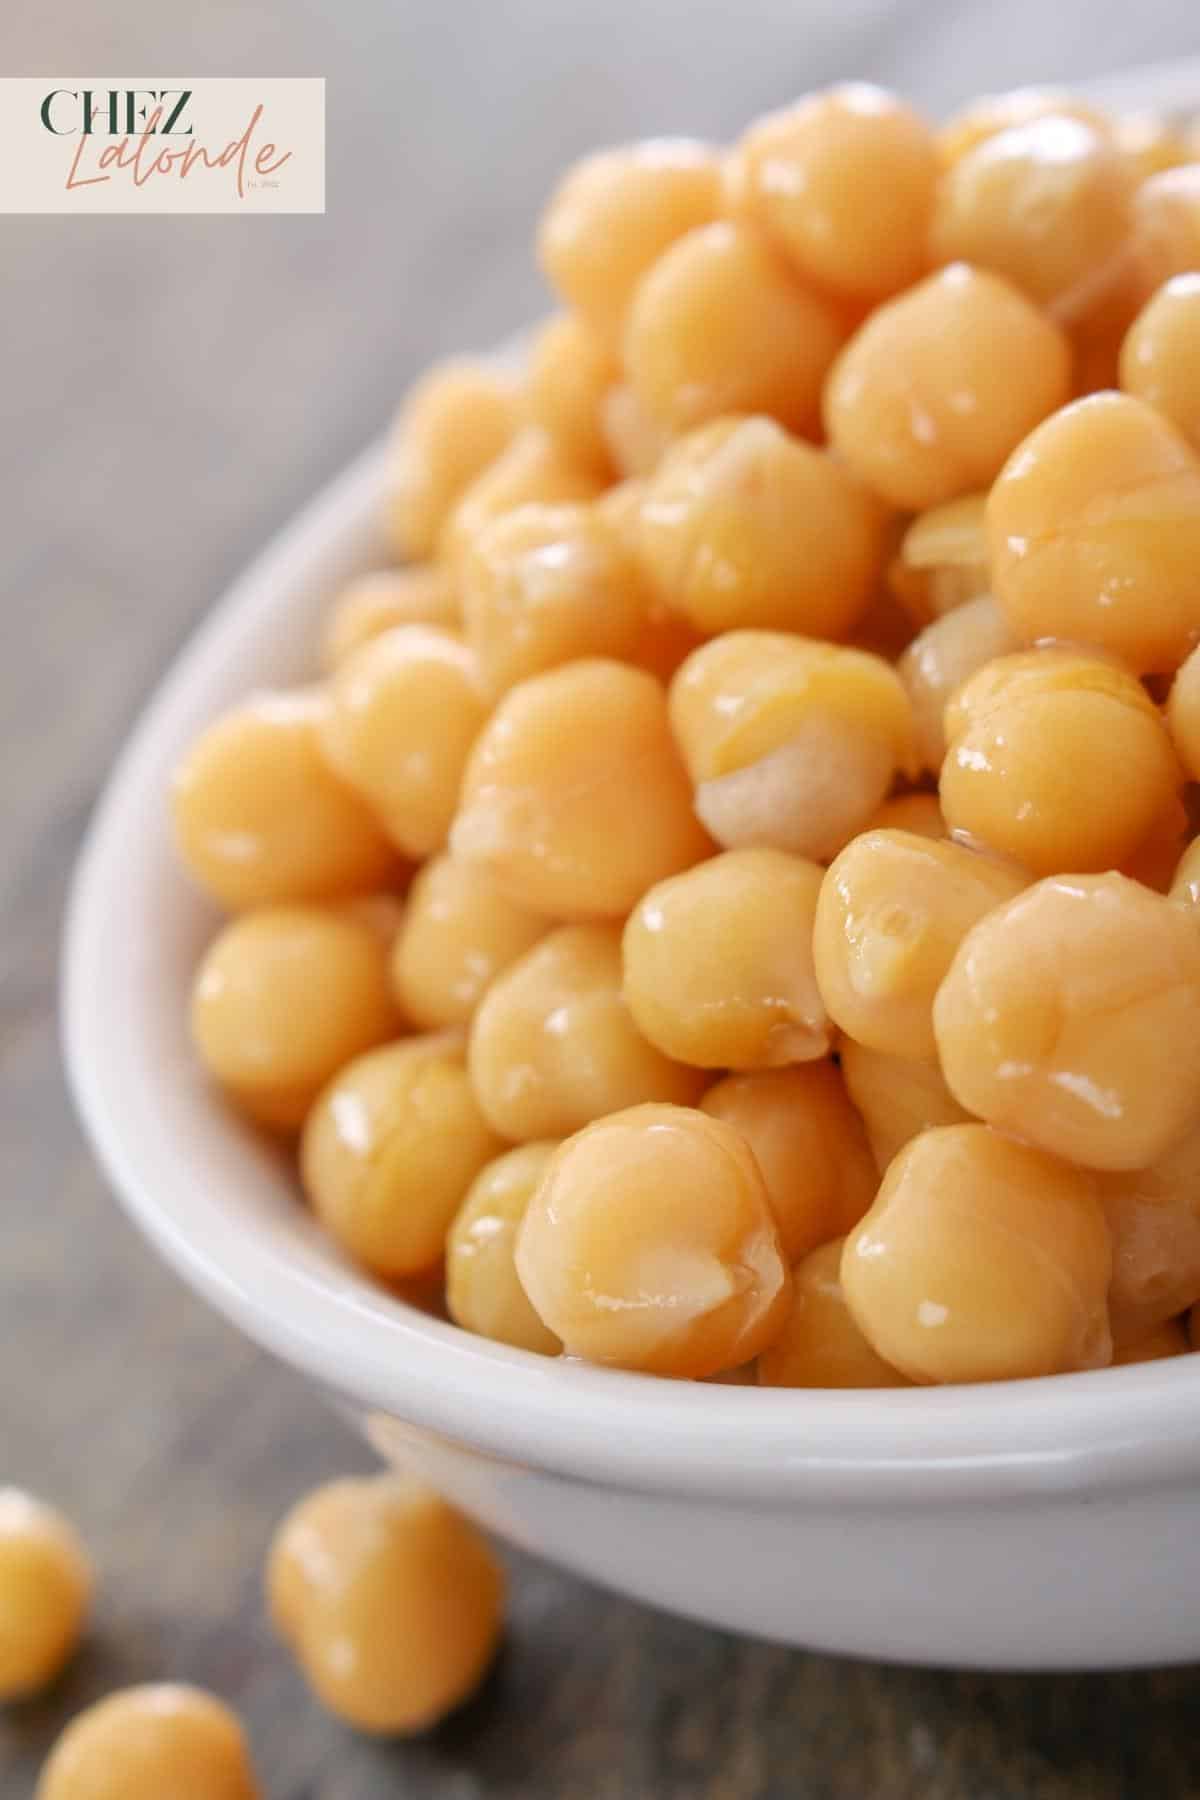
Canned Chickpeas:
- Canned chickpeas are pre-cooked and ready to use.
- They are soaked, cooked, and then canned in water or brine.
- Canned chickpeas are convenient and save time since they don’t require soaking.
- They have a softer texture compared to dried chickpeas.
- Canned chickpeas are a convenient option for quick recipes or when time is limited.
- They are readily available in most grocery stores.
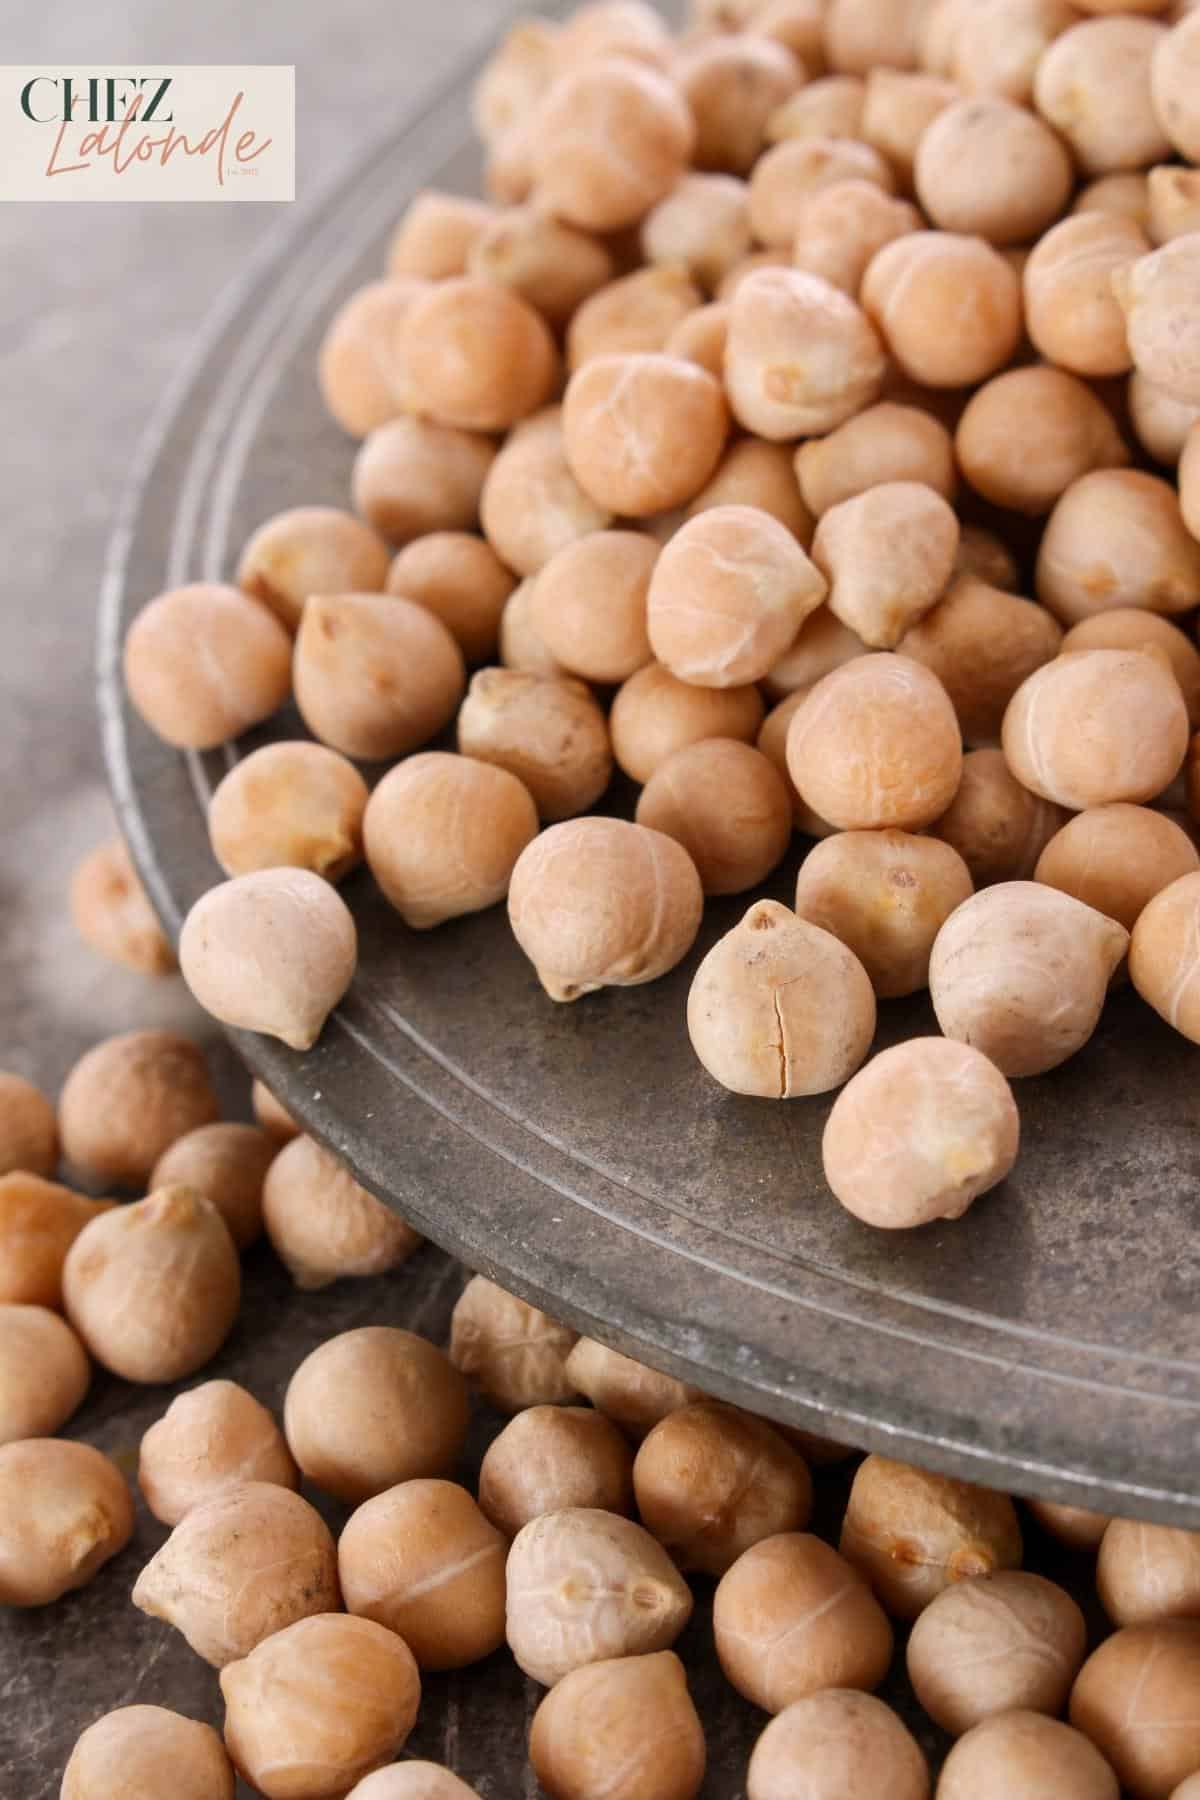
Dried Chickpeas:
- Dried chickpeas are uncooked and require soaking before use.
- They must be soaked in water for overnight to soften.
- Once soaked, they are cooked by boiling until tender.
- Dried chickpeas have a firmer texture compared to canned chickpeas.
- They allow for better control over the cooking process and can be seasoned to taste.
- Some people prefer the flavor and texture of dried chickpeas in homemade dishes.
What is Tahini?
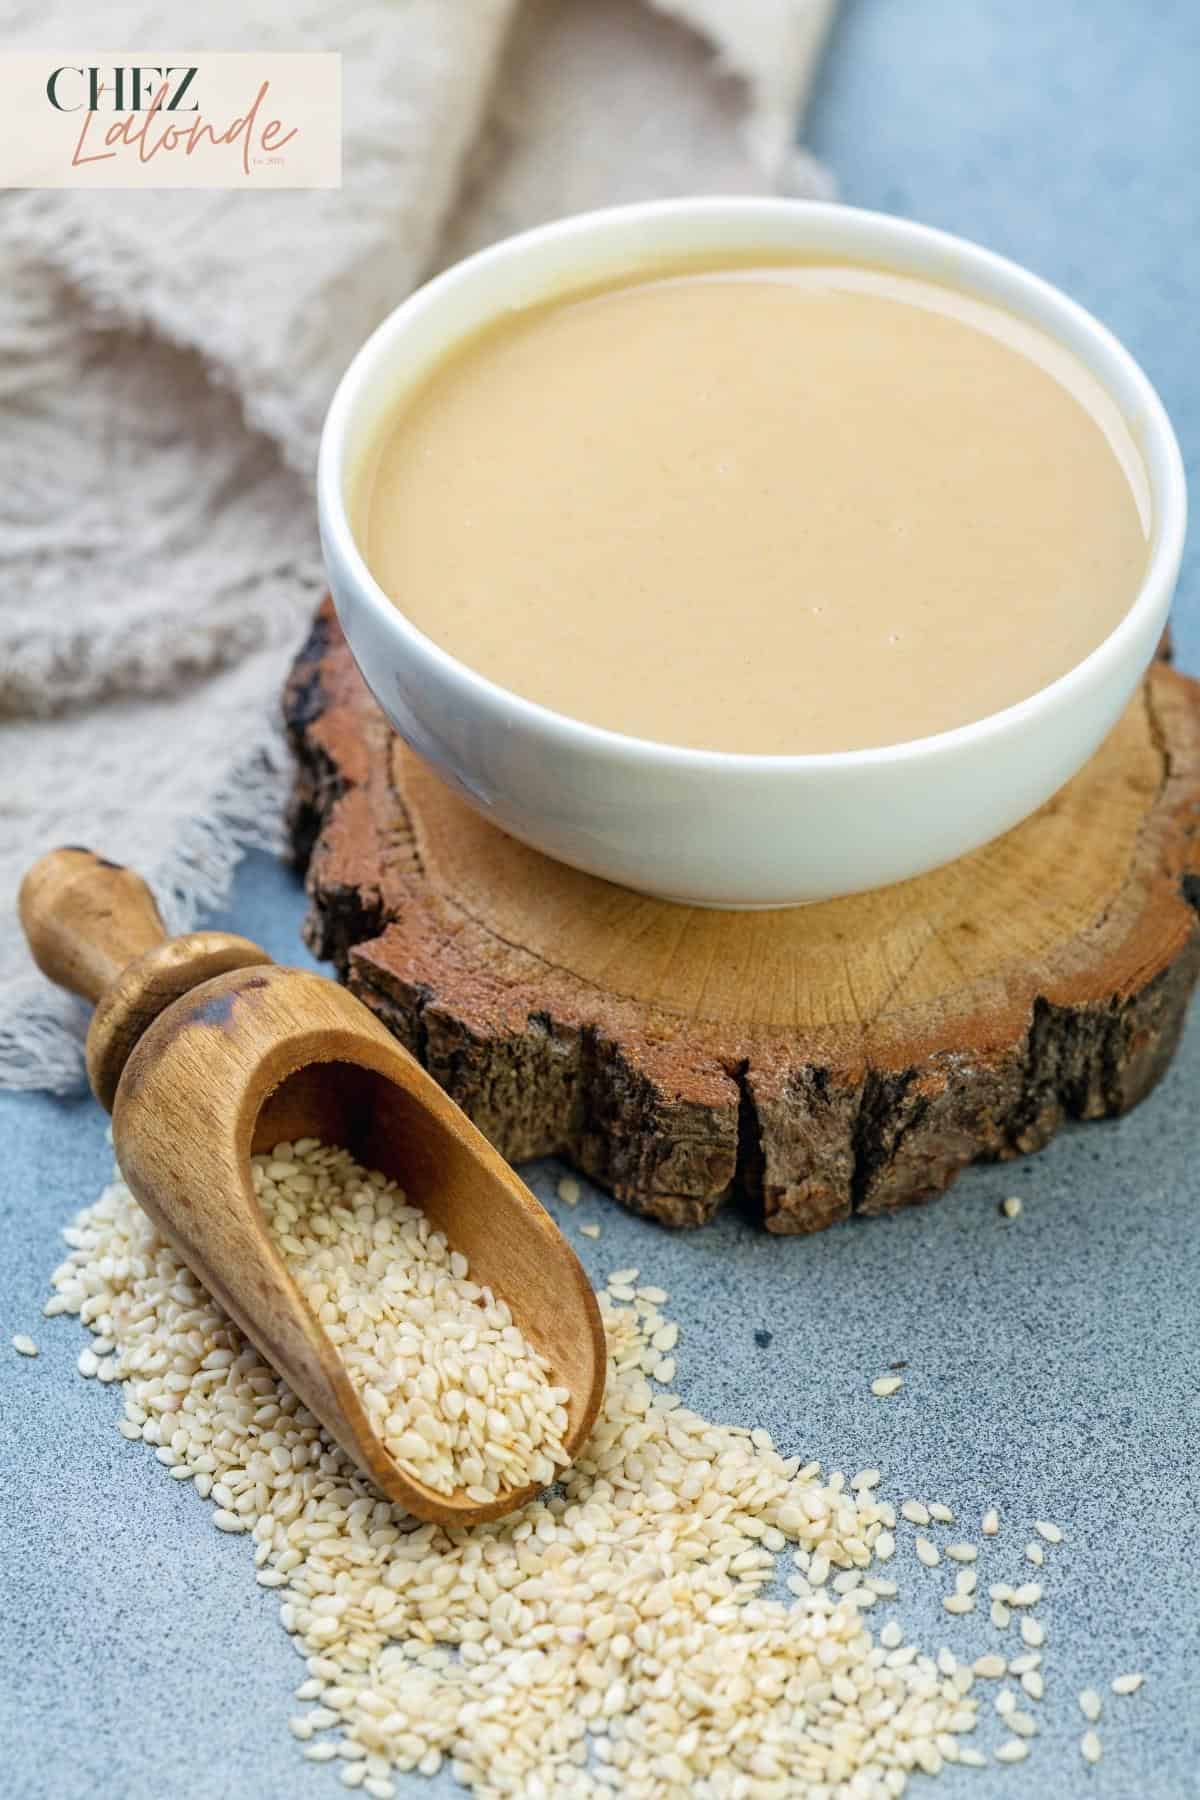
Tahini is a paste made from ground sesame seeds. It is a key ingredient in Middle Eastern and Mediterranean cuisines, widely used in various dishes and dips. Tahini has a smooth, creamy consistency with a slightly nutty and earthy flavor. It adds richness and depth to recipes, particularly in dips like hummus and Baba Ganoush. Tahini can also be used as a condiment, salad dressing, or flavorful ingredient in sauces and dressings. Its versatile ingredient gives many dishes a distinctive taste and texture.
Why do you need to add Tahini to Hummus?
Tahini is crucial in elevating hummus’s flavor, texture, and nutritional profile, making it an essential ingredient in traditional hummus recipes.
- Enhance flavor: It contributes a distinct nutty and slightly bitter flavor, enhancing hummus with depth and richness for a satisfying taste experience.
- Create texture: It emulsifies with the other ingredients, creating a velvety consistency characteristic of well-made hummus.
- Act as a Binding agent: It helps to create a cohesive mixture, allowing the flavors to meld together. It also brings other ingredients together to prevent separation.
Ingredients that you’ll need:
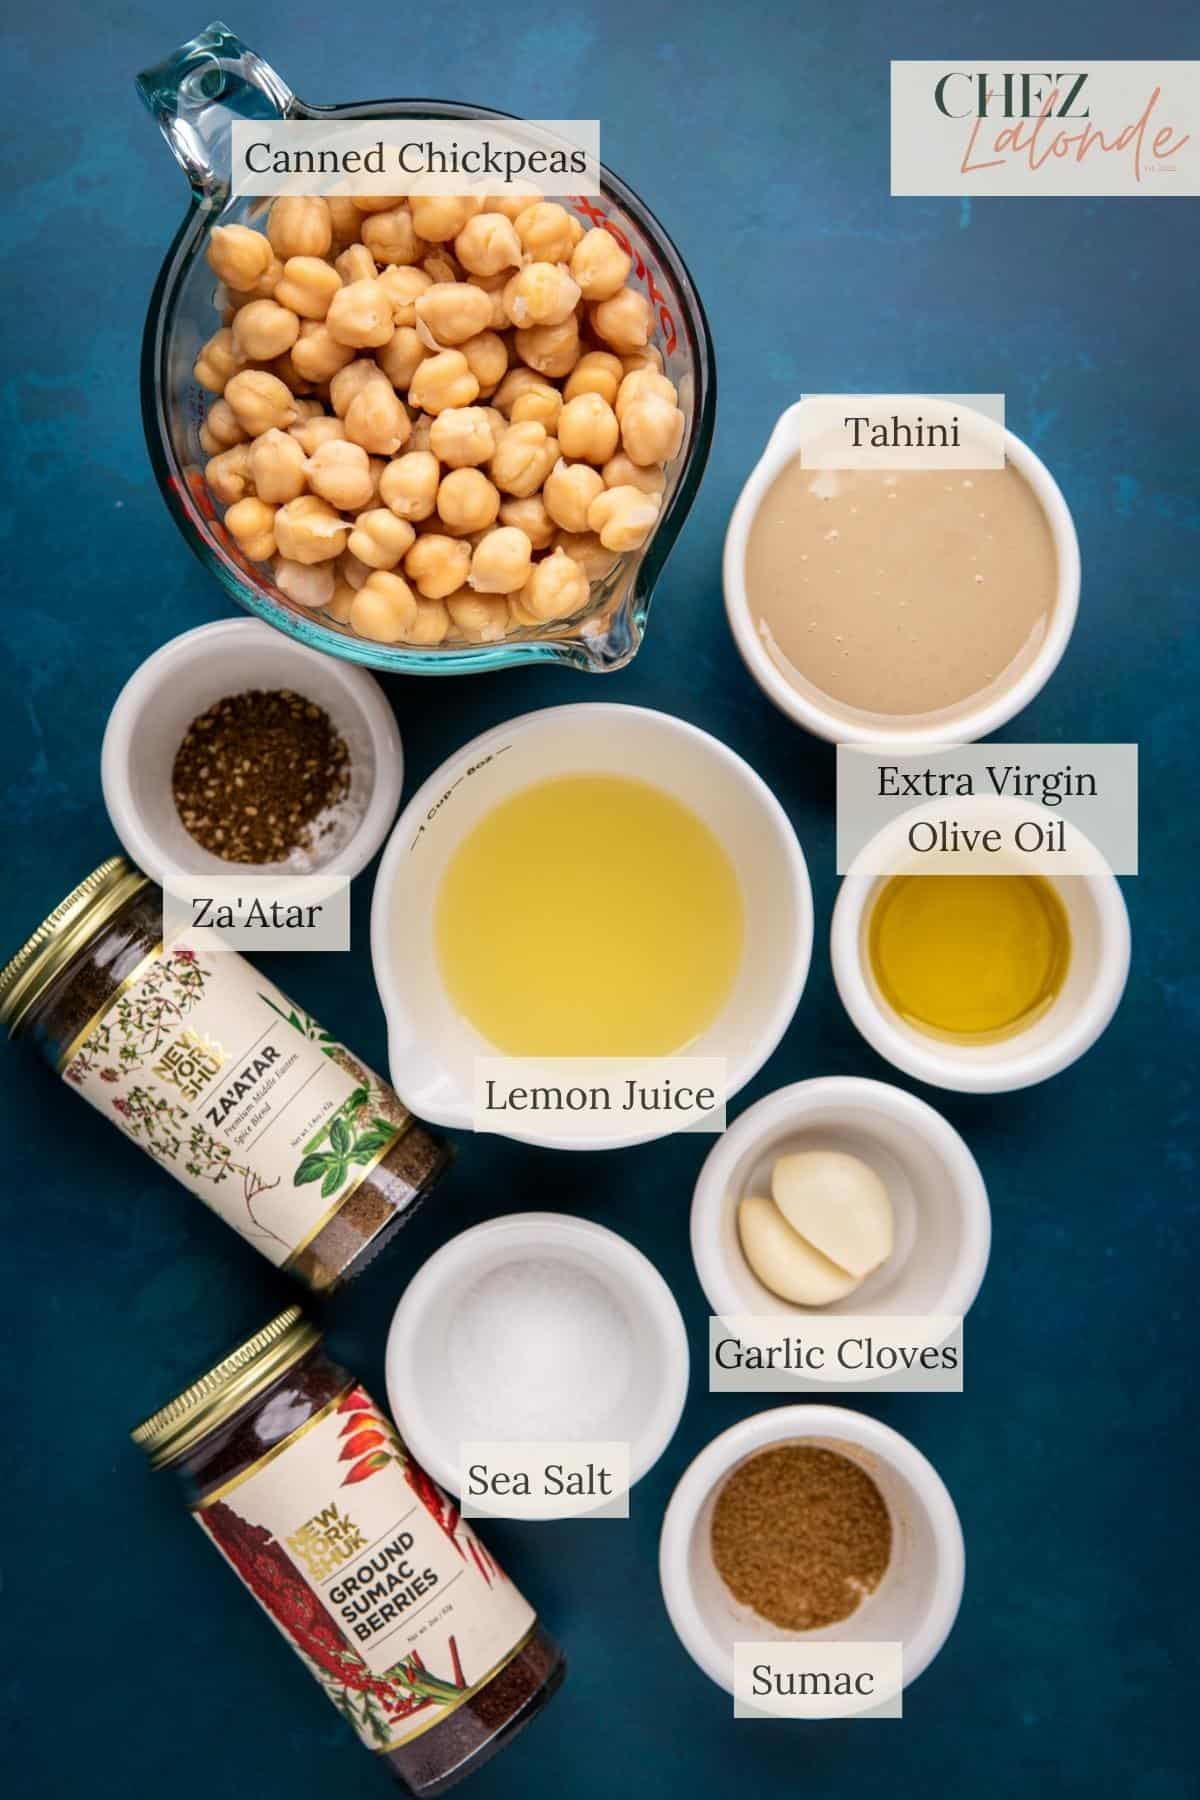
- Canned Chickpeas: Canned chickpeas are used in this recipe for convenience and time-saving benefits. They provide a readily available and pre-cooked option that ensures a smooth and creamy hummus texture without the additional work of soaking and cooking dried chickpeas.
- Extra Virgin Olive Oil: This ingredient adds richness, helps achieve a smooth consistency, and enhances the overall taste of this dip.
- Ice Water: Adding ice water while blending hummus can help achieve a smoother and lighter texture, enhancing the overall creaminess and making it easier to blend.
- Baking Soda: Adding baking soda to boiled chickpeas softens their texture, reduces cooking time, and promotes a smoother consistency in the hummus.
- Tahini: This ground sesame paste brings a distinctive nutty flavor and creamy texture to the hummus. It contributes to the authentic taste and velvety smoothness of the dip. It is the ingredient you must add to this recipe.
- Fresh Squeezed Lemon Juice: Adds a refreshing tanginess to the hummus and complements the richness of the other ingredients.
- Garlic Cloves: They provide a savory and aromatic element to the hummus, adding depth of flavor and a hint of pungency.
- Sea Salt: It brings out the flavors of the ingredients, providing balanced and well-seasoned hummus.
- Cumin: Cumin is a warm, earthy spice that complements the other ingredients, contributing to the complexity and depth of the dip.
- Za’atar: This is a well-known Middle Eastern spice blend of herbs like thyme, sesame seeds, and sumac. Adding Za’atar to the hummus infuses it with a unique and aromatic flavor, elevating the taste experience.
- Sumac: Sumac is a tangy and slightly tart spice commonly used in Middle Eastern cuisine. I use it as garnish and add a finishing touch to the hummus. This spice seasoning provides a delightful citrusy and tangy note, enhancing the overall taste profile.
Tools required for this recipe:
My preference is definitely a Vitamix. However, if you do not have one at home, you can opt for a food processor or other brands of blander.
Recipe Substitutions and Variations:
Hummus is such a versatile dish that you can personalize it into different variation that reflects your culinary preferences and adds excitement to your next snack or meal.
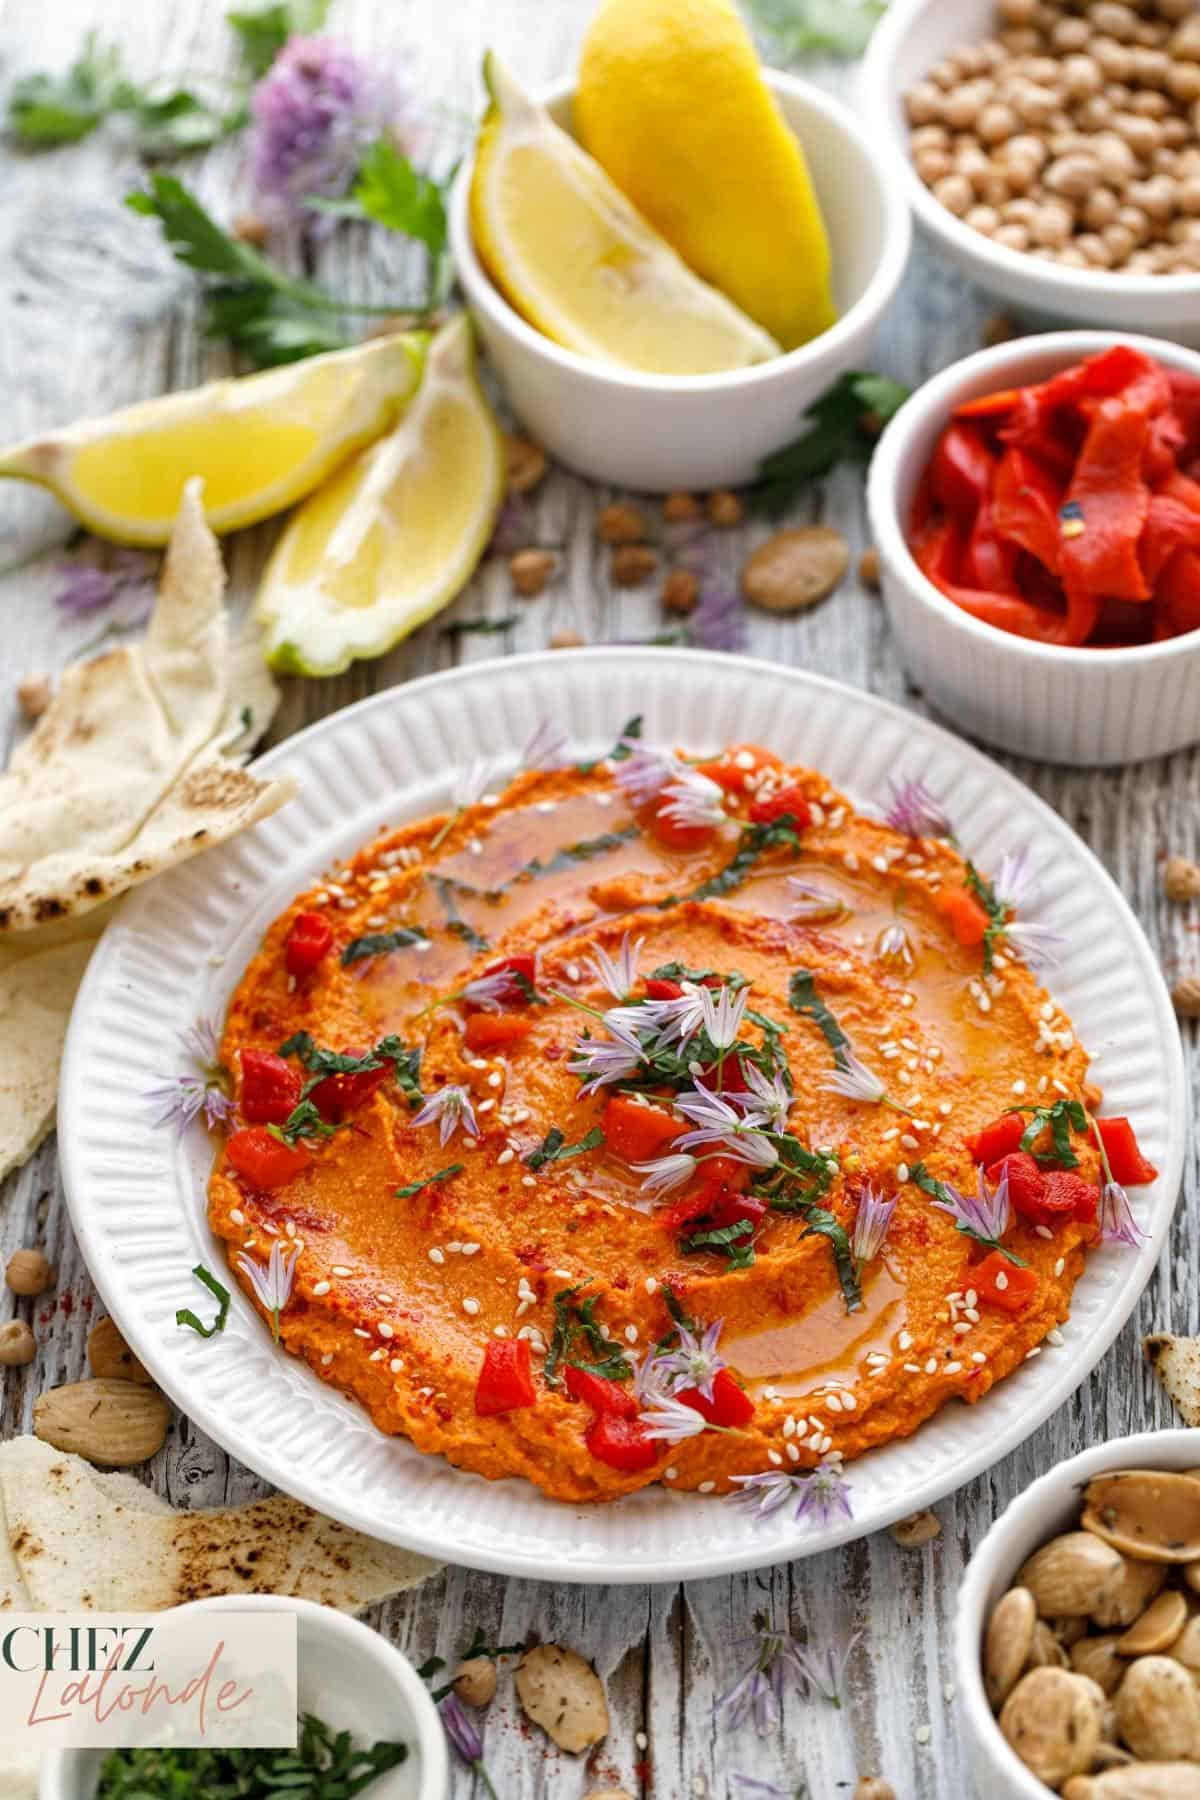

- Roasted Red Pepper hummus: Add roasted red peppers for a vibrant and slightly smoky twist to your hummus. Simply blend them along with the other ingredients to create a delicious variation.
- Roasted Garlic Hummus: The roasted garlic adds a subtle sweetness and a mellow, savory taste, enhancing its overall depth of flavor. Simply roast whole garlic cloves until soft and caramelized, then blend them with the traditional hummus ingredients for a delightful variation.
- Hummus with Chili oil: For a kick of heat, drizzle some Chinese Chili oil instead of olive oil on the hummus to add spice and intensity flavor.
How to make creamy Hummus with a Vitamix?
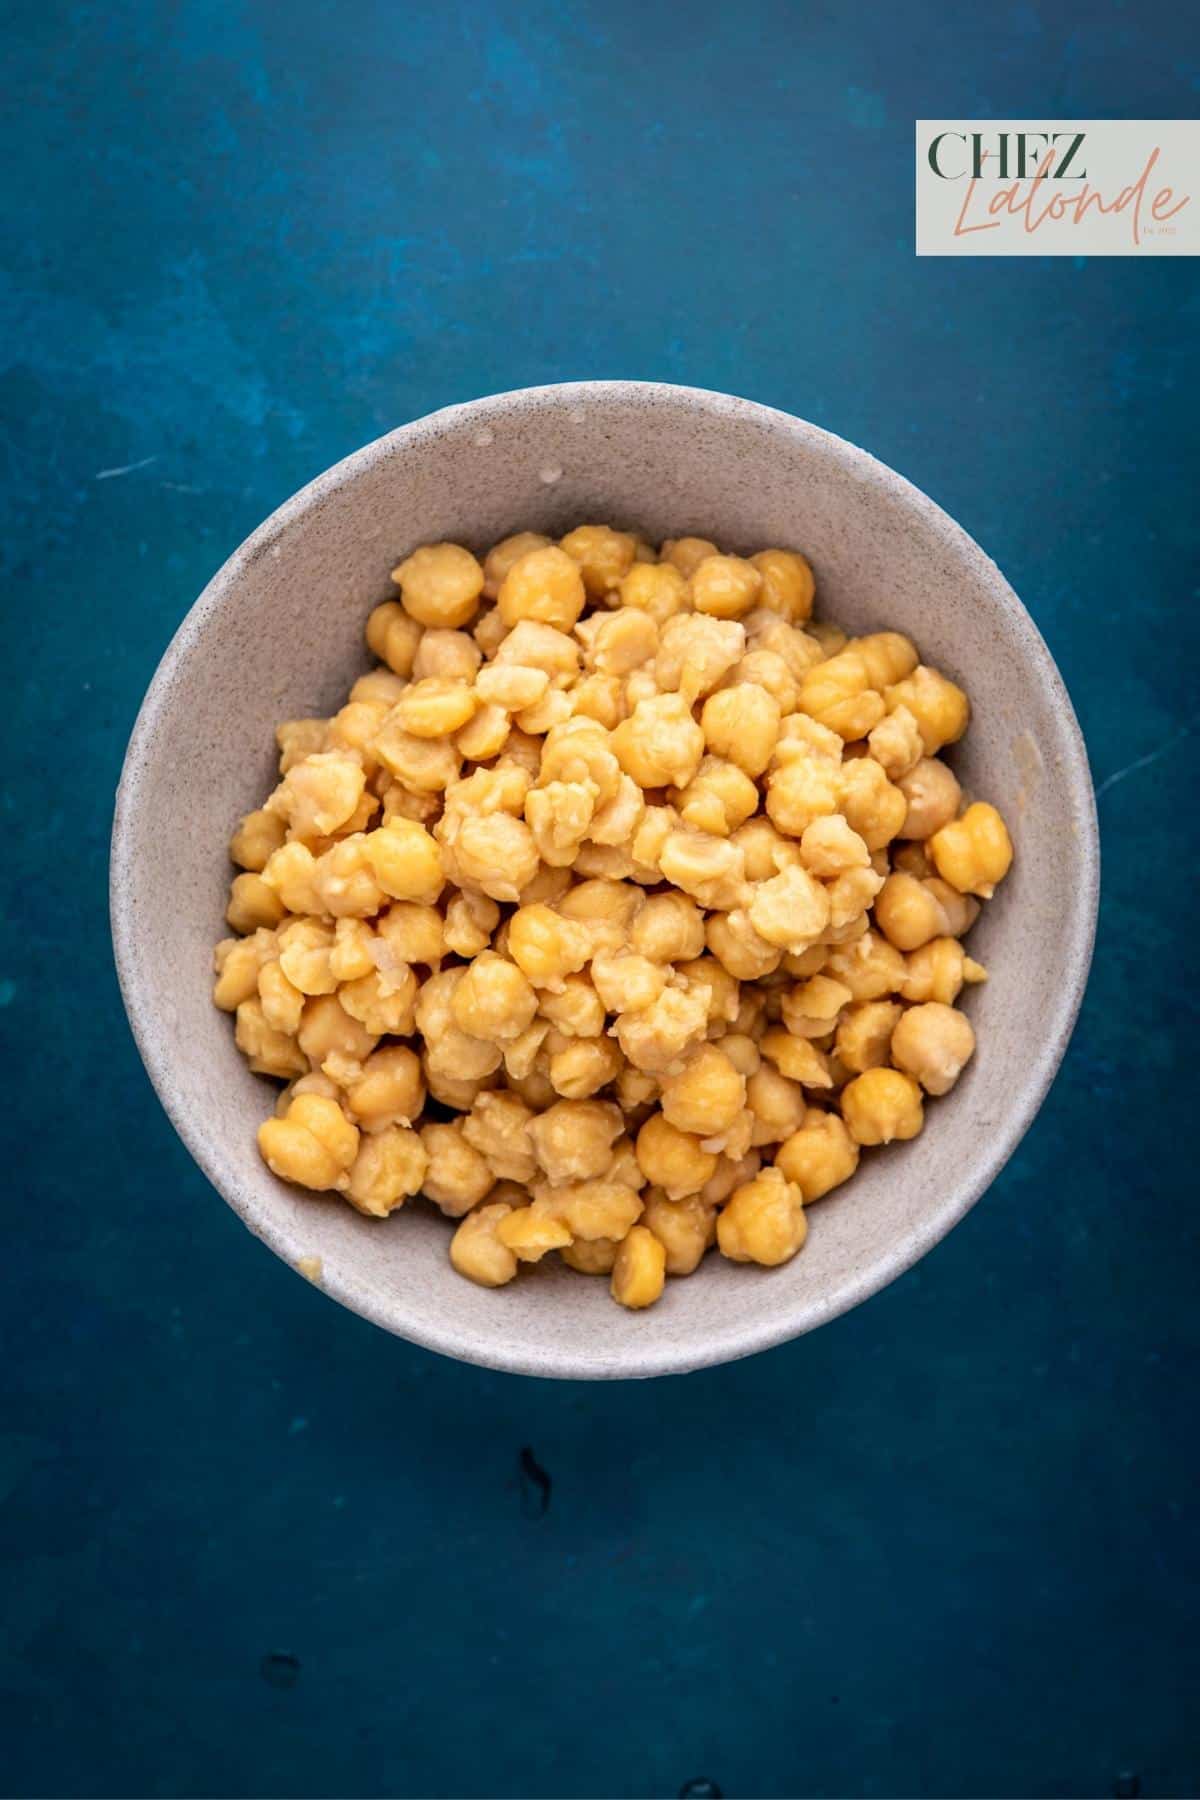
Step One: Drain the Chickpeas
Start by opening a can of chickpeas and using a colander to drain off the brine.
Step Two: Boil the Chickpeas
In a small pot, bring water to a boil. Once boiling, add the drained canned chickpeas and simmer on low heat for 20 minutes.
Step Three: Soak chickpeas with baking powder
After simmering for 20 minutes, remove the pot from heat and add a teaspoon of baking powder. Allow the beans to soak in the mixture for an additional 10 minutes.
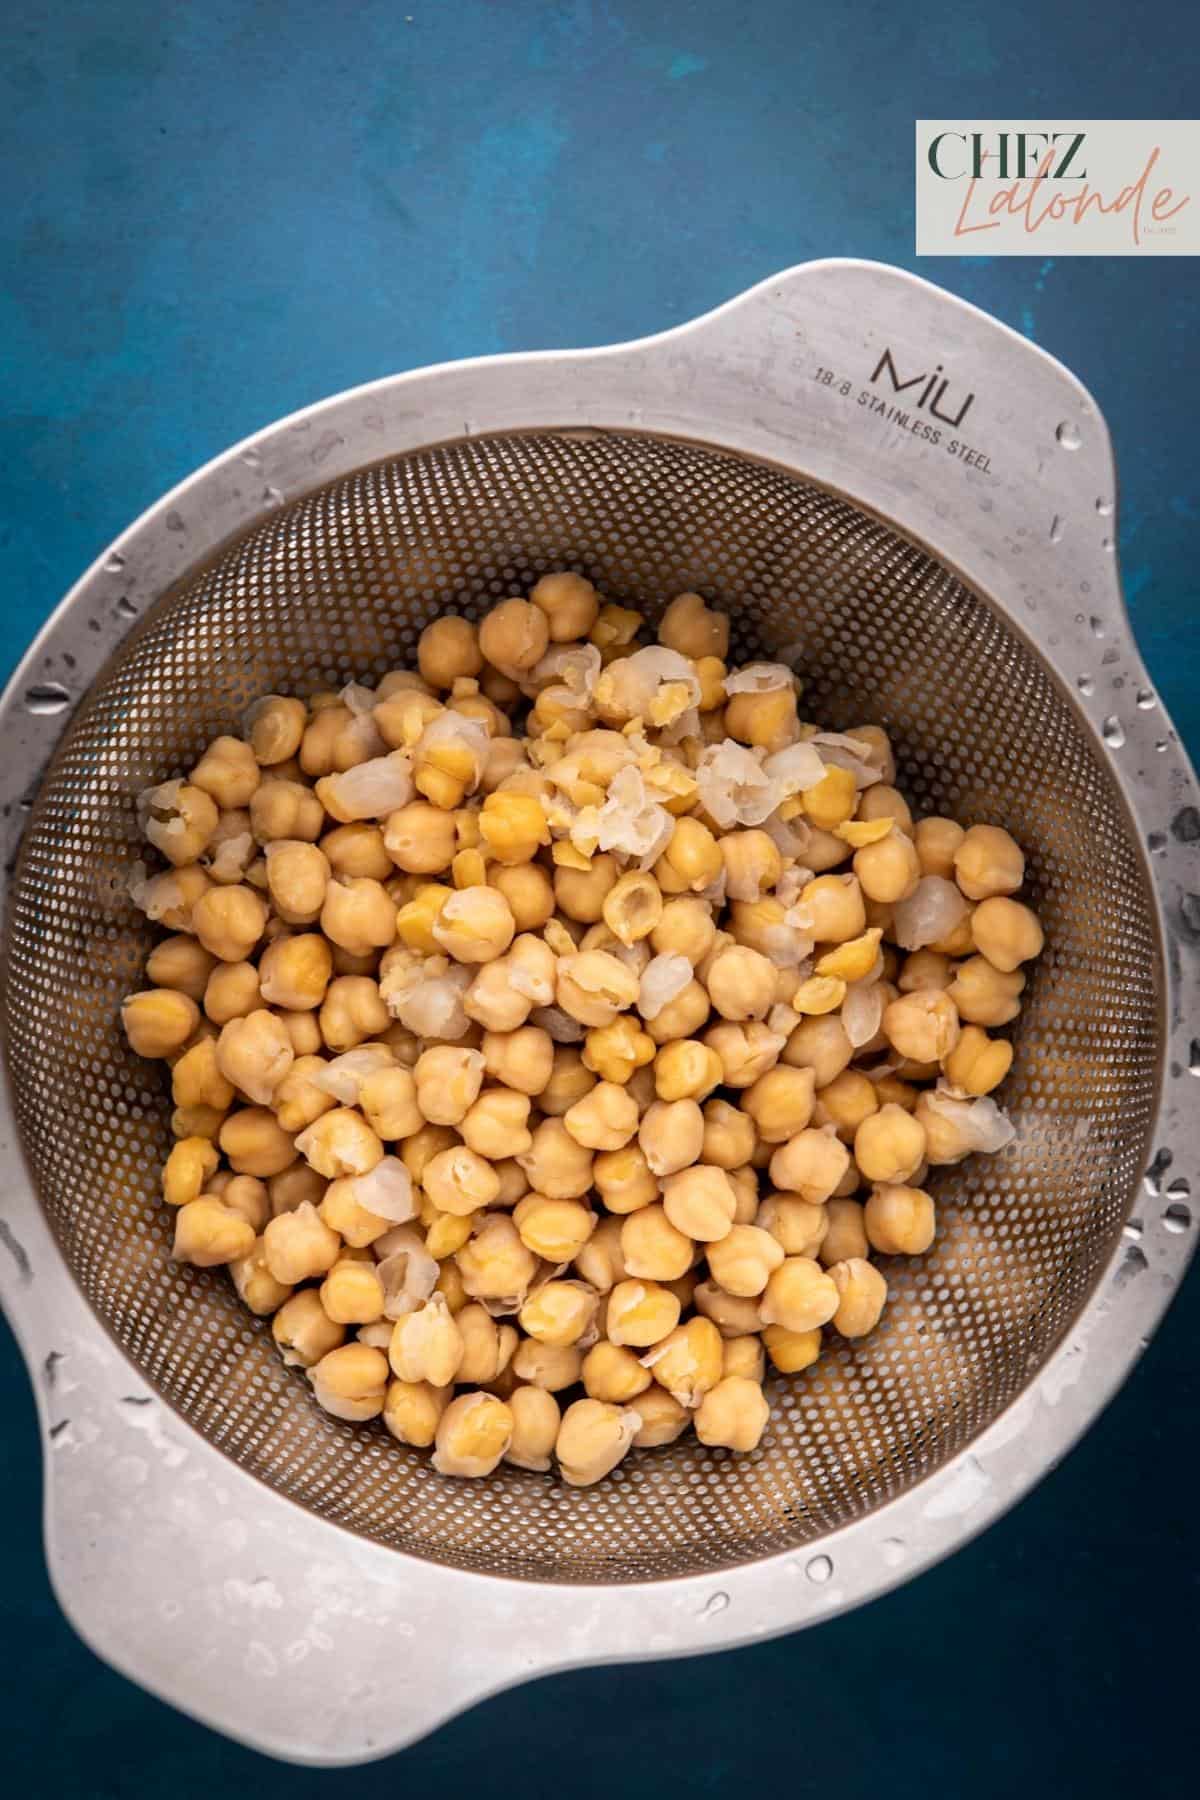
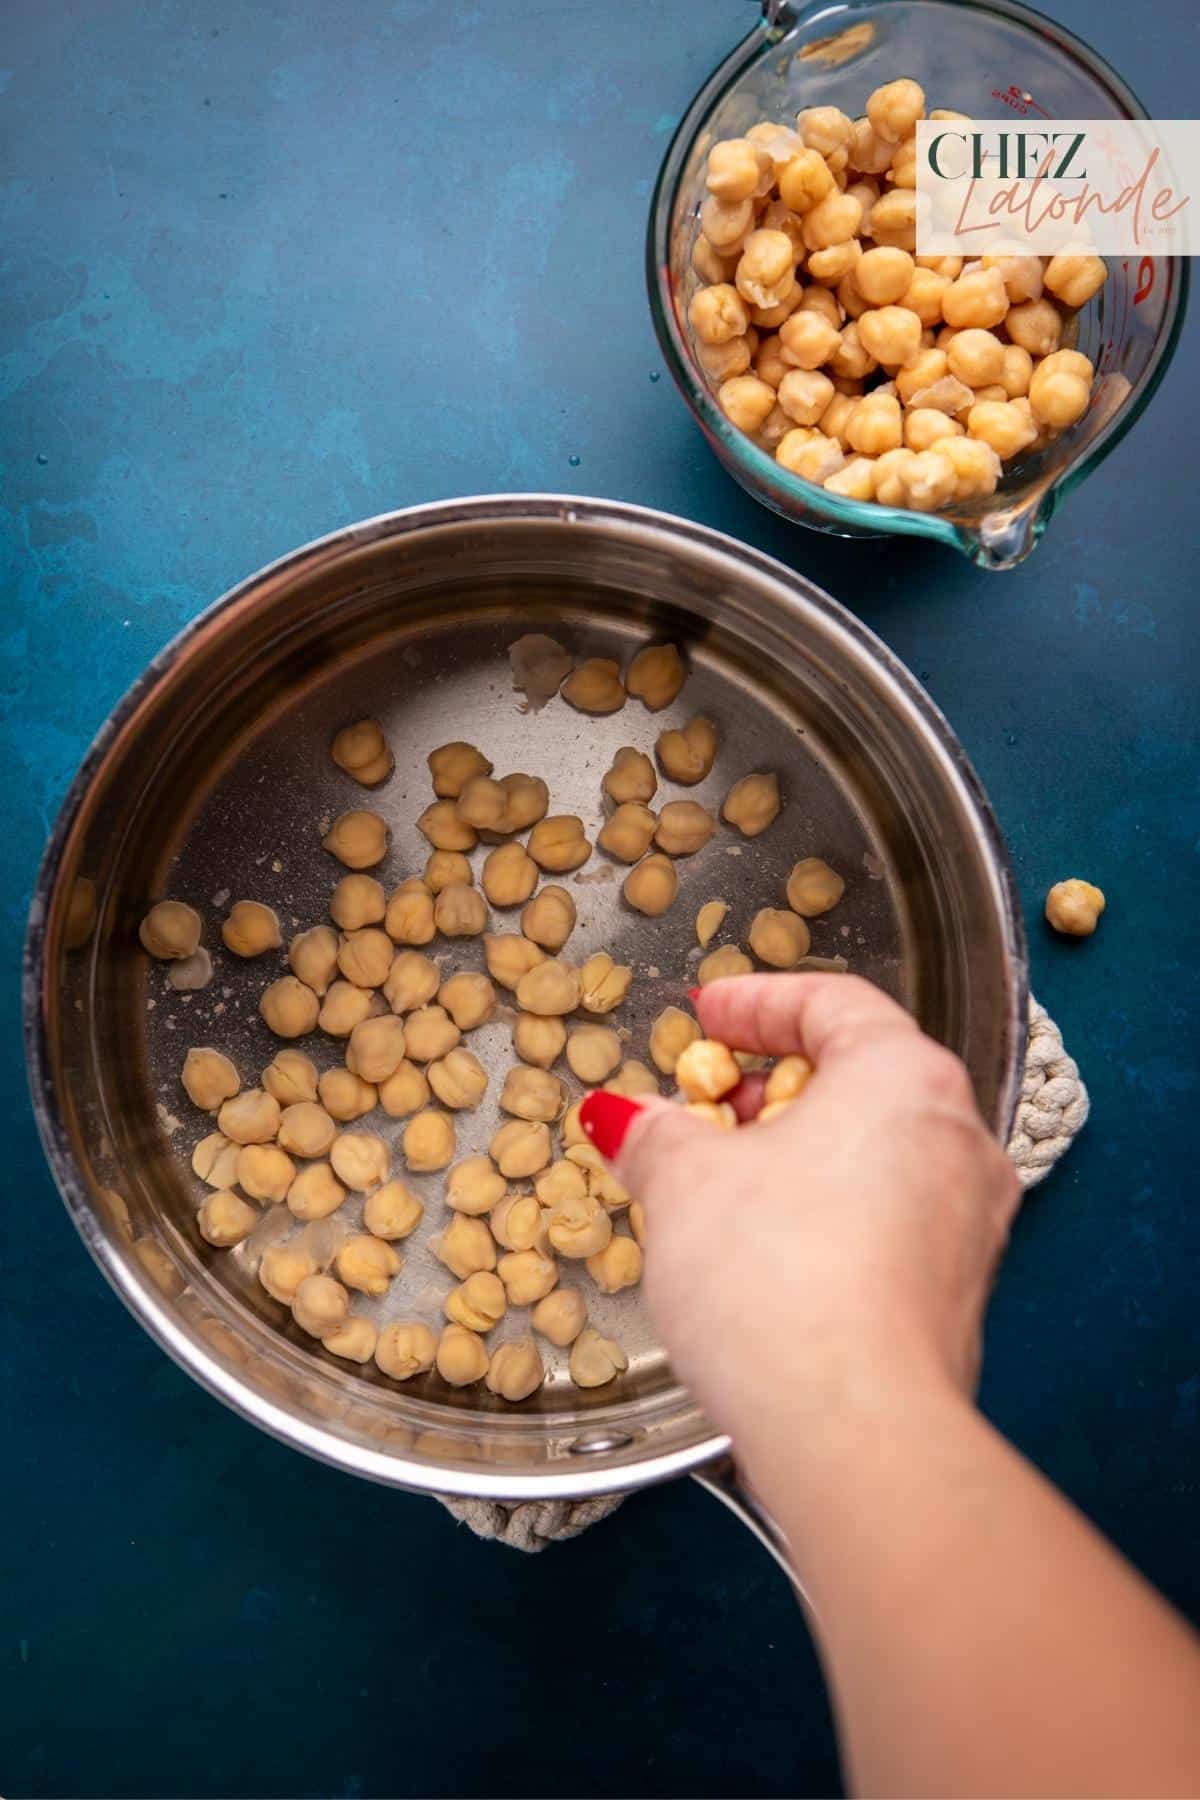
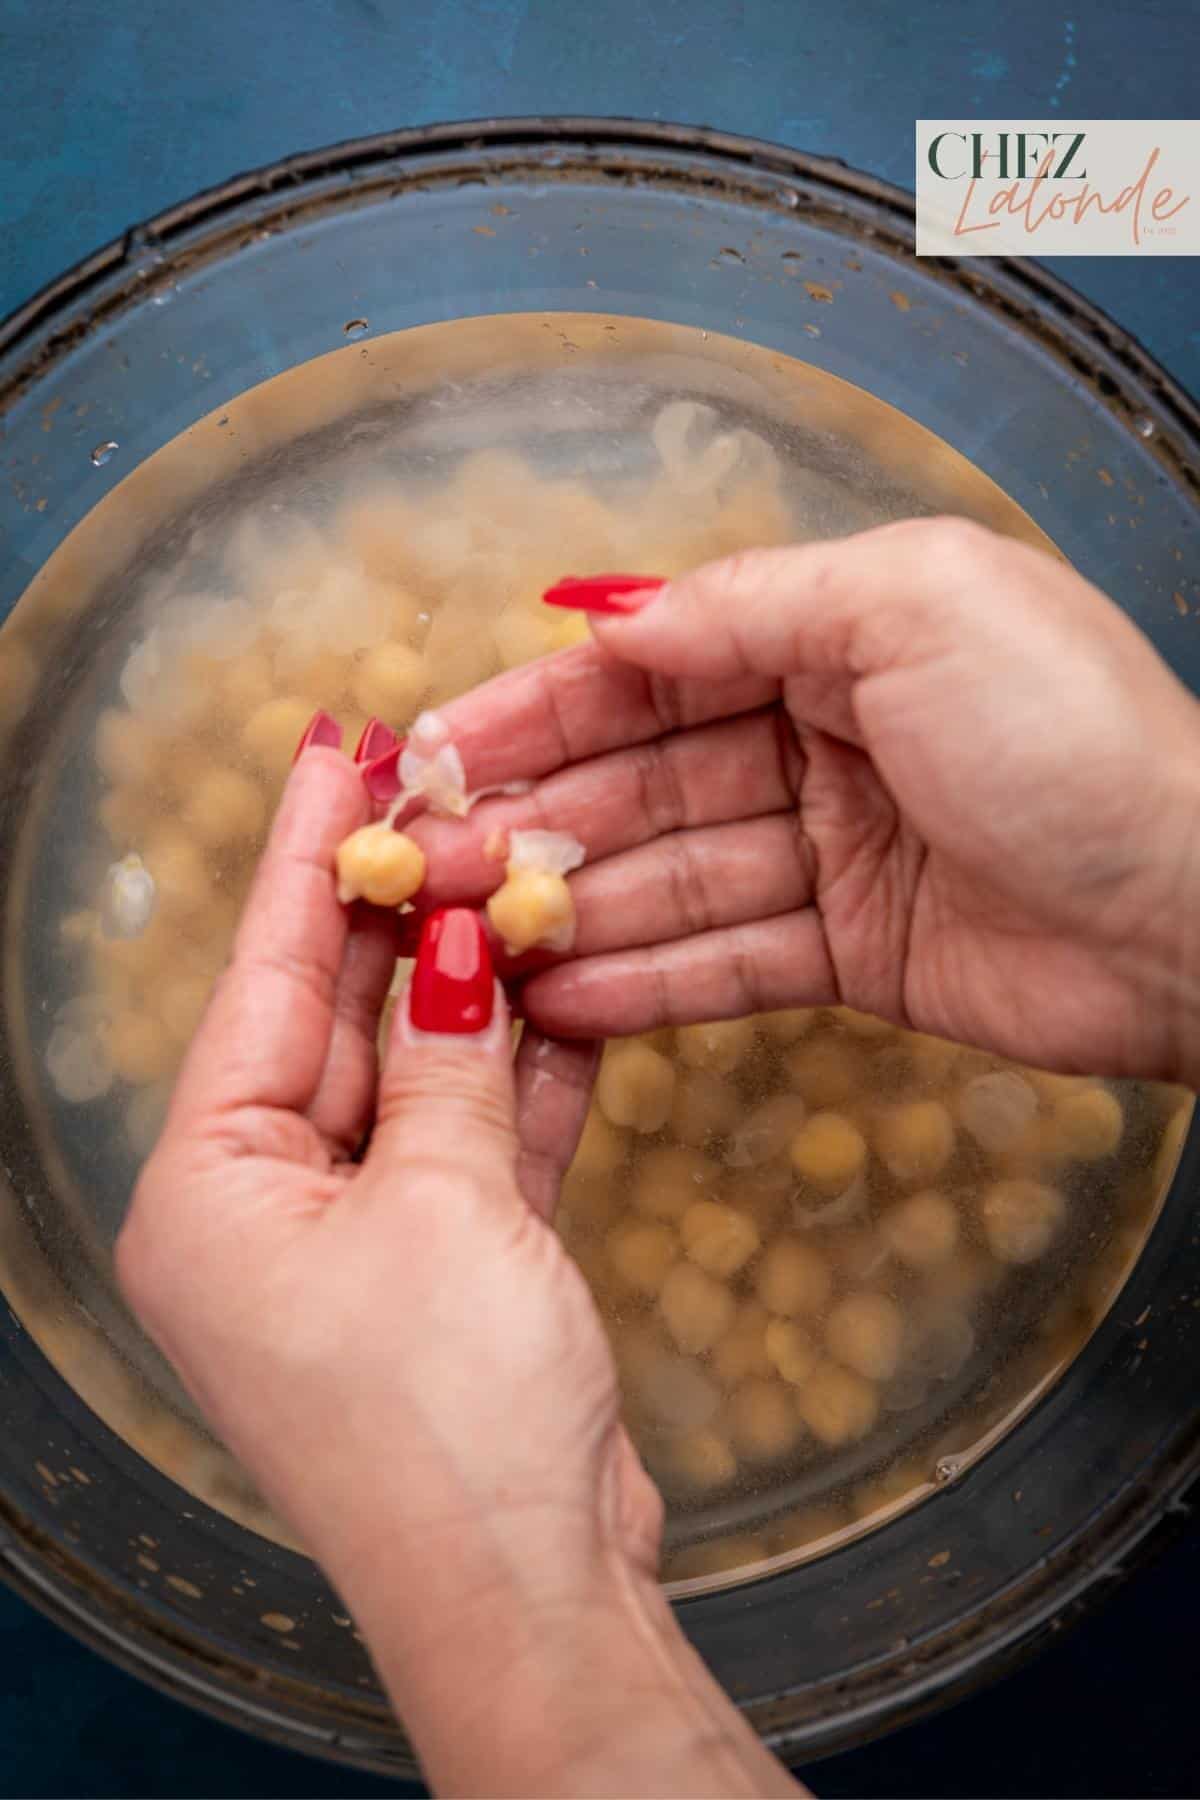
Step Four: Remove the outer skin
Once the chickpeas have soaked for 10 minutes, drain them again using a colander and rinse with water. At this point, you can easily pick out or rub off the outer skins. This step may take time, so be patient and thorough to ensure a smoother hummus texture.
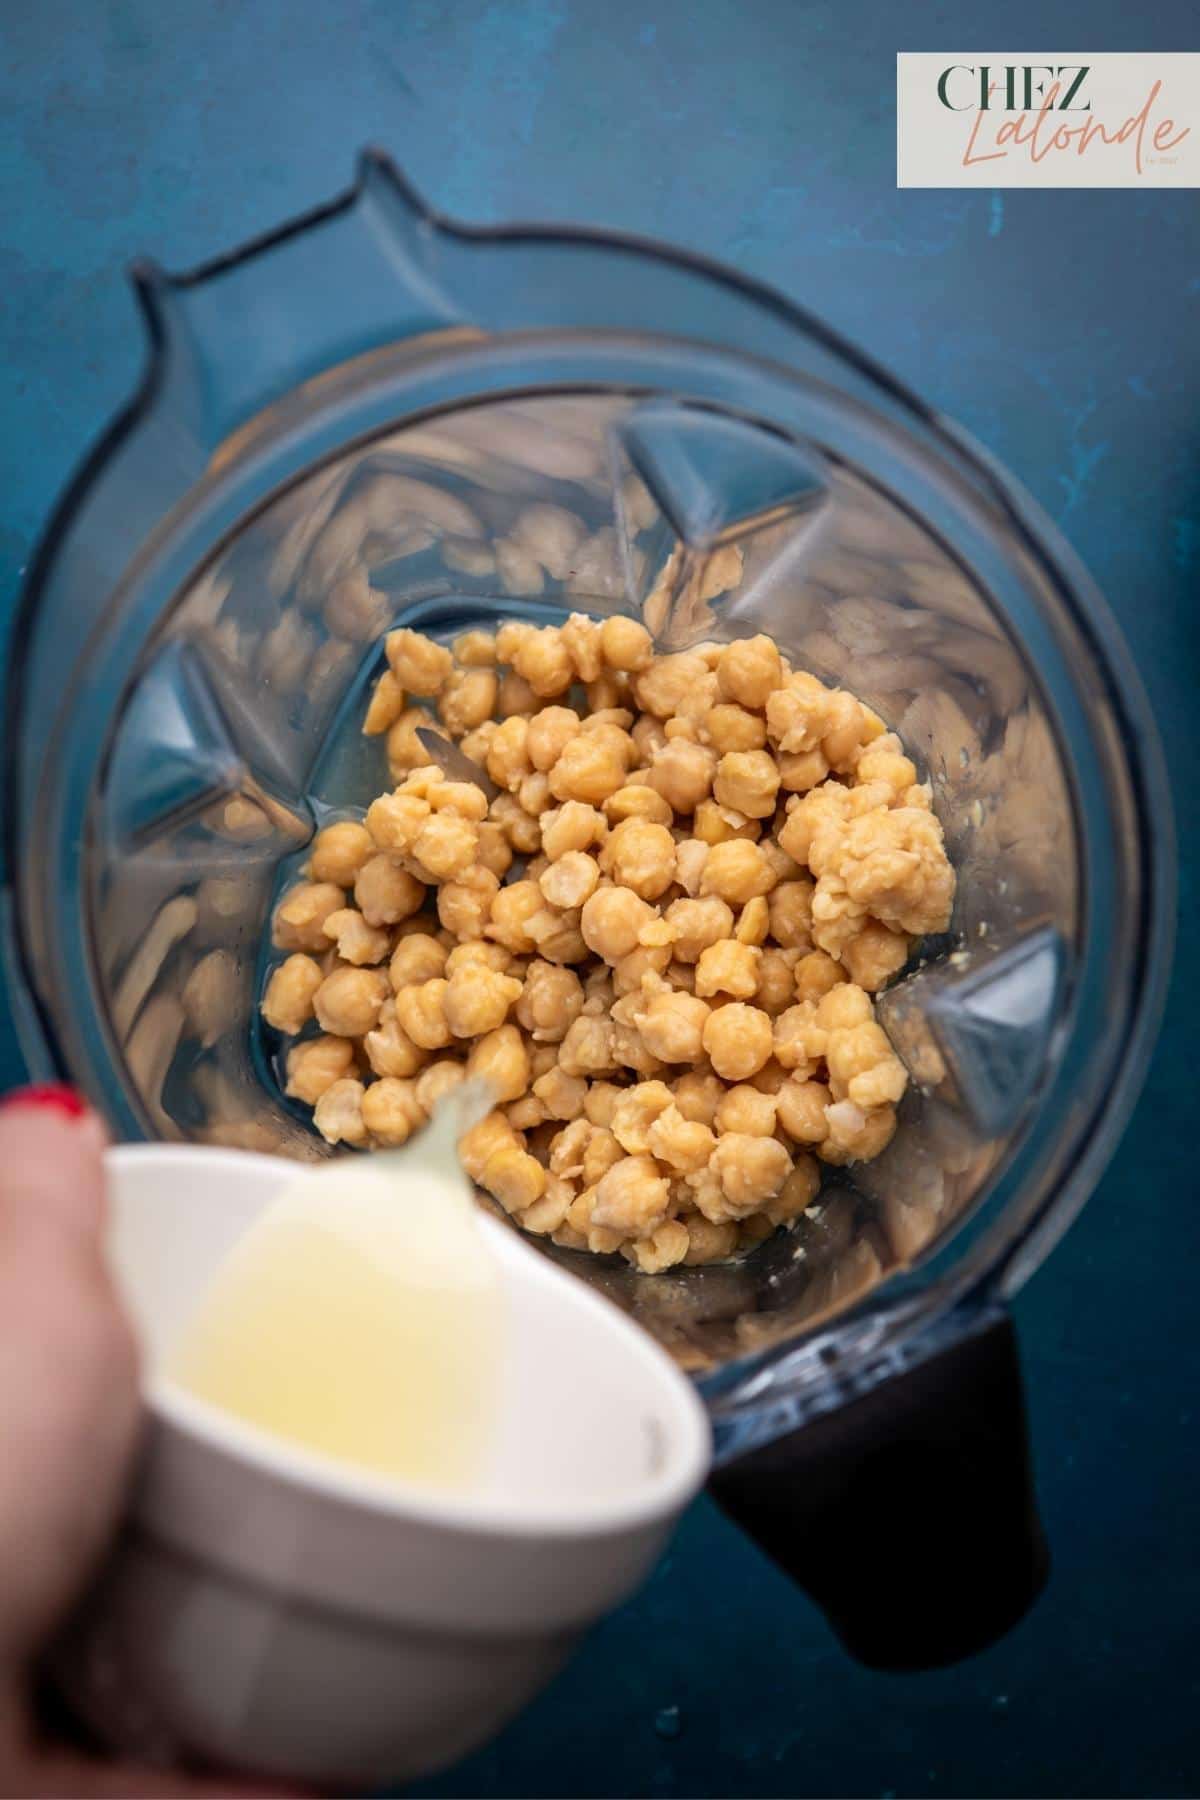
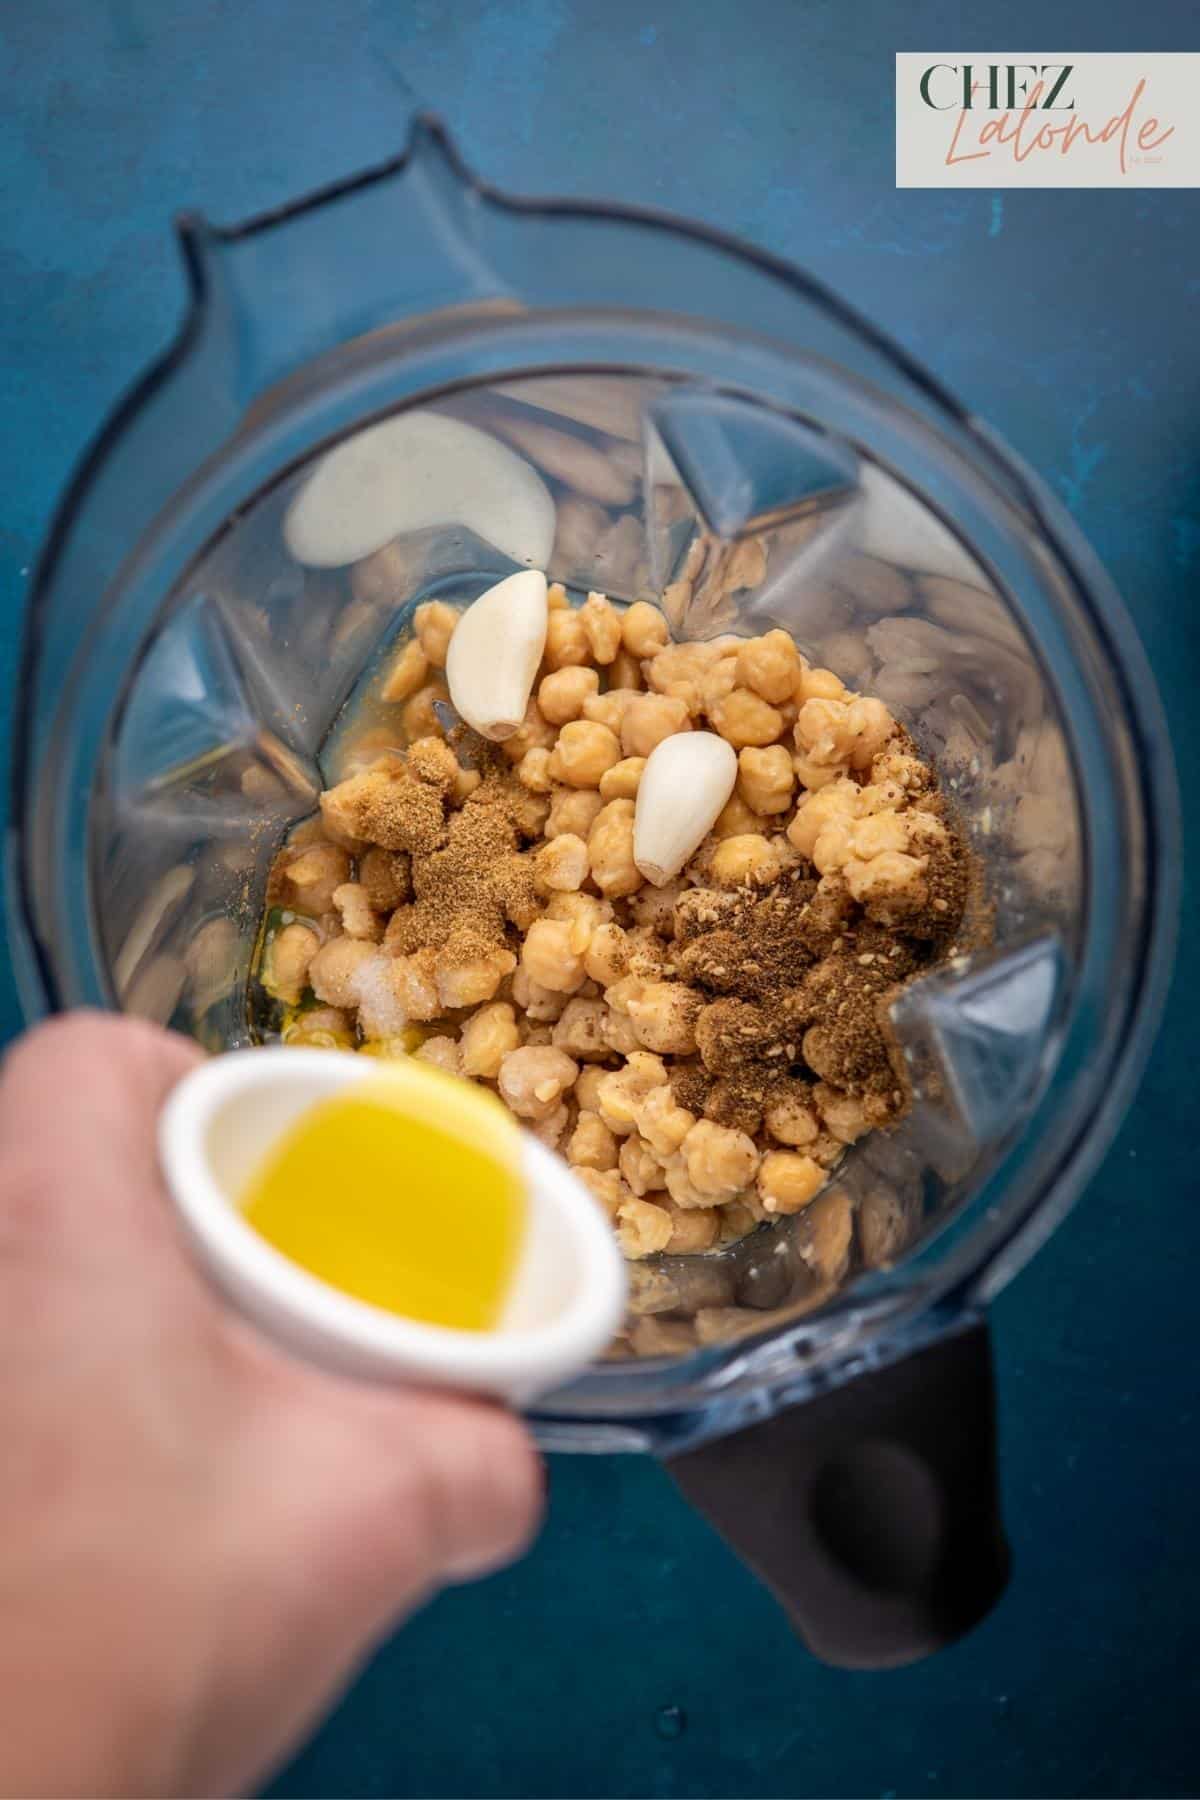
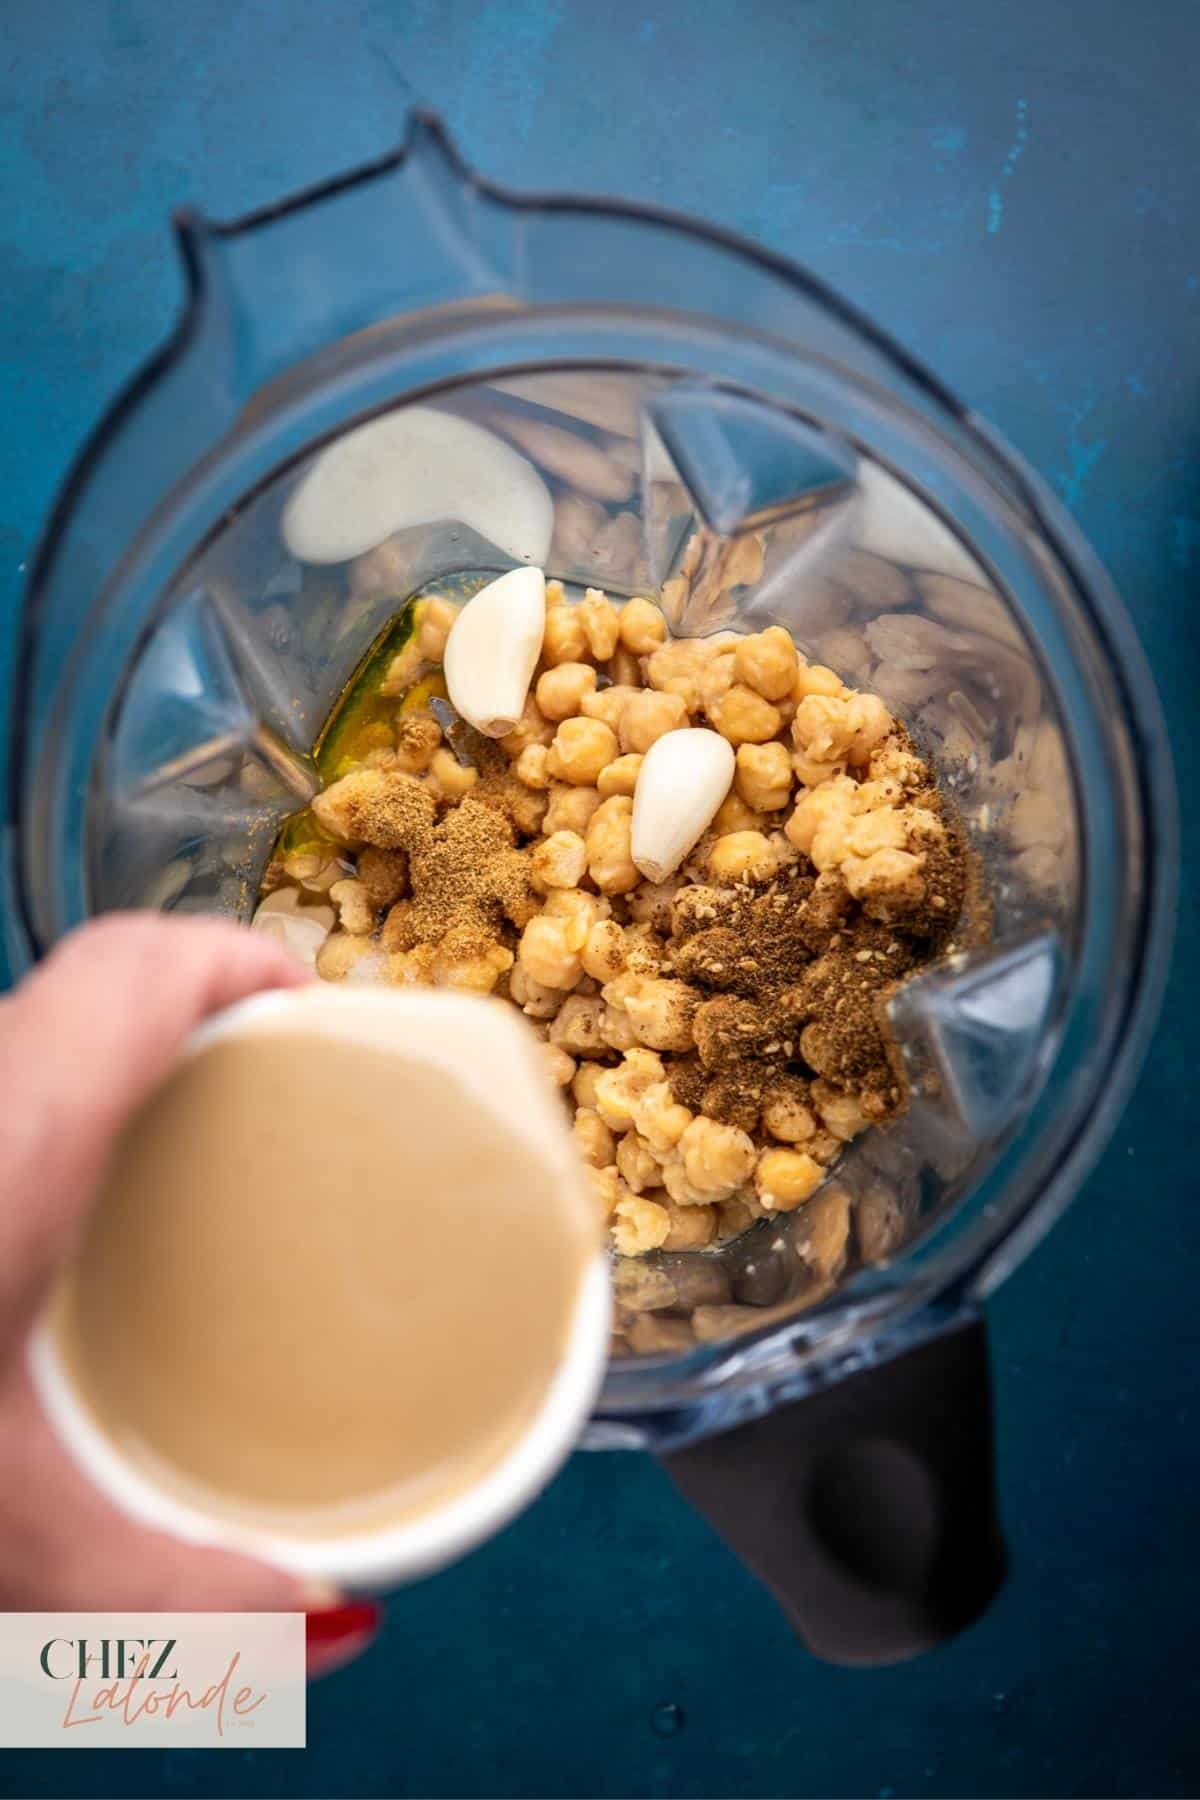
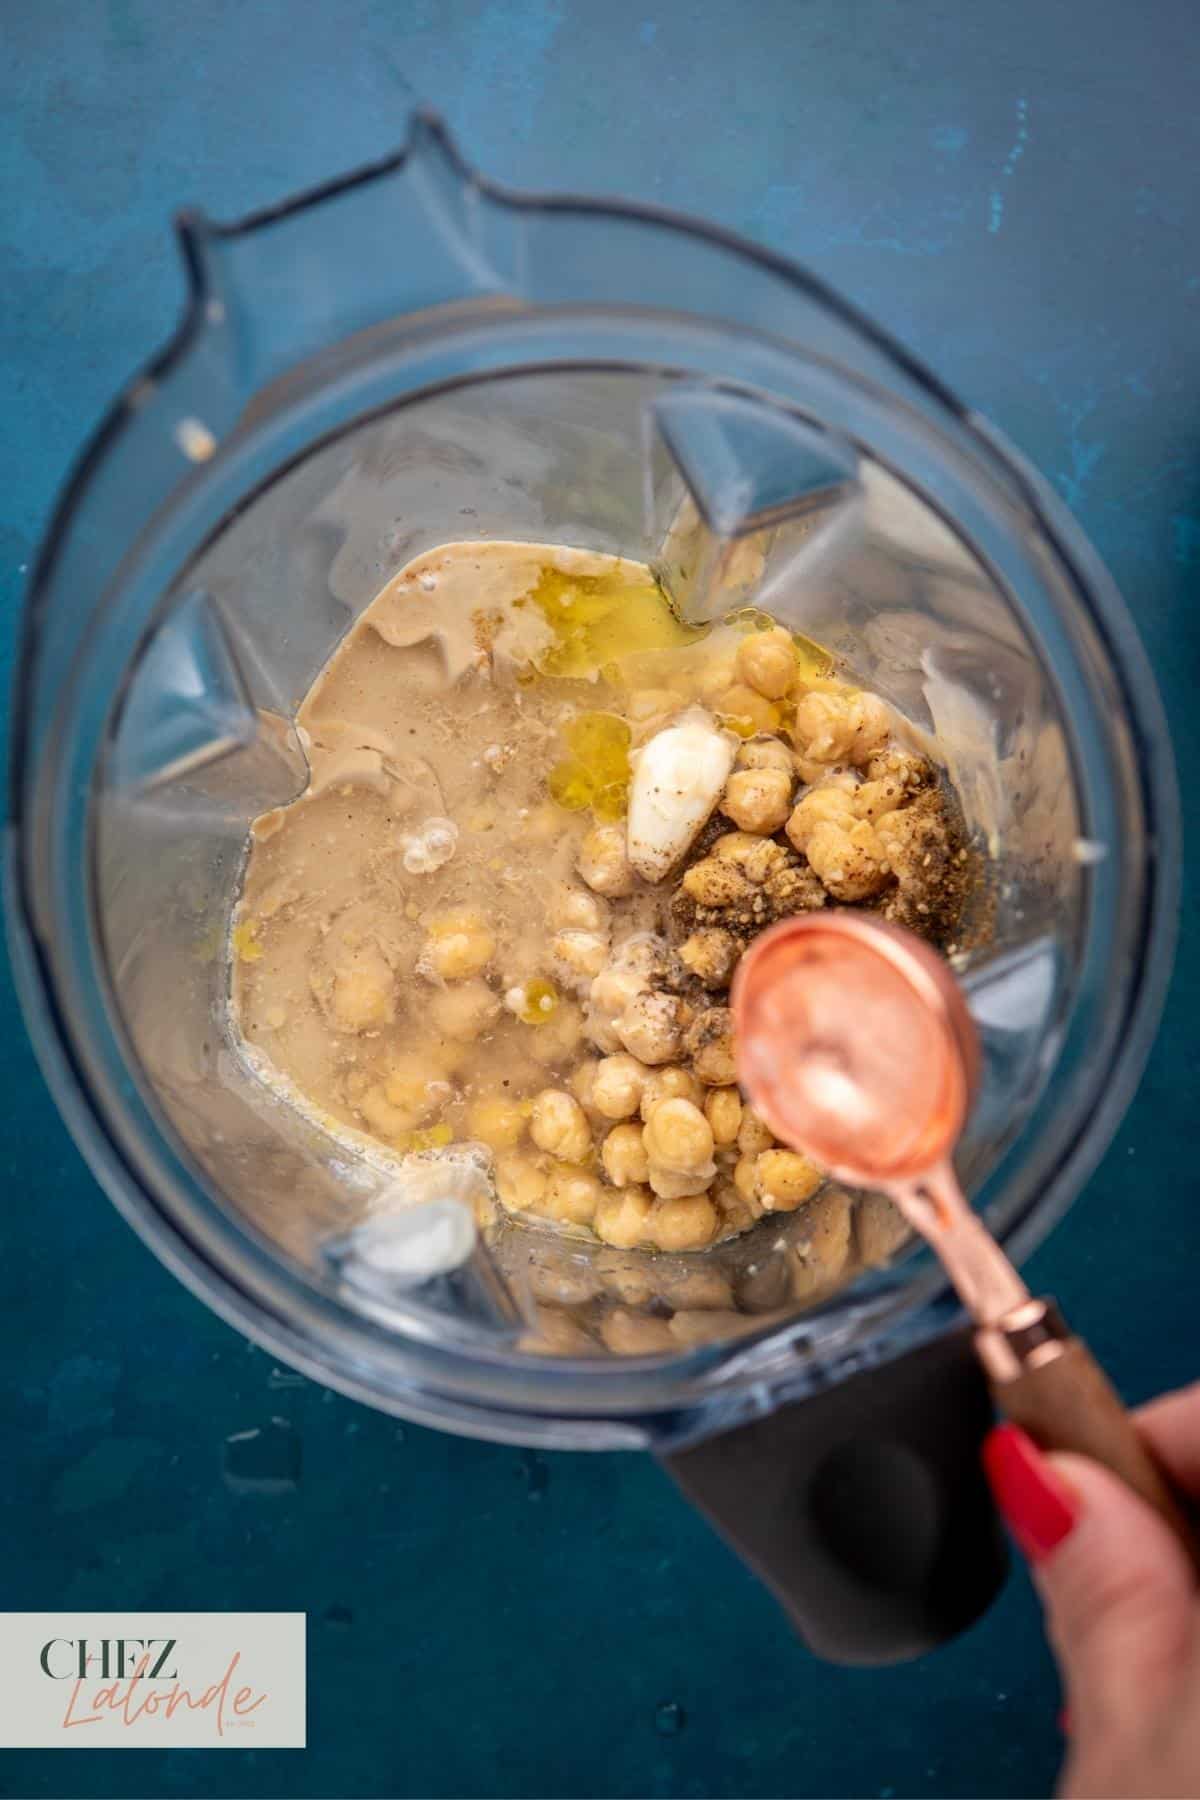
Step Five: Add all the ingredients to the blender
After removing the outer skins from the chickpeas, place them in the Vitamix container with olive oil, tahini, garlic cloves, sea salt, and spices. Add 4 tablespoons of ice water to the blender and adjust the liquid amount as needed for desired consistency.
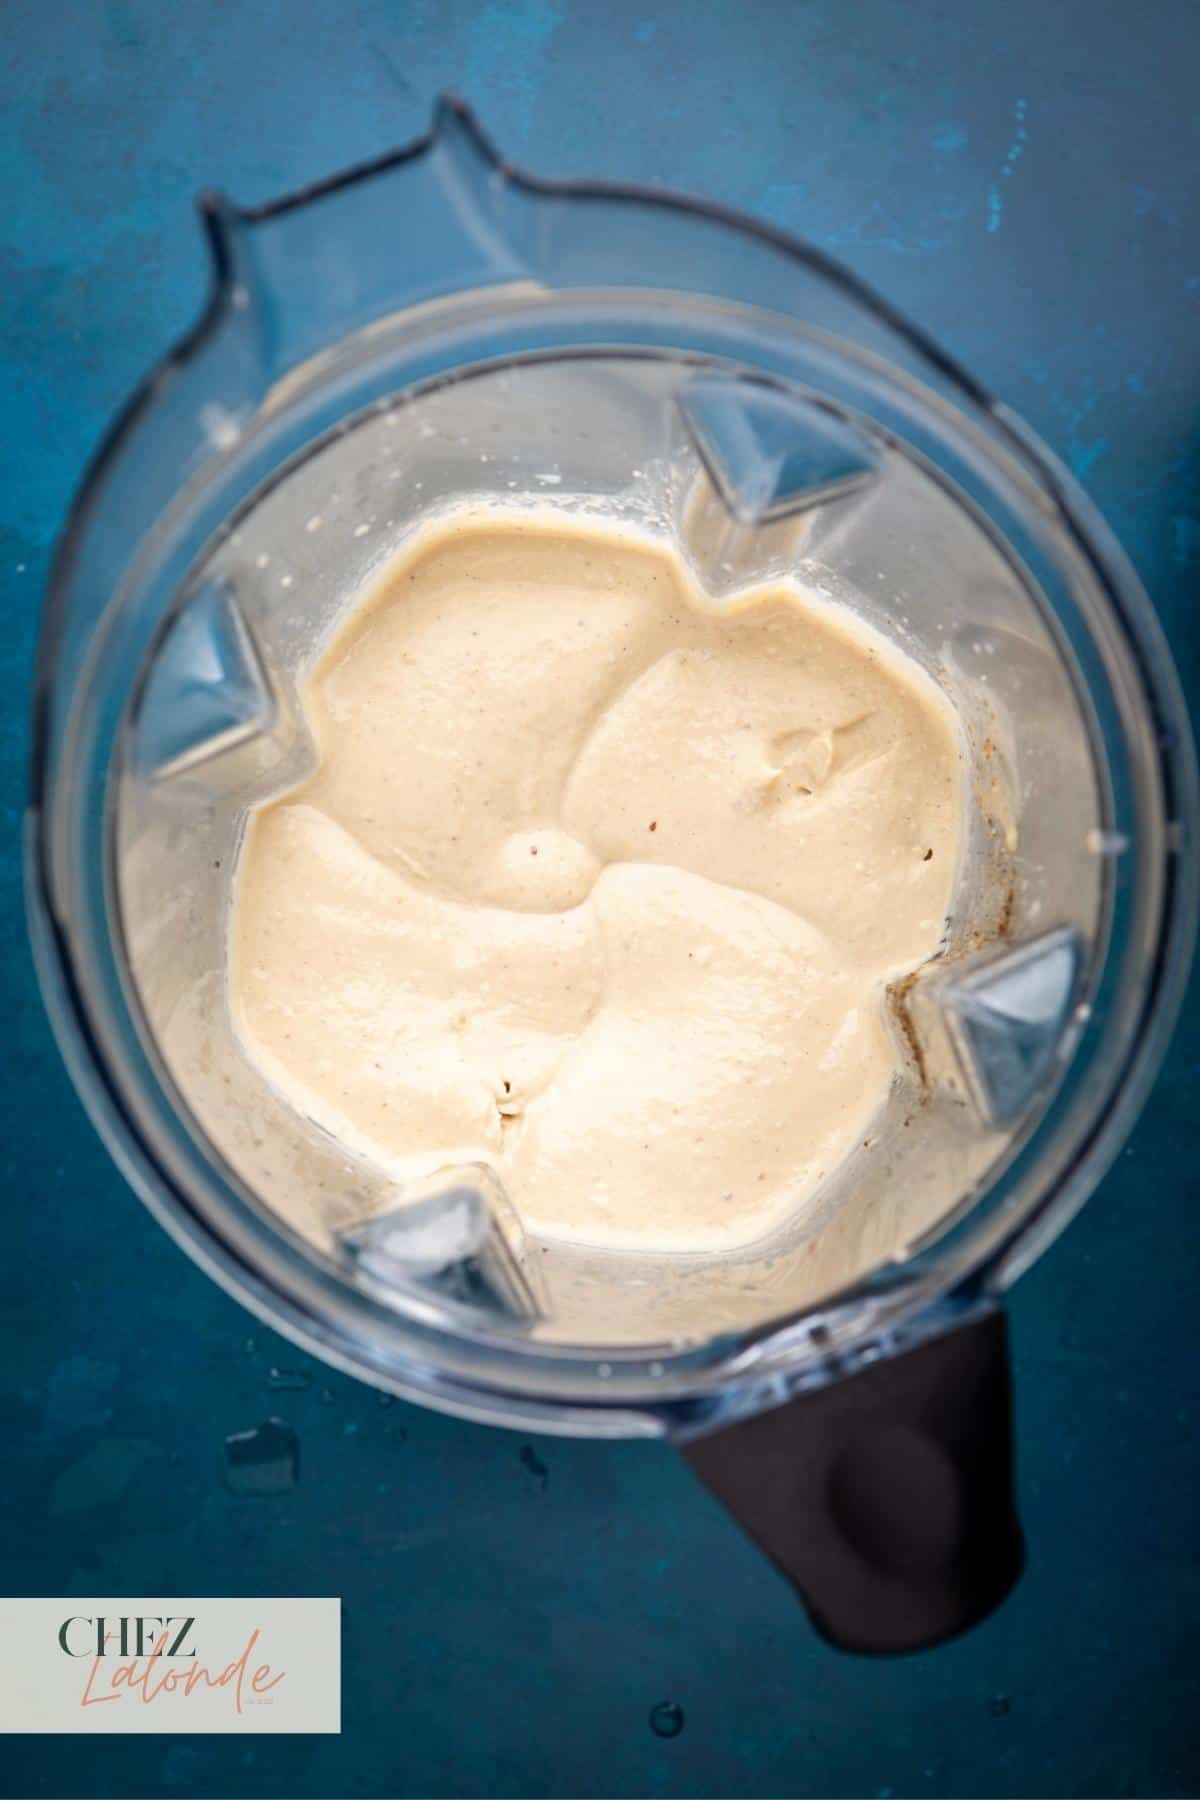
Step Six: Blend until creamy consistency
Adjust to the puree setting on your Vitamix and start blending until the blender stops. Carefully scoop out your hummus from the blender onto a dish.
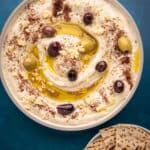
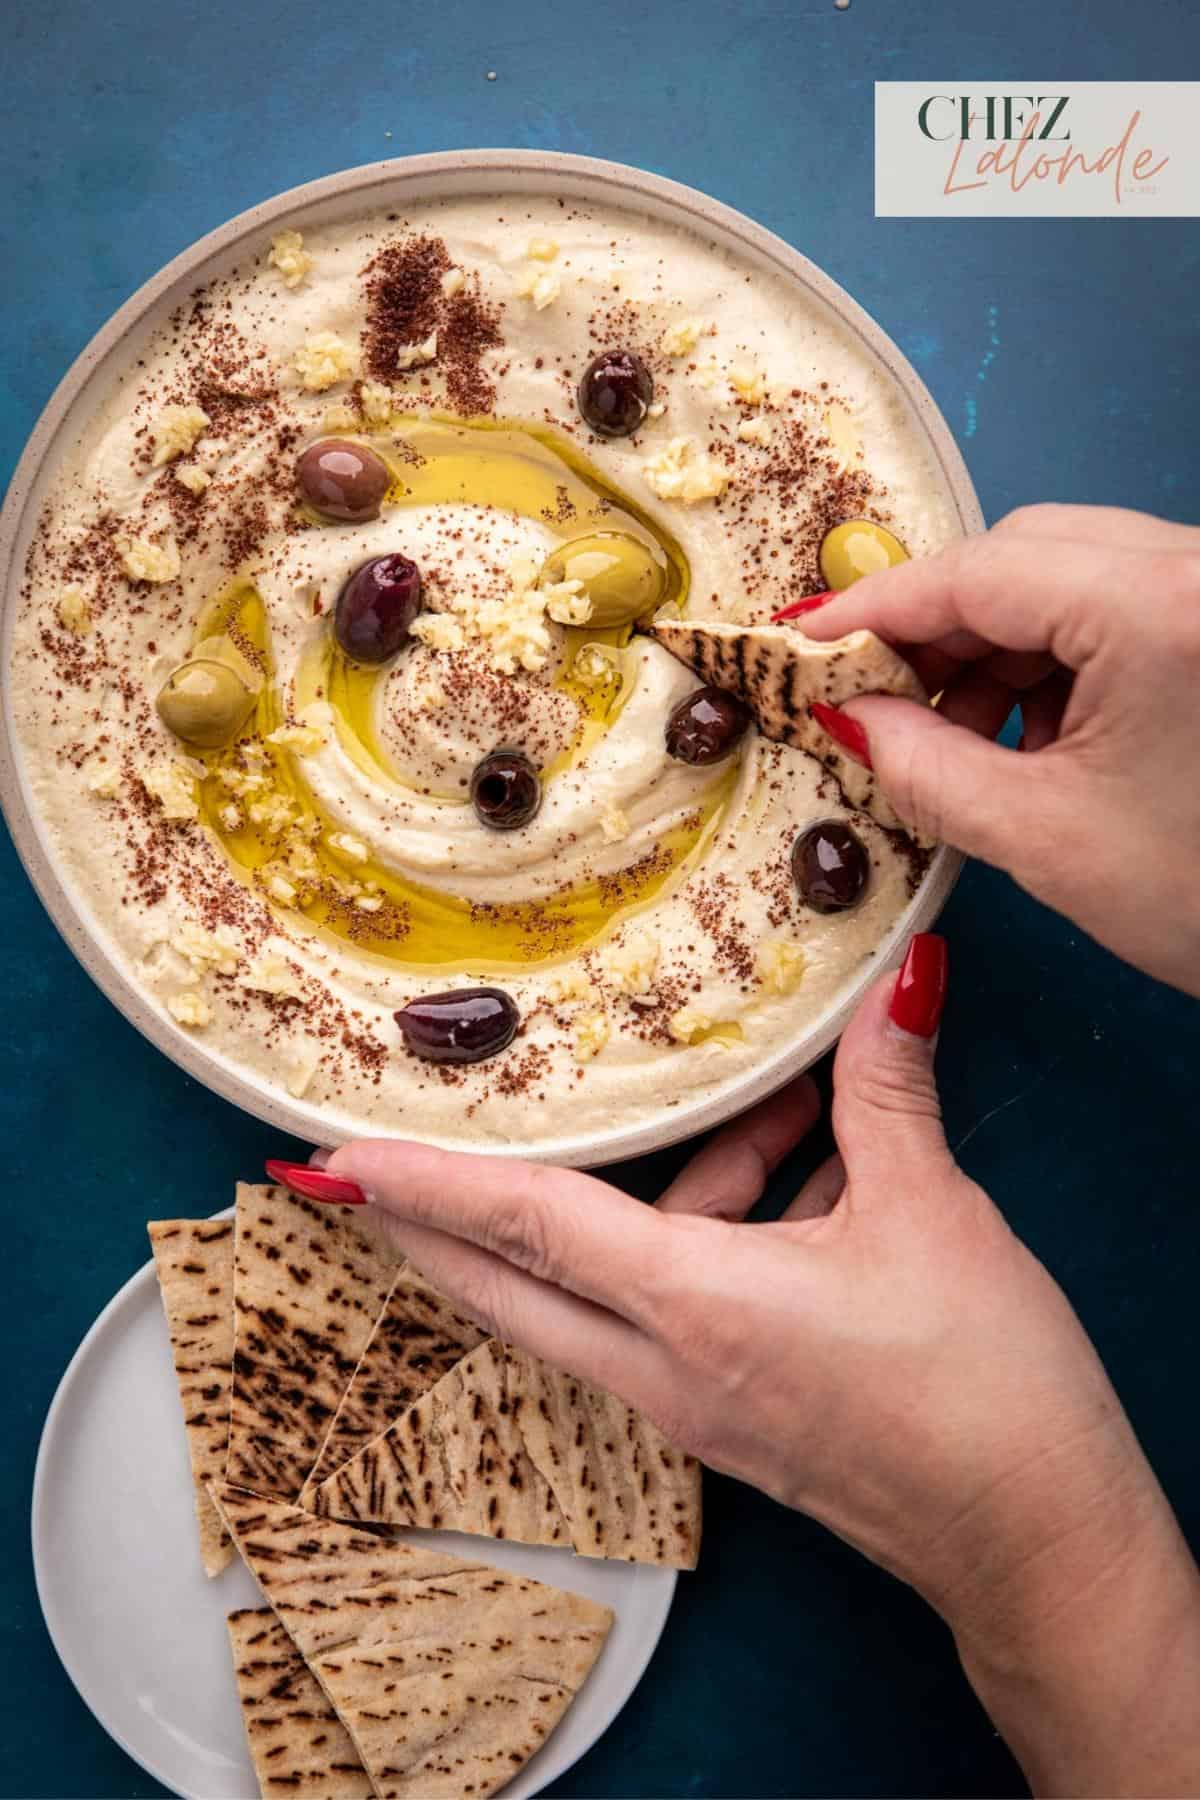
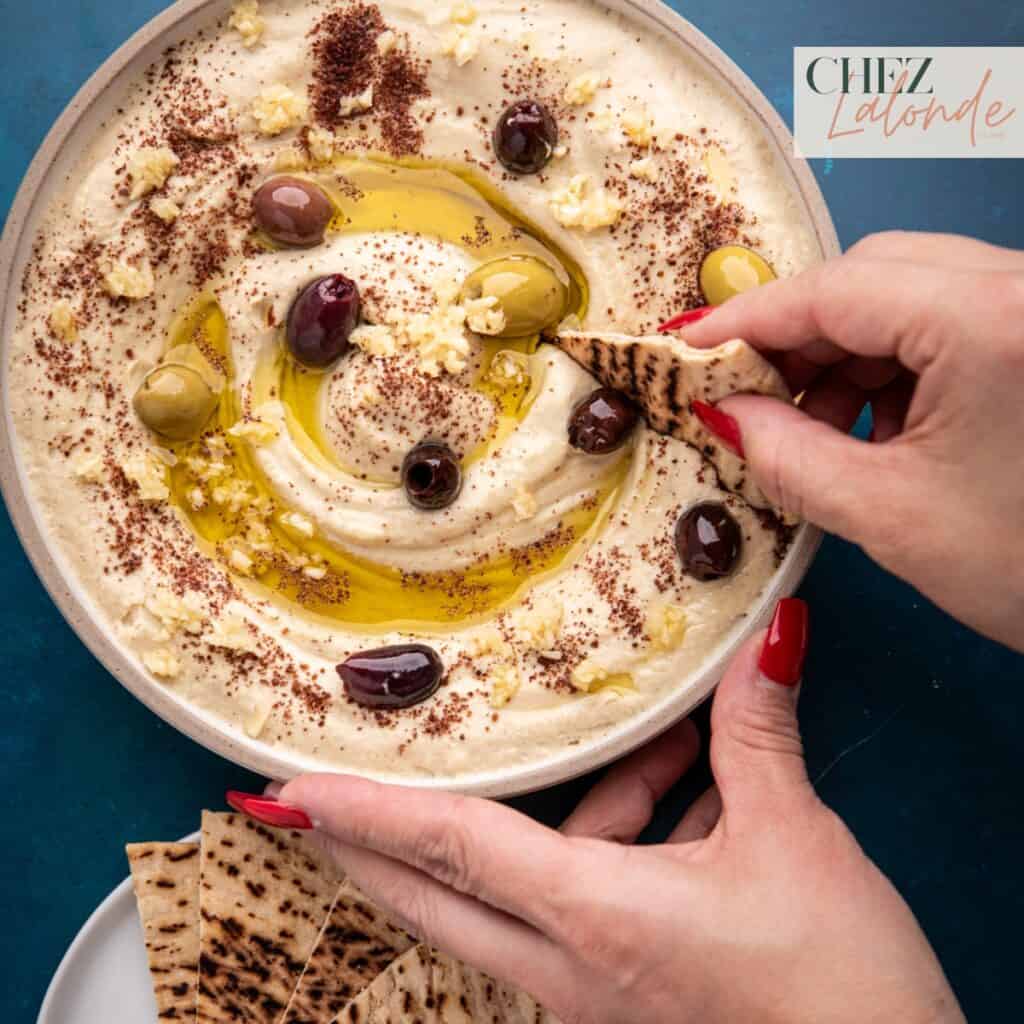
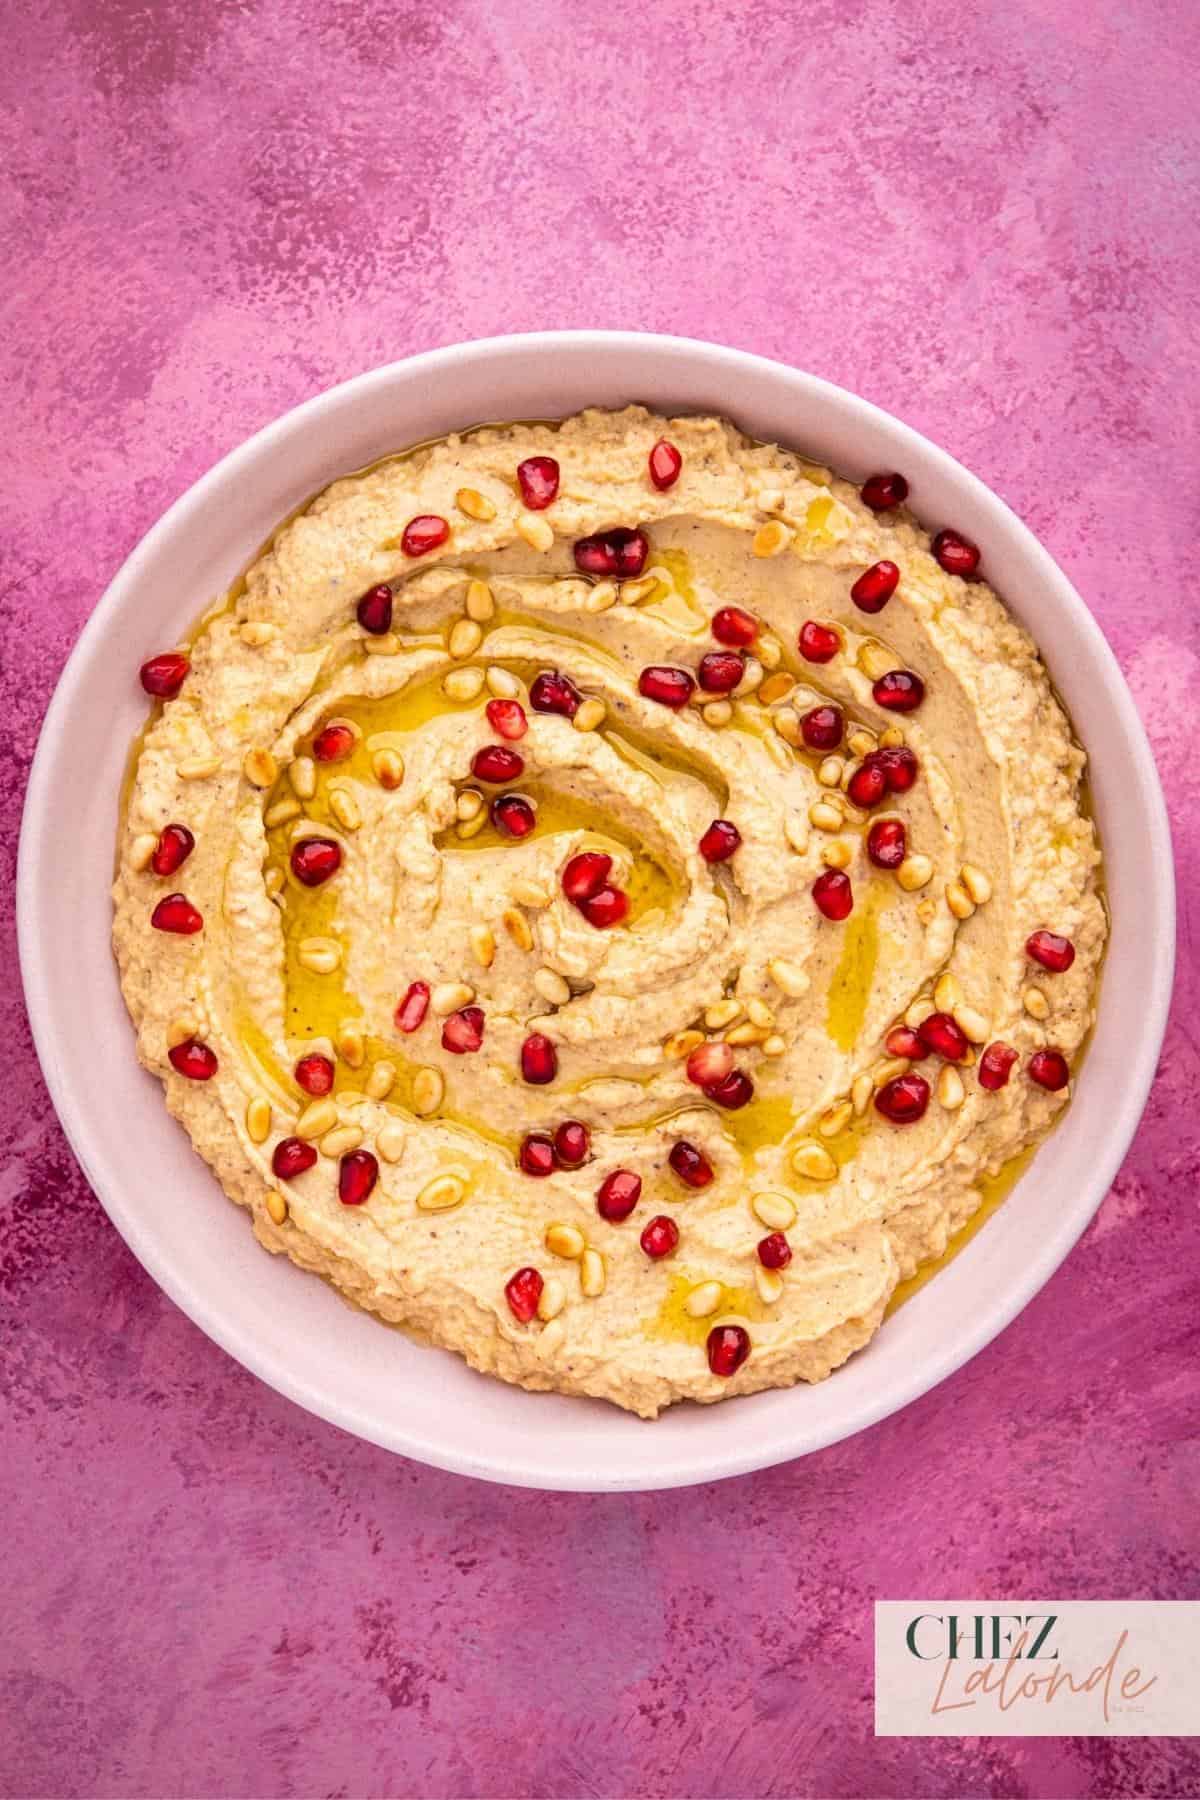
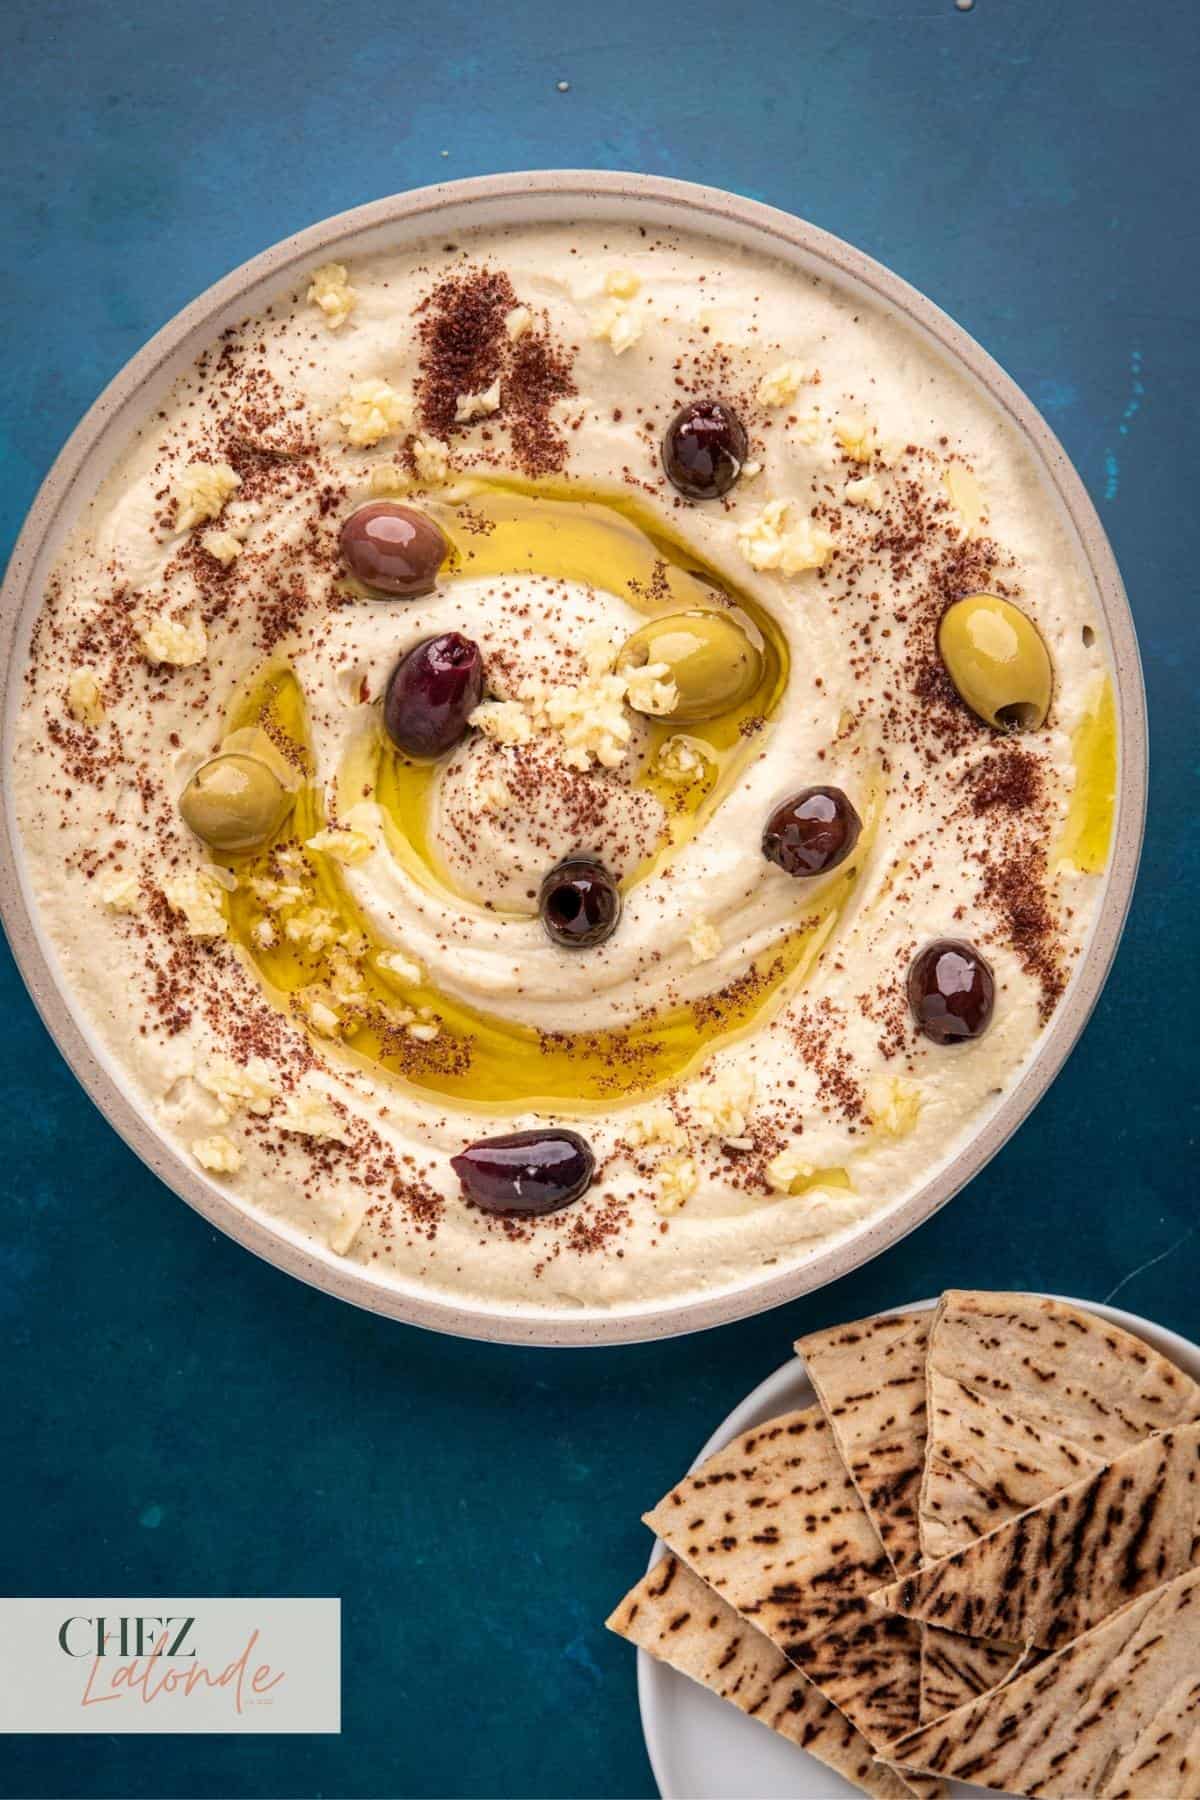
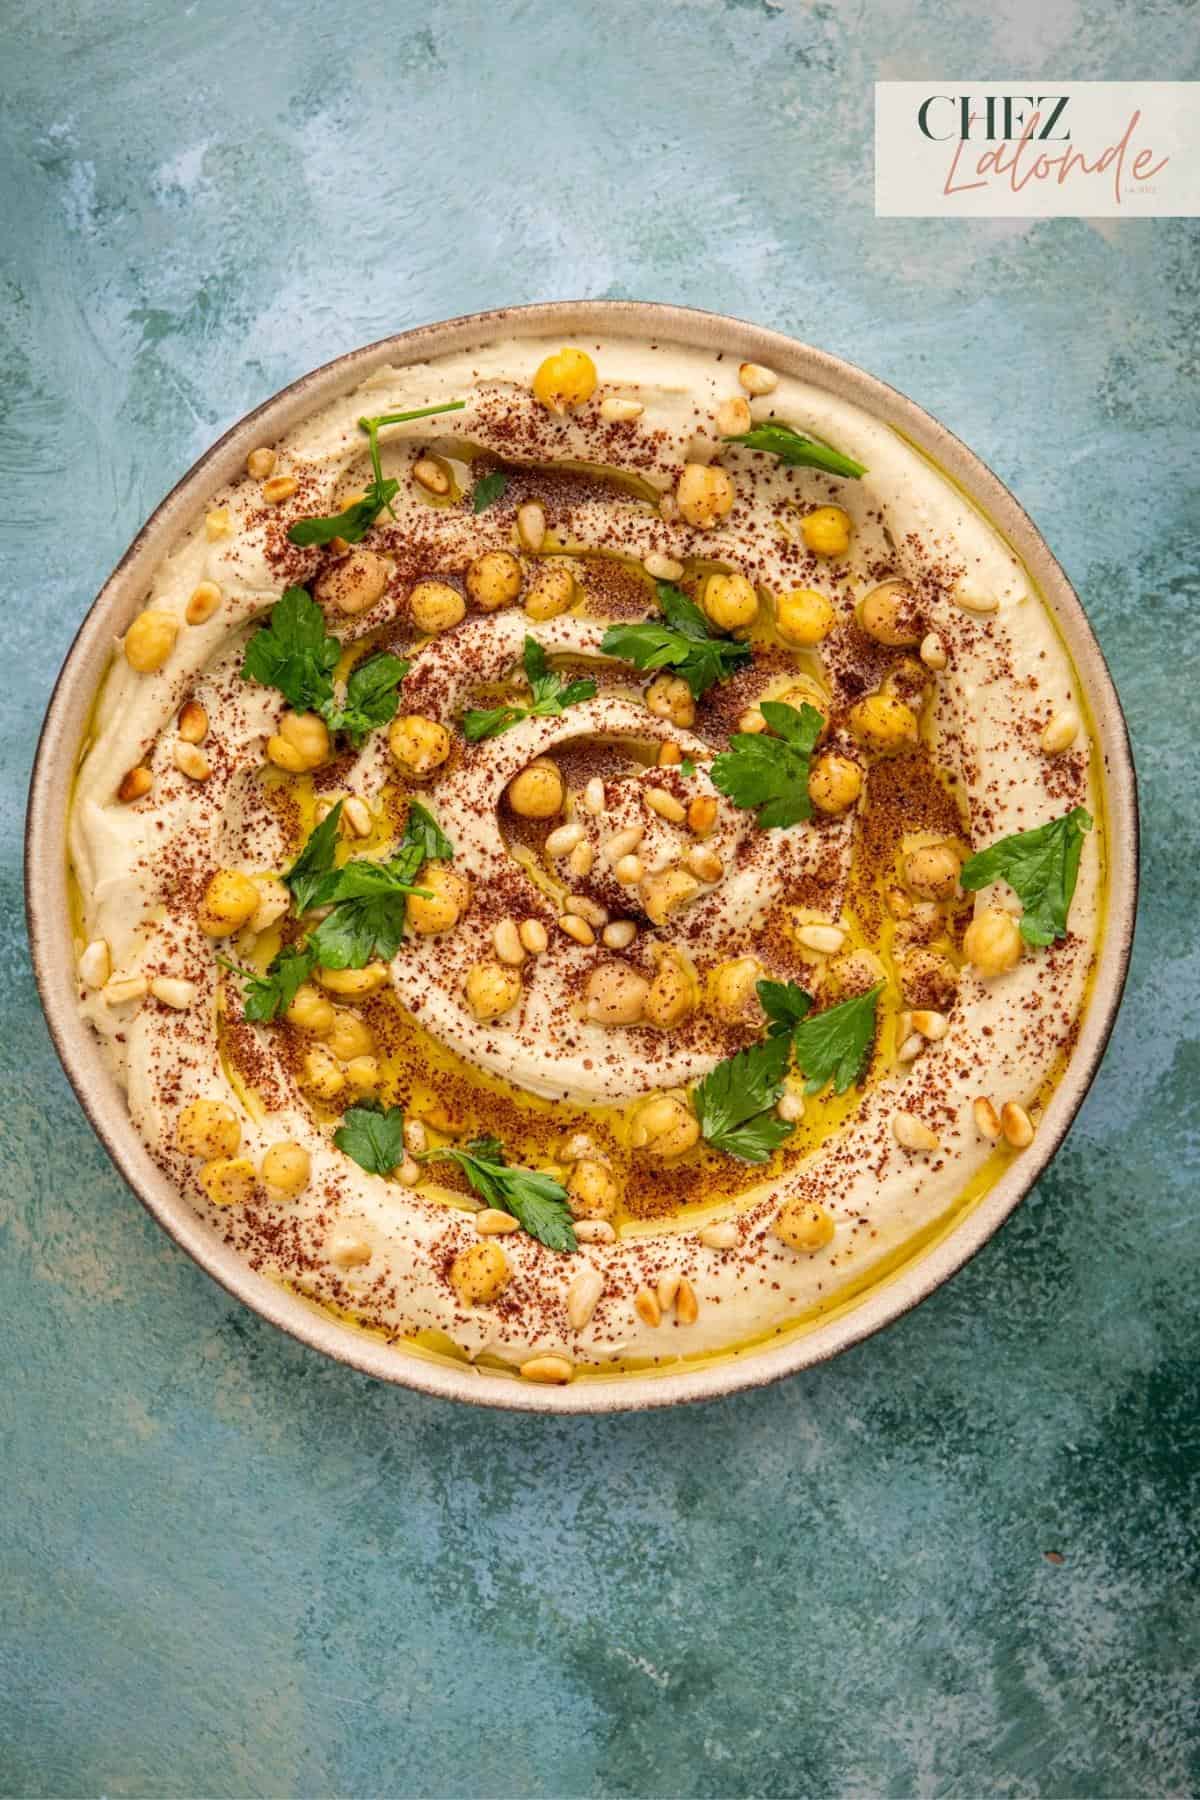
Step 7: Plate and serve
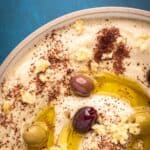
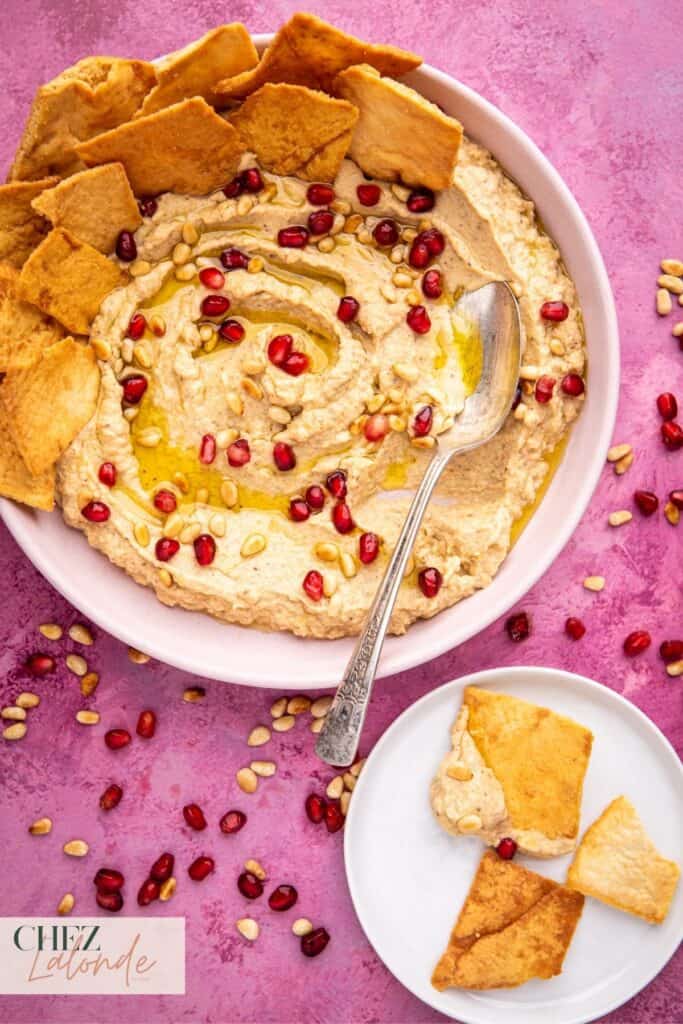
To add a finishing touch, use the back of a spoon to create a swoosh or cavity on the surface of the hummus. Drizzle it with extra virgin olive oil and sprinkle with sumac for extra flavor. Serve this delectable hummus with Naan or Pita bread as a delightful appetizer.
What is the best way to serve Hummus?
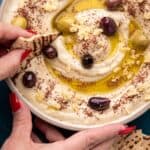
- Classic Dip: Serve hummus as a classic dip with fresh vegetables like carrots, cucumbers, bell peppers, and cherry tomatoes. The crisp and refreshing veggies pair perfectly with the creamy hummus, creating a healthy and satisfying snack.
- Pita Bread and Hummus Sandwich or Wrap: Spread a generous amount of hummus on pita bread and layer it with your favorite sandwich fillings like roasted vegetables, chicken shawarma, or falafel. The hummus adds a creamy and flavorful element, elevating the sandwich to a whole new level of deliciousness.
- Hummus with skewers: Hummus pairs perfectly with grilled or air-fried skewered meat such as pork Souvlaki, Turkish chicken Kebabs, or ground Beef and lamb Kebabs. The creamy texture and flavors of hummus complement the grilled meat. Spread a dollop of hummus on warm pita bread, add a piece of Souvlaki, and enjoy the delightful combination of flavors and textures.
Tips and tricks for this recipe:
- Chilling before serving: Once your hummus is blended, allow it to chill in the refrigerator for at least 30 minutes to an hour. This resting time helps the flavors meld together, allowing the hummus to thicken slightly before serving.
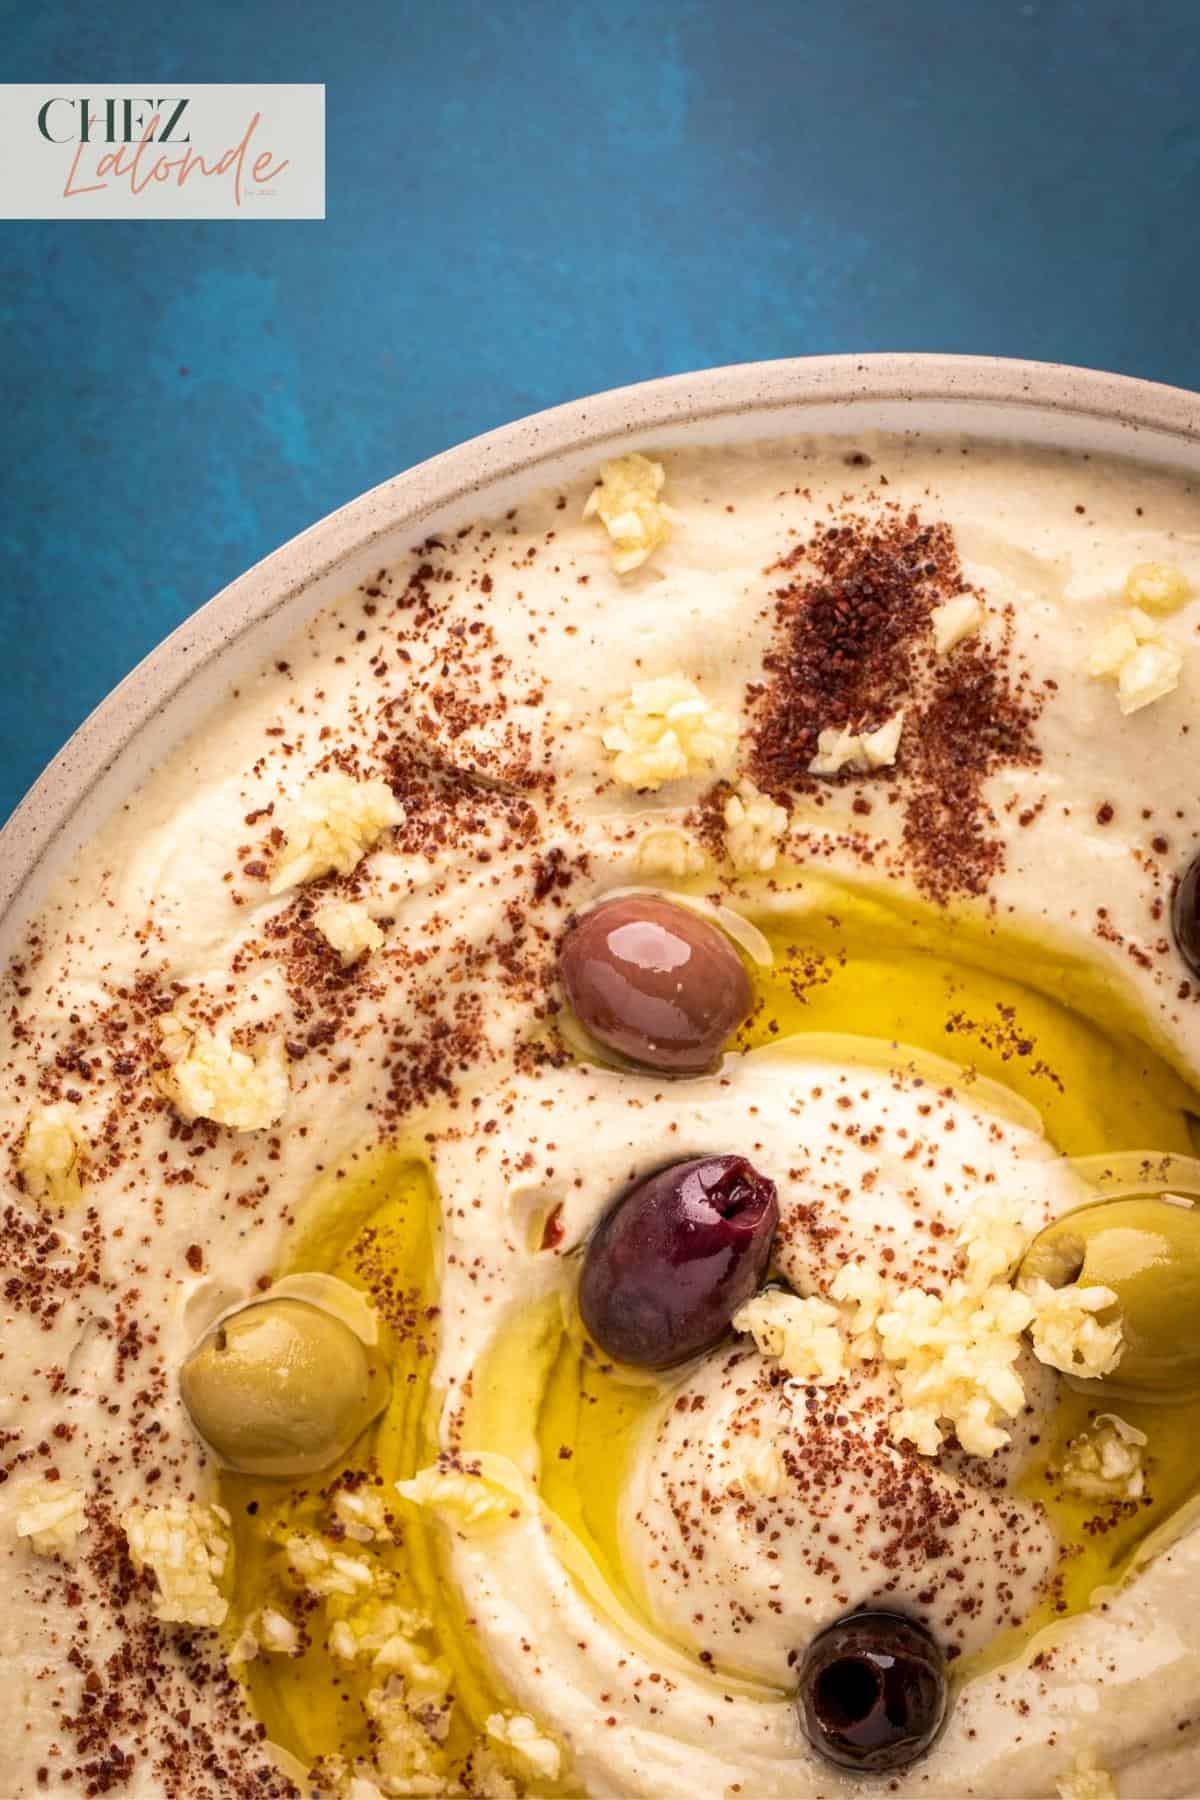
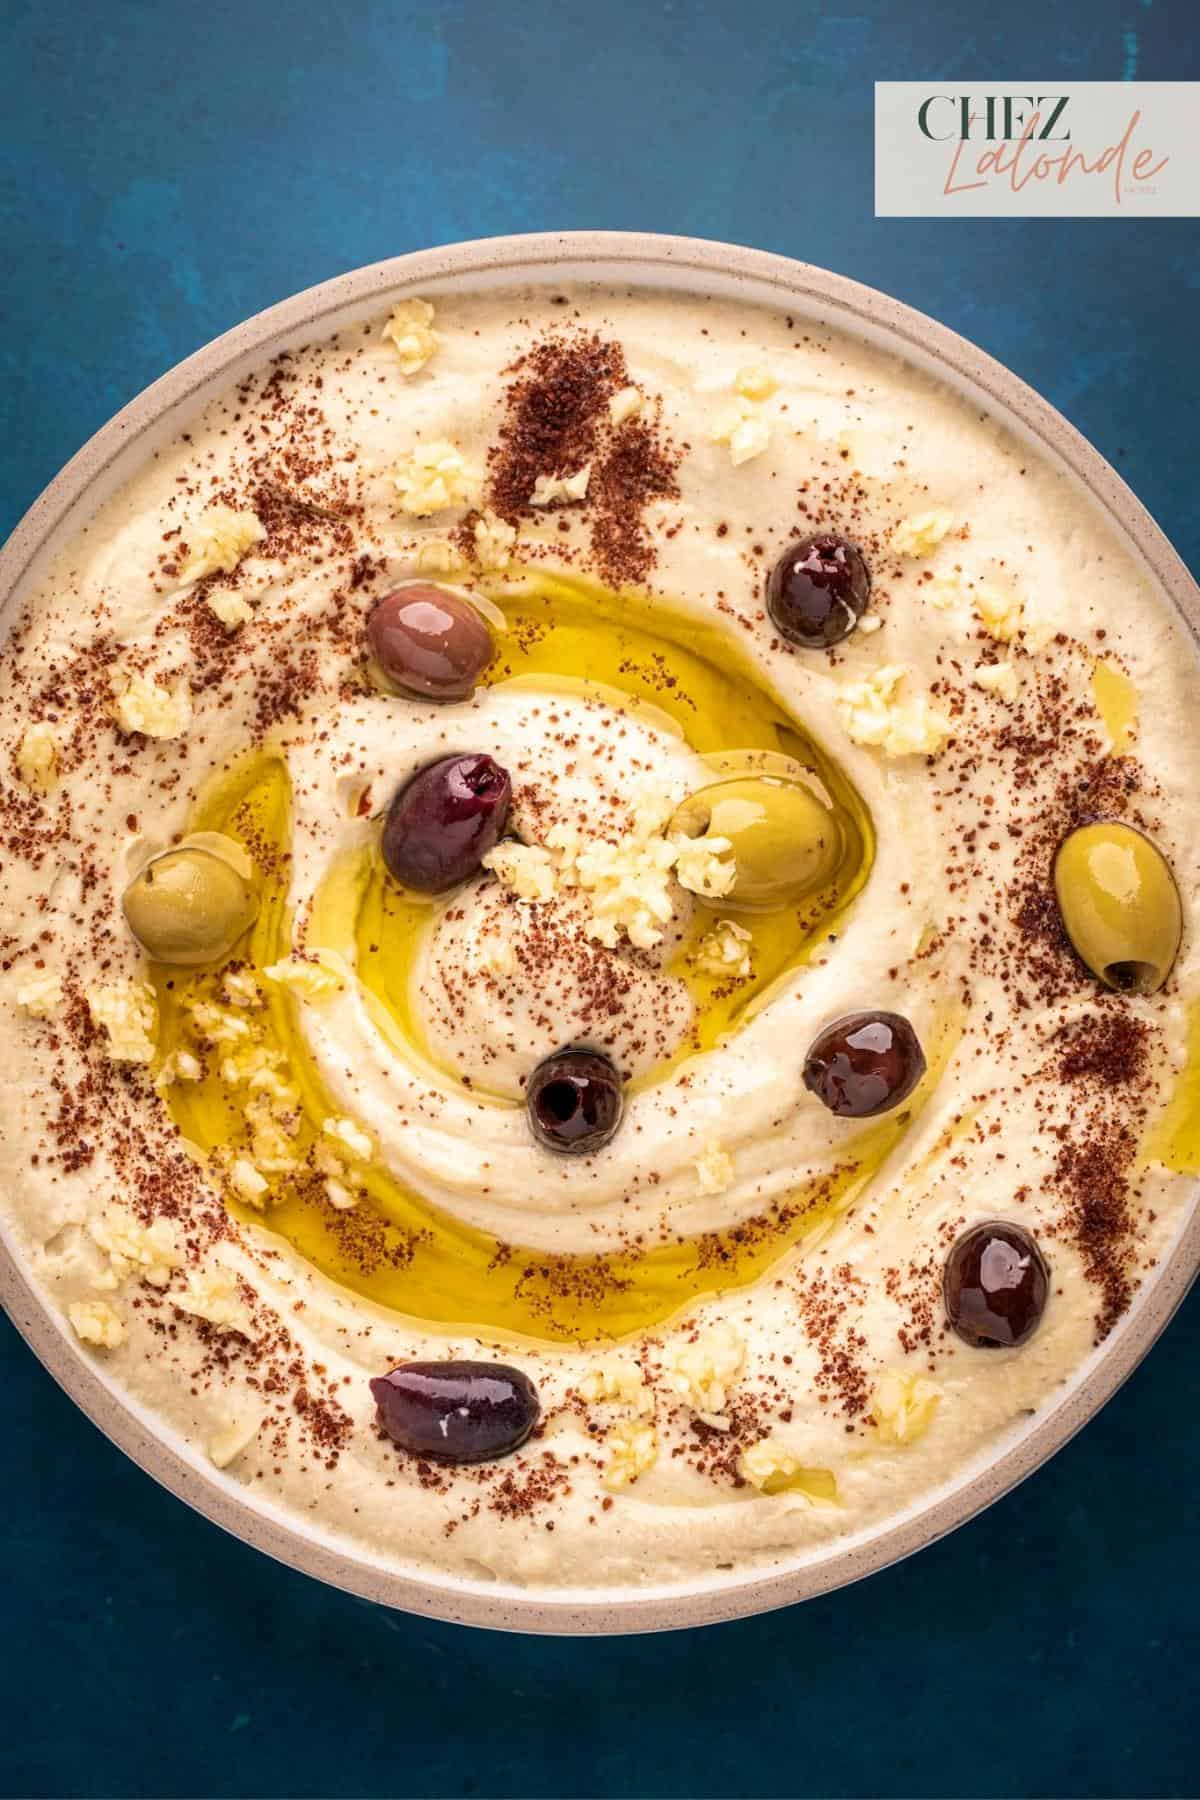
- Toppings and Garnishes: Elevate the presentation and taste of your hummus by adding creative toppings and garnishes. Sprinkle toasted pine nuts, drizzle with olive oil, sprinkle with sumac, or garnish with fresh herbs and olives to make your hummus visually appealing and even more flavorful.
- Add some Mediterranean flare: Add a blend of sundried tomatoes, roasted garlic, and a sprinkle of Italian herbs into your hummus for a burst of Mediterranean flavors. Or, you can add Kalamata olives, feta cheese, and fresh oregano to your hummus. This variation offers a unique savory taste that pairs well with pita bread or roasted veggies.
Leftover storage Tips:
- Refrigeration: Store leftover hummus in an airtight container in the refrigerator. This will keep it fresh for up to 4-5 days. Make sure to cover the surface of the hummus with a thin layer of olive oil to prevent it from drying out.
- Freezing: If you have a large batch of hummus or want to make it in advance, freezing is a great option. Consider portioning it into smaller containers or using ice cube trays. This allows you to thaw only the amount you need. When freezing, leave some space at the top as hummus expands when frozen. It can be stored in the freezer for up to 3 months.
- Labeling: When storing hummus in the refrigerator or freezer, label the containers with the date to keep track of freshness. This will help you consume the hummus within a reasonable time frame and maintain its quality.
FAQs about Vitamix Hummus:
To complete your meal, consider these recipes:

In Conclusion:
With this simple and delicious recipe, you can enjoy the irresistible allure of homemade hummus whenever you desire. You can elevate your appetizer game by mastering the art of making this homemade hummus. From the velvety-smooth texture to the perfectly balanced ingredients, this homemade hummus will captivate your taste buds and leave you craving more.
Did you make this recipe?
Don’t miss out on the latest updates from Chez Lalonde. Follow my blog and social media channels for future recipes that will tantalize your taste buds and inspire your kitchen creations.

How To Make Creamy Homemade Hummus With A Vitamix
- Total Time: 47 minutes
- Yield: 2 cups
Description
Unleash the secrets to crafting the creamiest homemade hummus using a Vitamix blender. With this easy-to-follow guide, you’ll master the art of achieving a velvety-smooth texture and perfect flavor balance. Elevate your hummus experience with this homemade recipe that will keep you and your guests returning for more.
Ingredients
2 cups of Canned Chickpeas (29 oz)
2 Tablespoon of Extra virgin olive oil:
4 to 6 Tablespoon of Ice water
1 Teaspoon of Baking powder
1/2 a Cup of Tahini
1 juice of a lemon
2 Garlic cloves
1 Teaspoon Sea salt
1/4 Teaspoon of Cumin
1/2 Teaspoon of Za’atar
Sumac – Garnish
Instructions
Step One: Drain the Chickpeas
Start by opening a can of chickpeas and using a colander to drain off the brine.
Step Two: Boil the Chickpeas
In a small pot, bring water to a boil. Once boiling, add the drained canned chickpeas and simmer on low heat for 20 minutes.
Step Three: Soak chickpeas with baking powder
After simmering for 20 minutes, remove the pot from heat and add a teaspoon of baking powder. Allow the beans to soak in the mixture for an additional 10 minutes.
Step Four: Remove the outer skin
Once the chickpeas have soaked for 10 minutes, drain them again using a colander and rinse with water. At this point, you can easily pick out or rub off the outer skins. This step may take time, so be patient and thorough to ensure a smoother hummus texture.
Step Five: Add all the ingredients to the blender
After removing the outer skins from the chickpeas, place them in the Vitamix container with olive oil, tahini, garlic cloves, sea salt, and spices. Start by adding 4 tablespoons of ice water to the blender and adjust the liquid amount as needed for desired consistency.
Step Six: Blend until creamy consistency.
Adjust to the puree setting on your Vitamix and start blending until the blender stops. Carefully scoop out your hummus from the blender onto a dish.
Step 7: Plate and serve
To add a finishing touch, use the back of a spoon to create a swoosh or cavity on the surface of the hummus. Drizzle it with extra virgin olive oil and sprinkle with sumac for extra flavor. Serve this delectable hummus with pita or naan bread as a delightful appetizer.
Notes
Chill before serving: Refrigerate your hummus for 30 minutes to an hour after blending. This resting time enhances flavor integration and allows the hummus to thicken slightly.
Store leftover hummus in an airtight container in the refrigerator, covering the surface with a thin layer of olive oil to prevent drying, keeping it fresh for 4-5 days. For larger batches or preparation, freeze in smaller containers or ice cube trays, leaving space for expansion. Label containers with dates for easy tracking, ensuring consumption within 3 months for optimal quality.
Personalize your hummus with vibrant and smoky roasted red pepper flavors, add depth with roasted garlic’s subtle sweetness, or infuse heat and intensity with Chinese chili oil for exciting variations that reflect your preferences.
- Prep Time: 45 minutes
- Cook Time: 2 minutes
- Category: Appetizers
- Method: Blending
- Cuisine: Middle Eastern